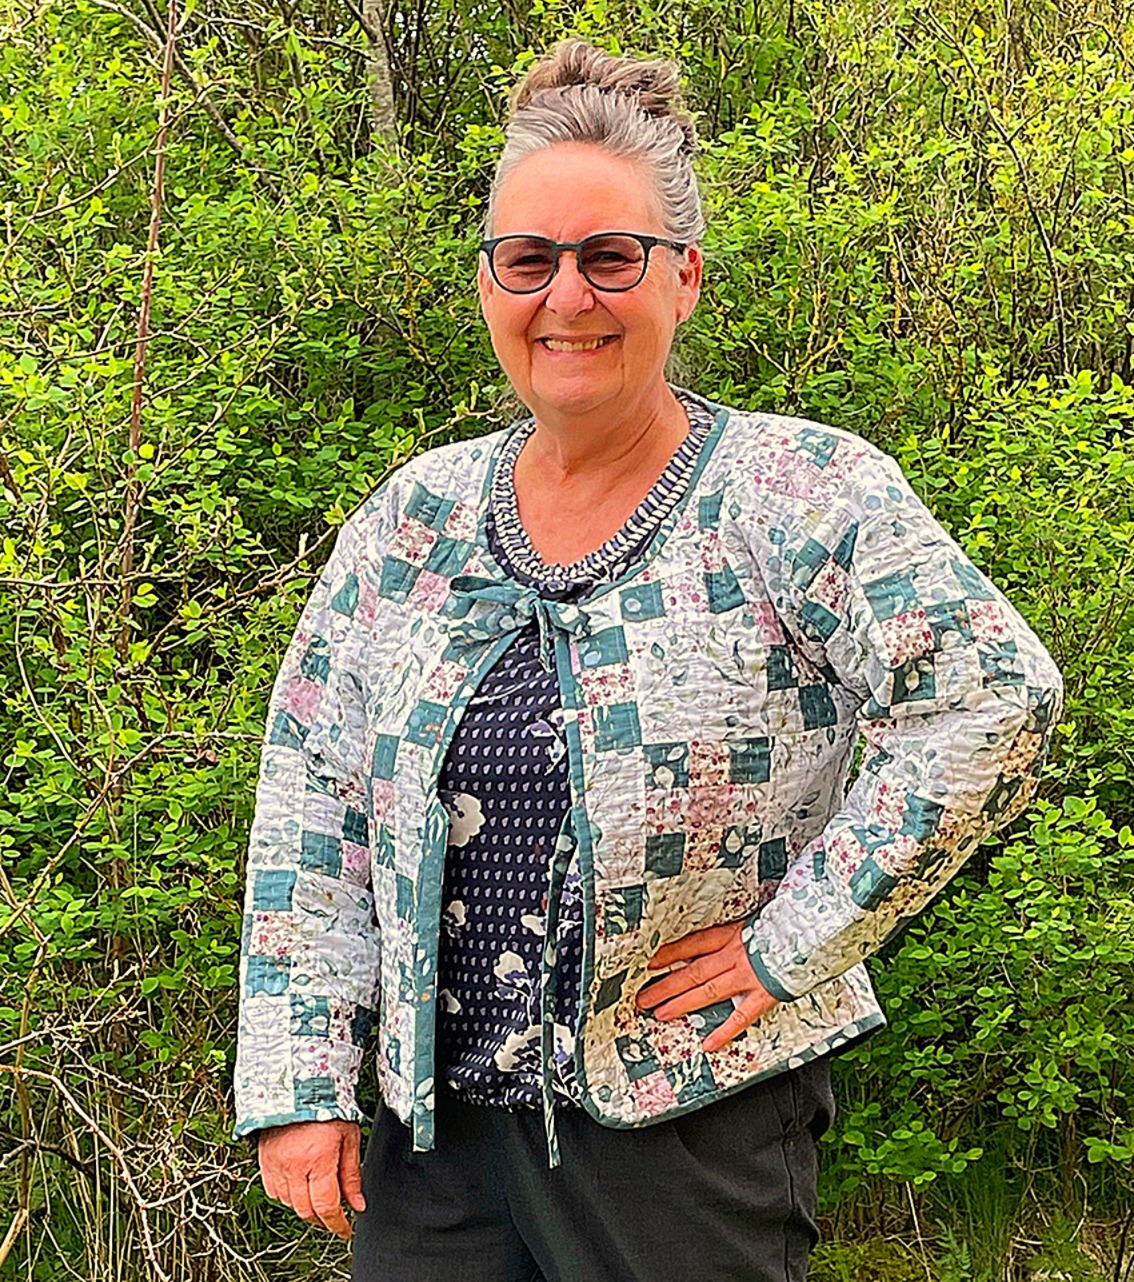
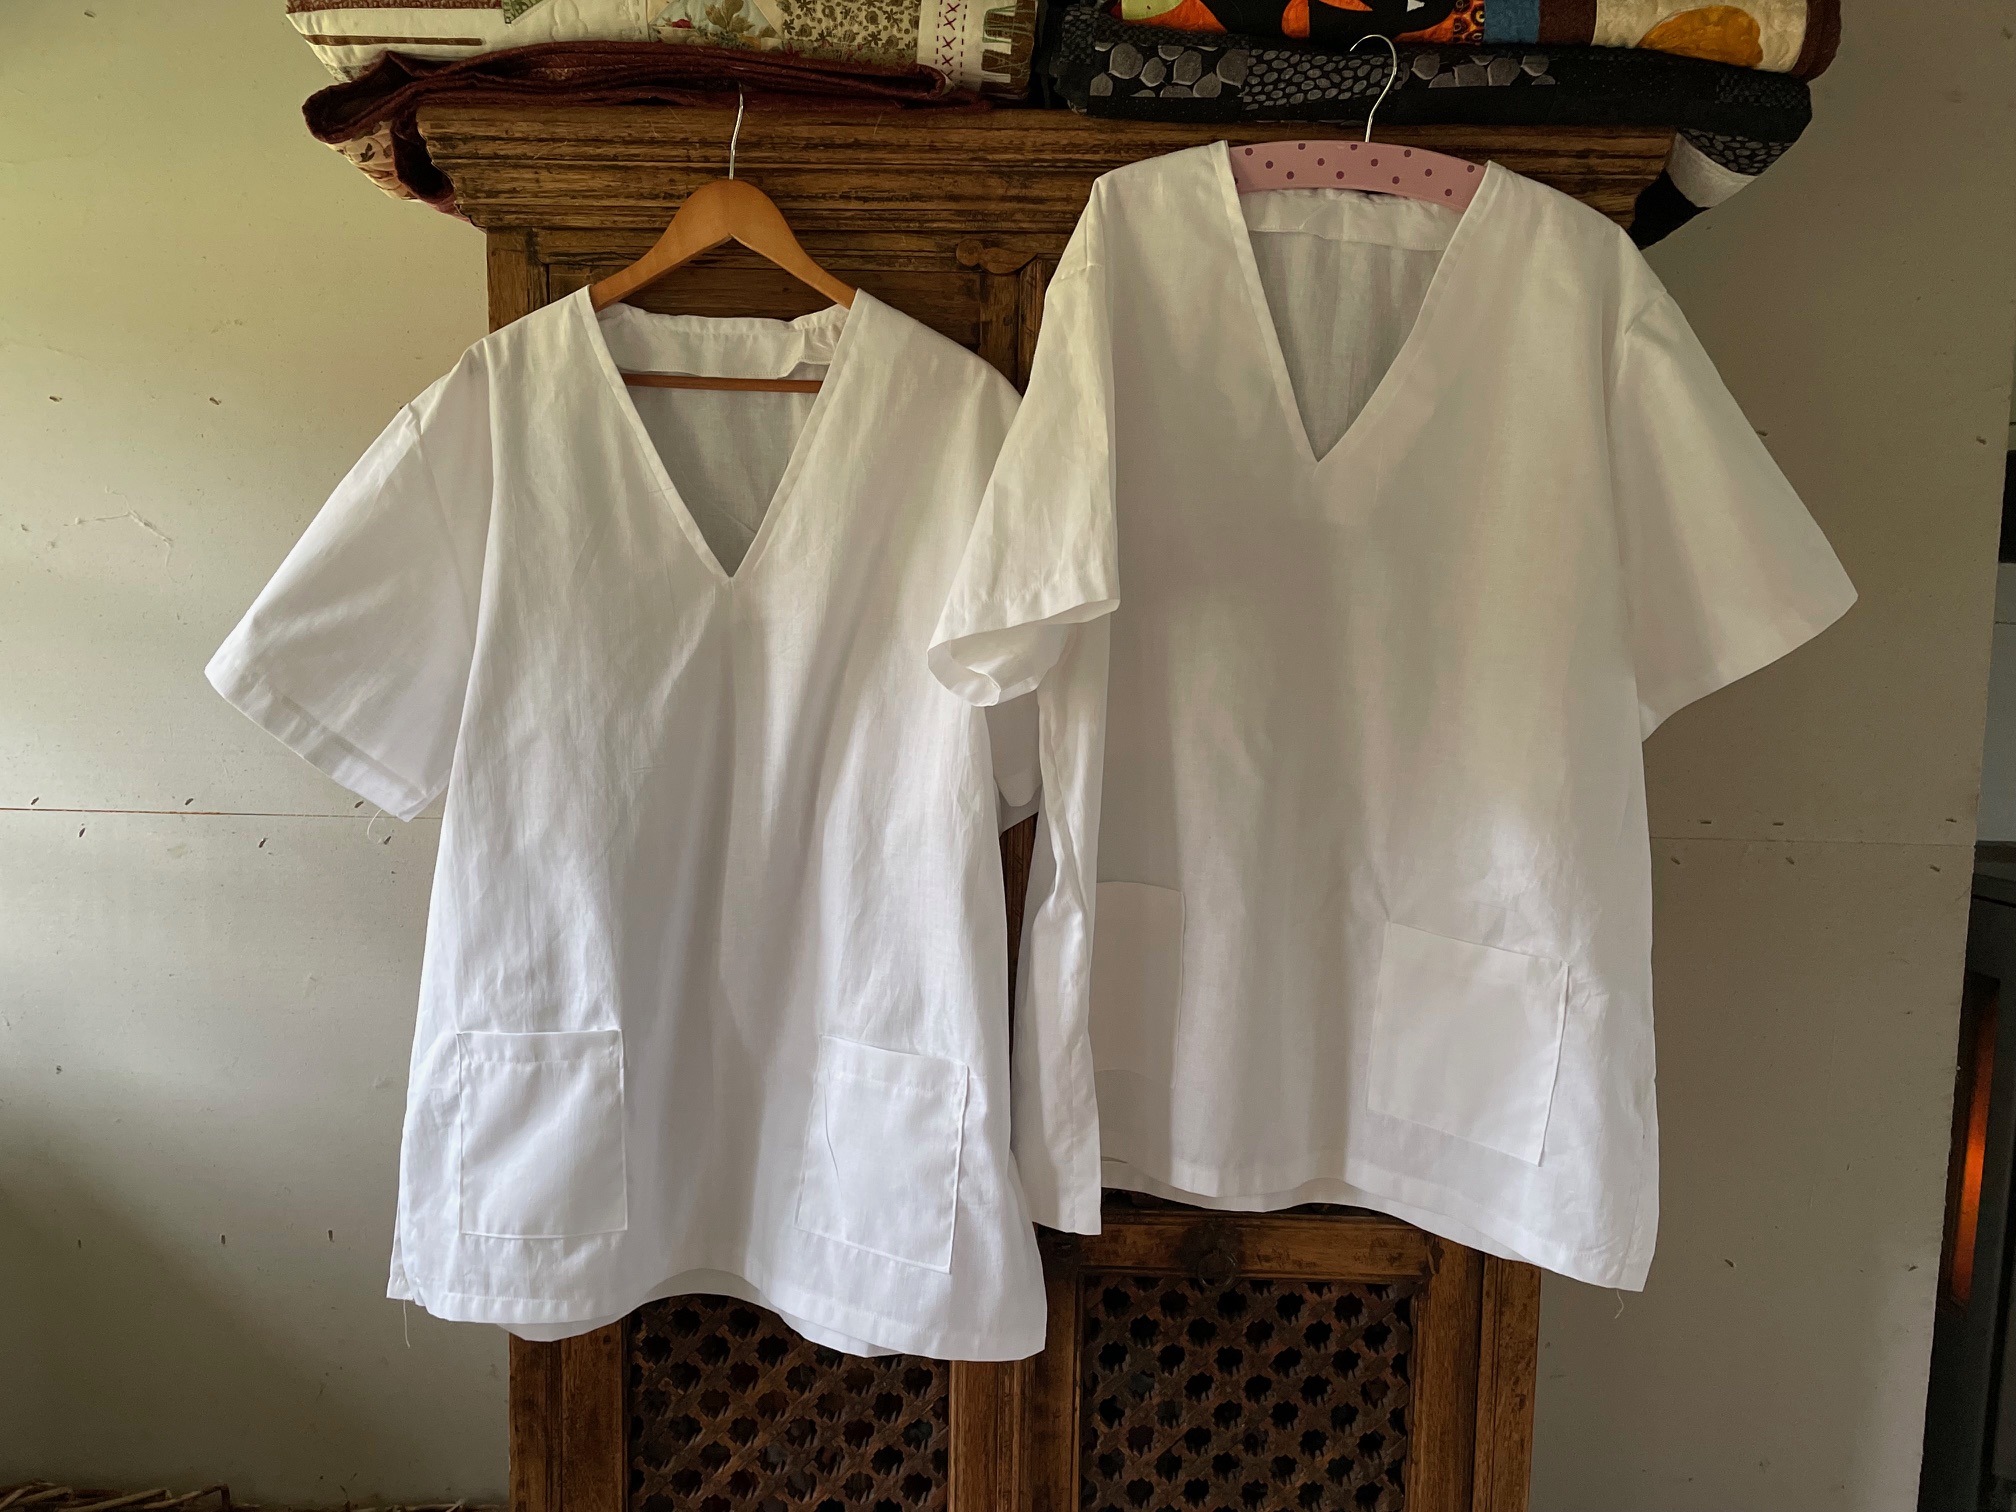
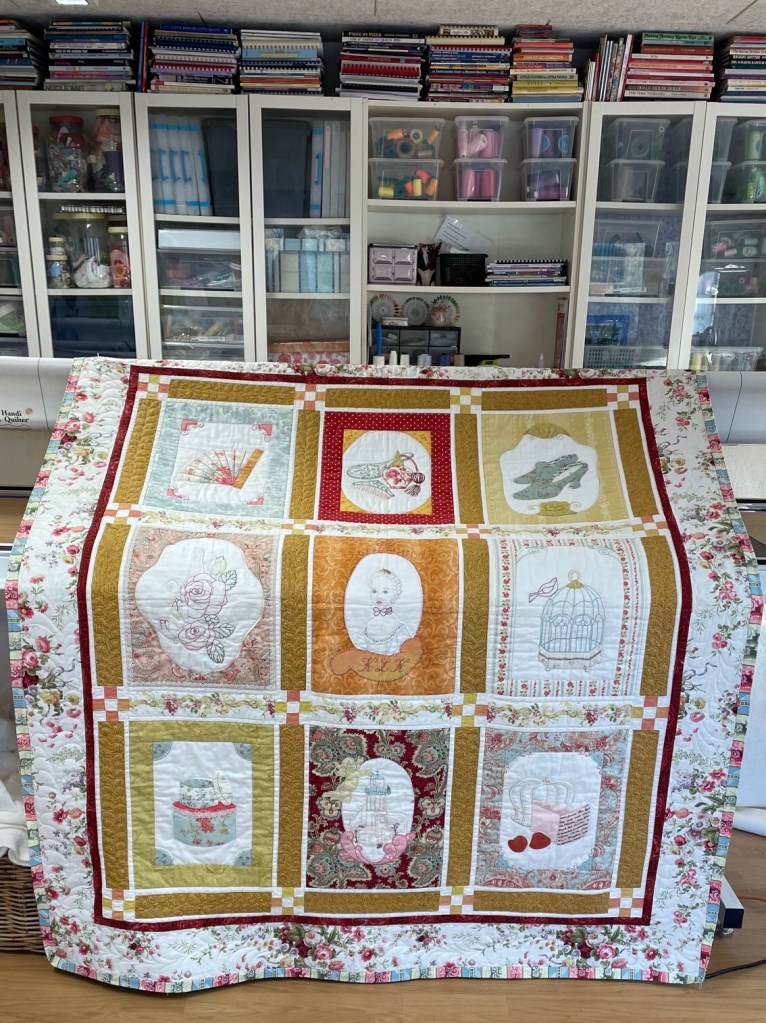
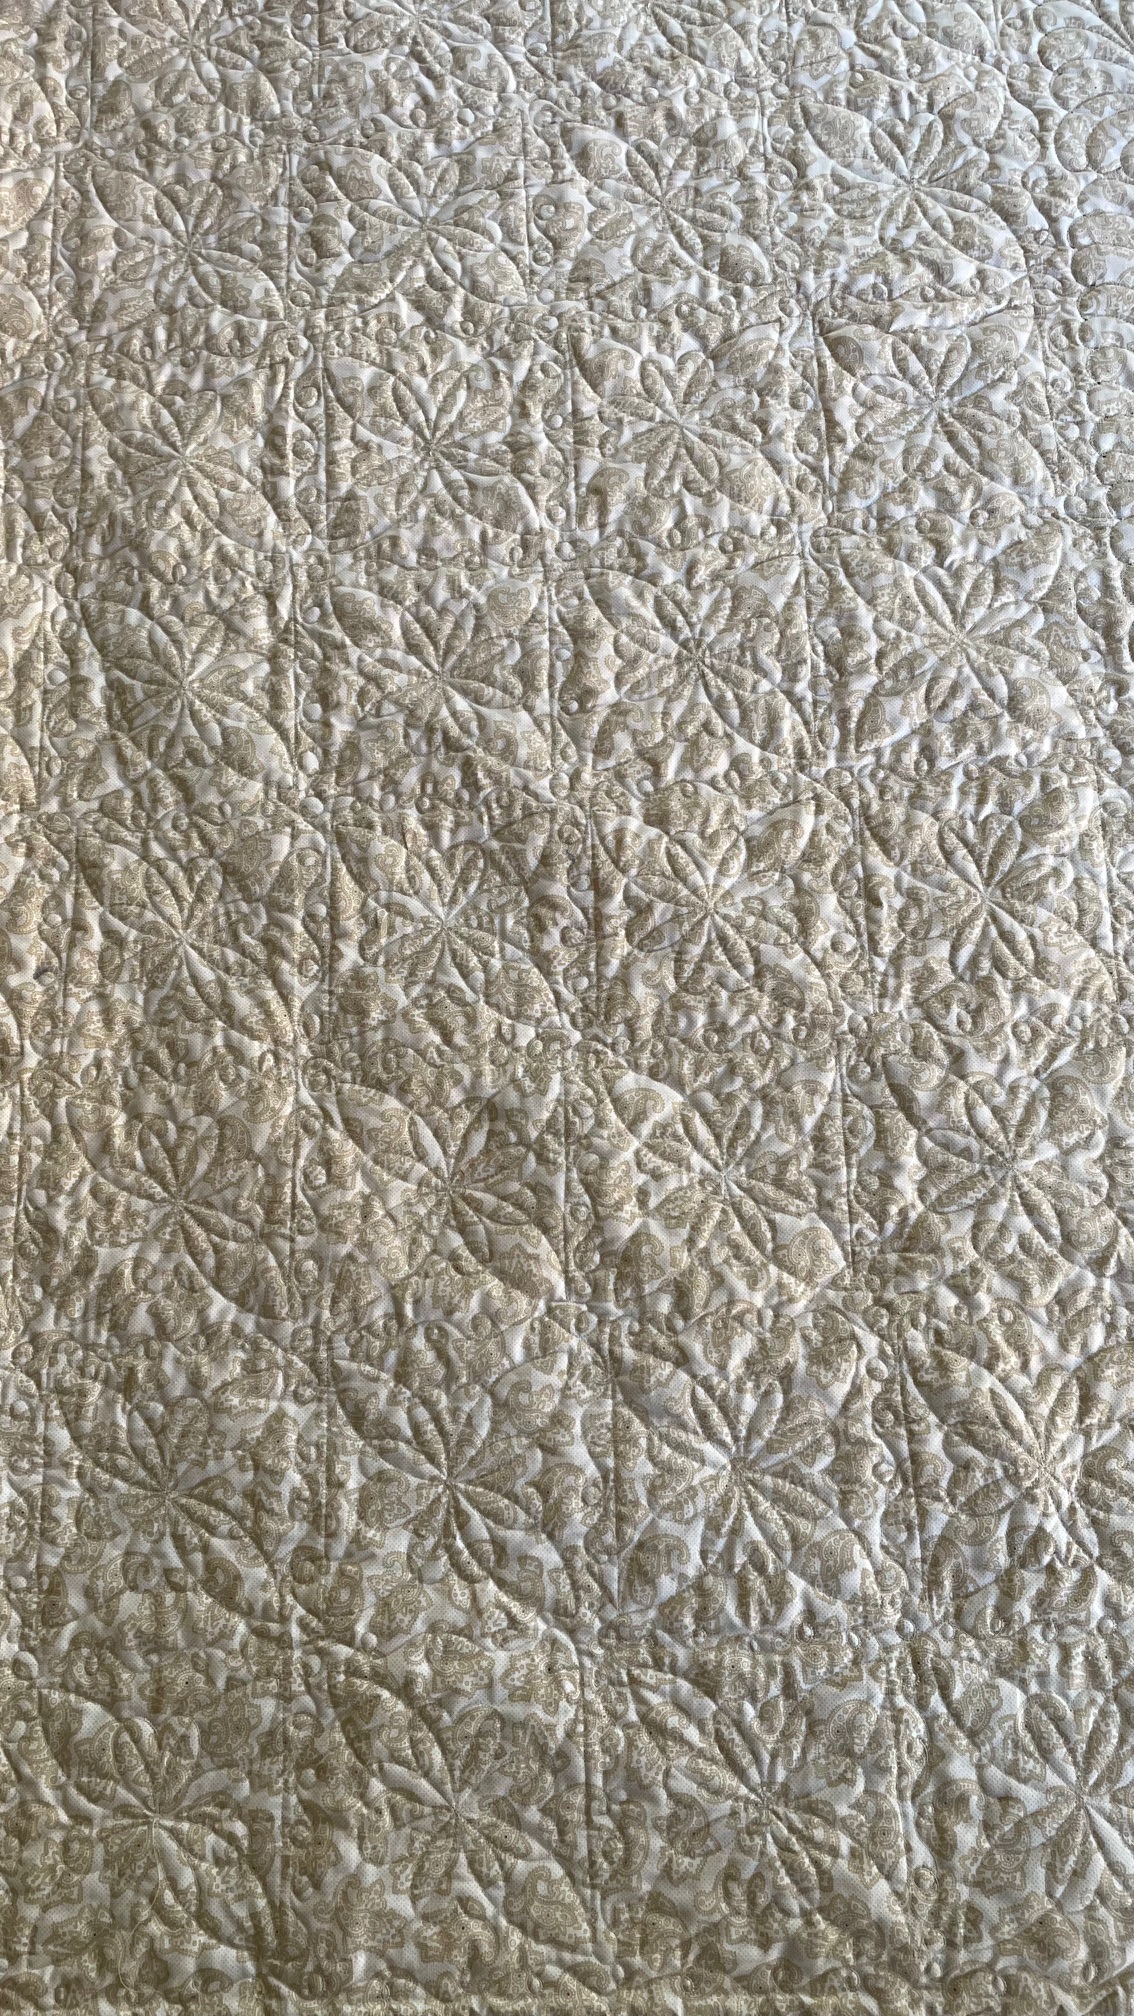
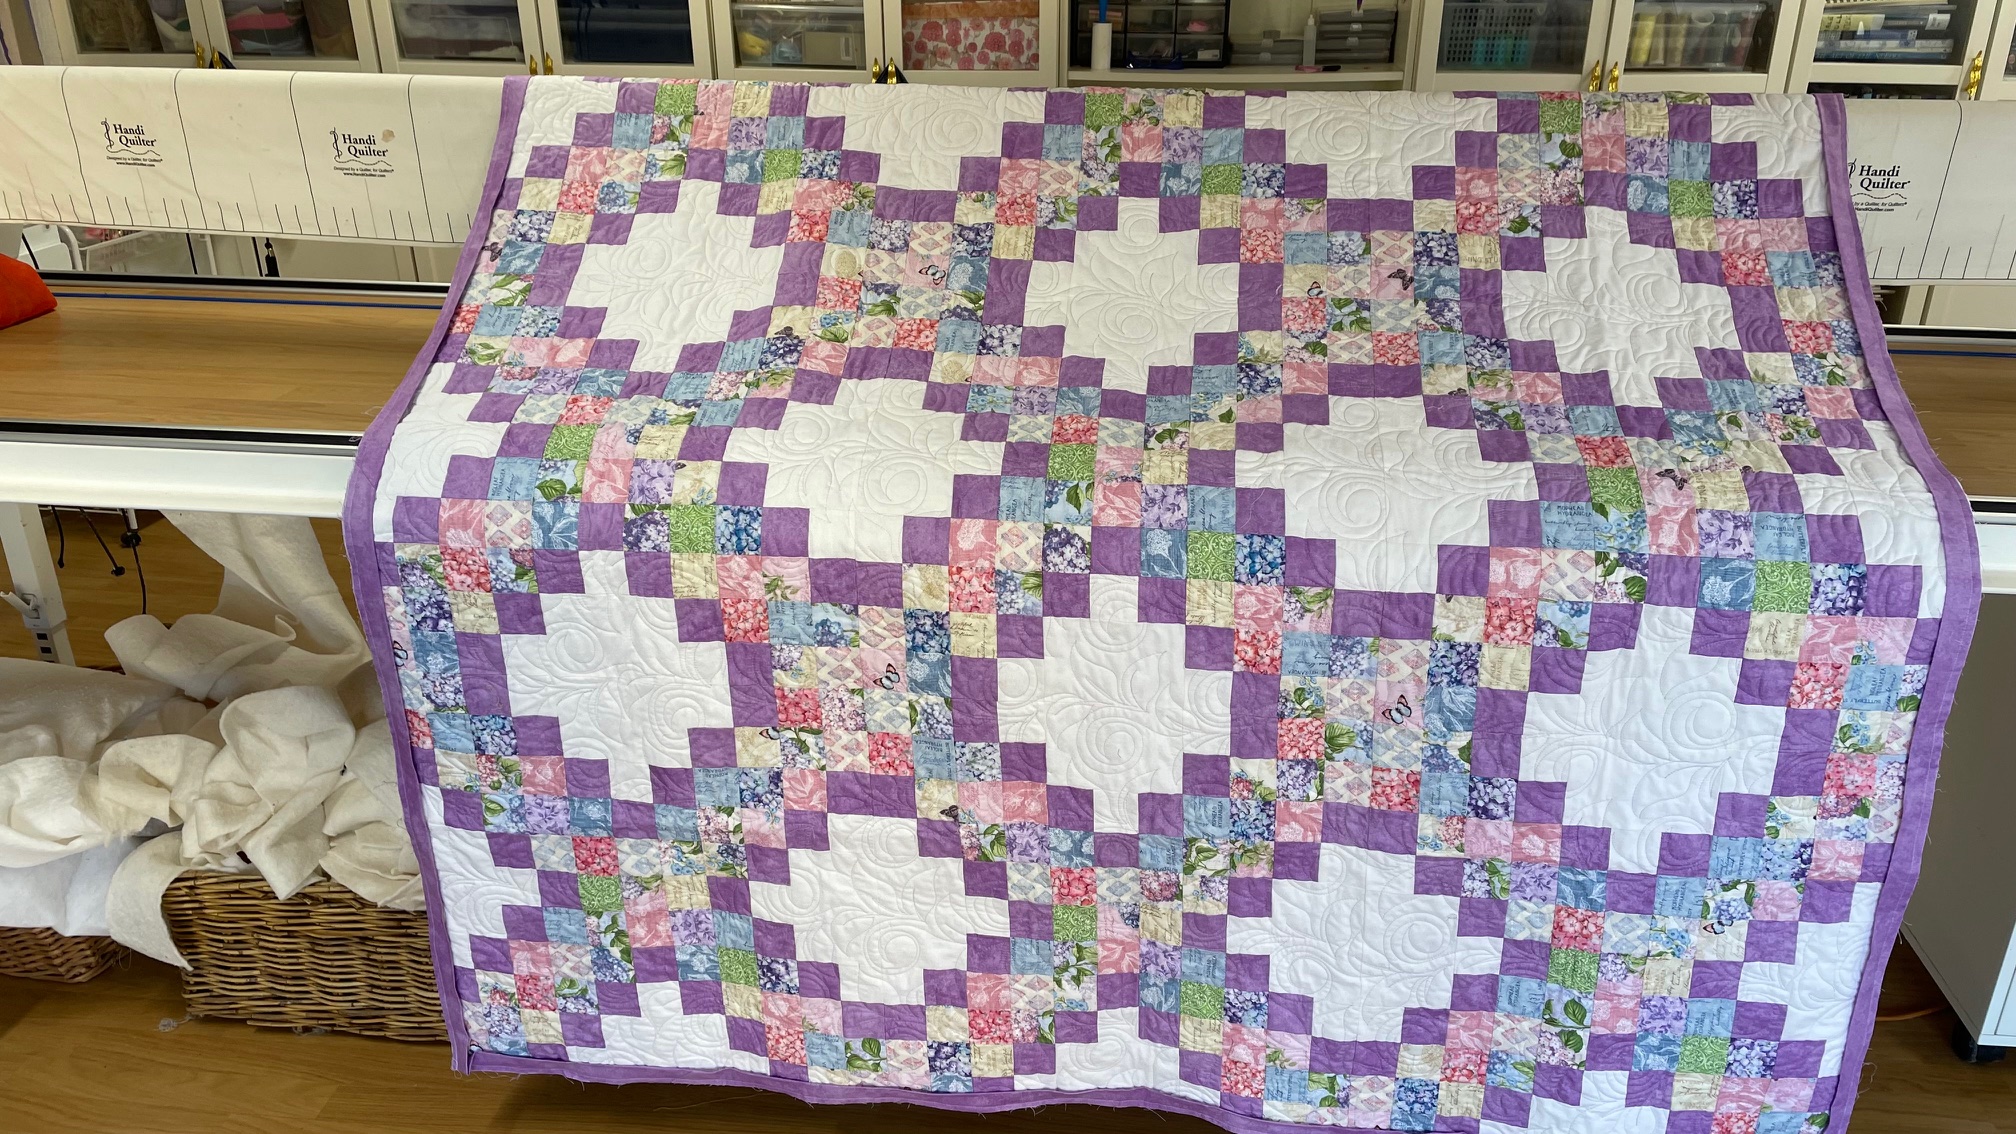
Susanne made this fabulous quilted jacket during the Wednesday sewing days.Kirsten’s quilt ready for quilting on Daisy Longarm.Finished quilting.Kirsten’s second quilt.Butterfly quilting.Tove’s beautiful baskets quilt.Lightly custom quilted.A couple of scrubs for a filmmaker.A closeup.
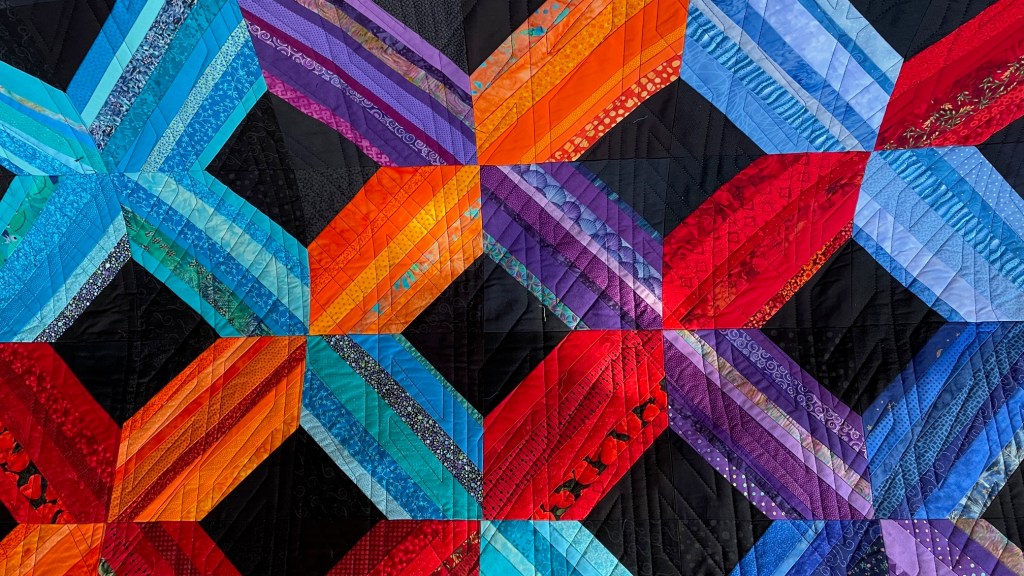
Vibeke came to use the rental longarm ( for free of course, all charity quilts are quilted free at DaisyKwiltsforyou)3 of the 6 quilts she quilted for the charity.3 more!Swirls!More swirls!Square meander.Loopty loop.Meander.Large meander.All the quilts.
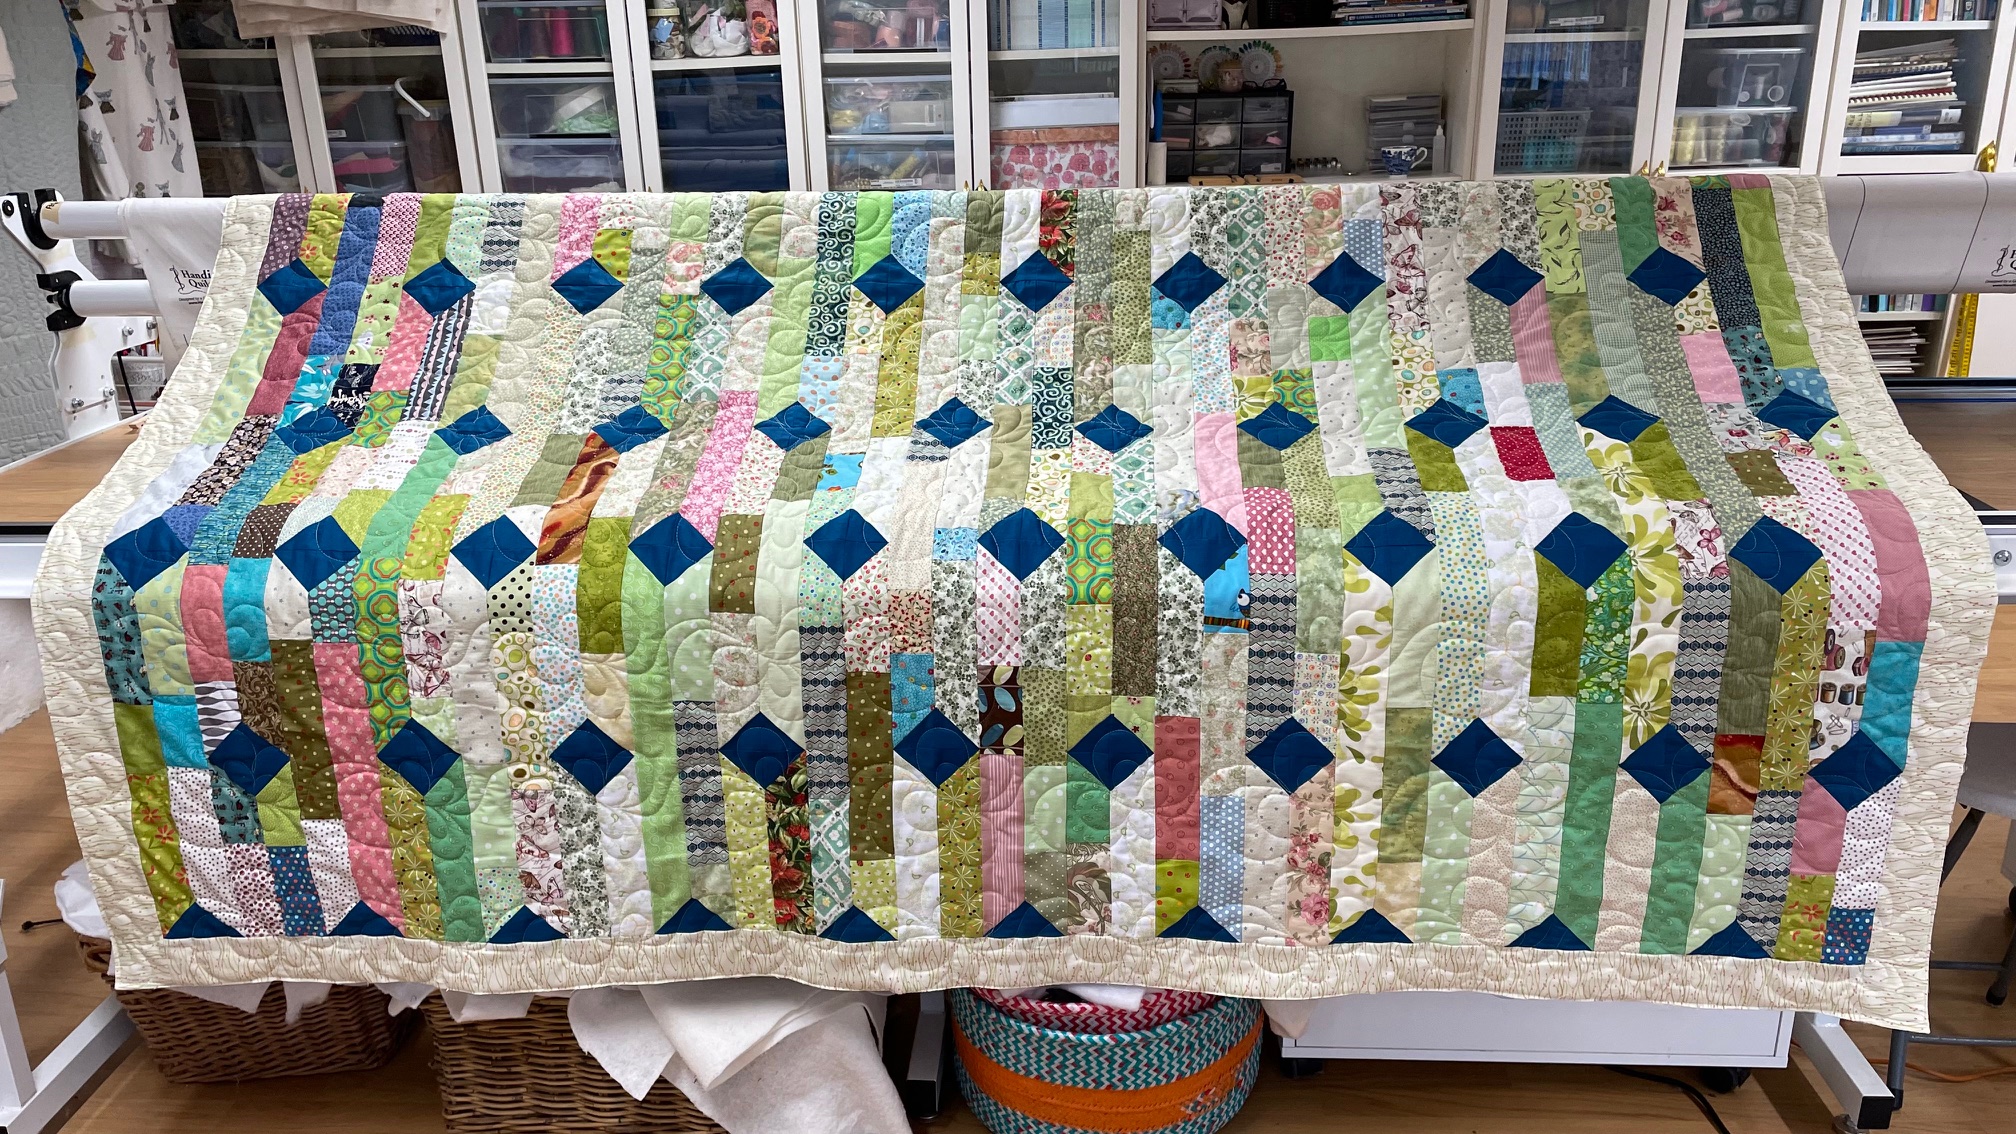
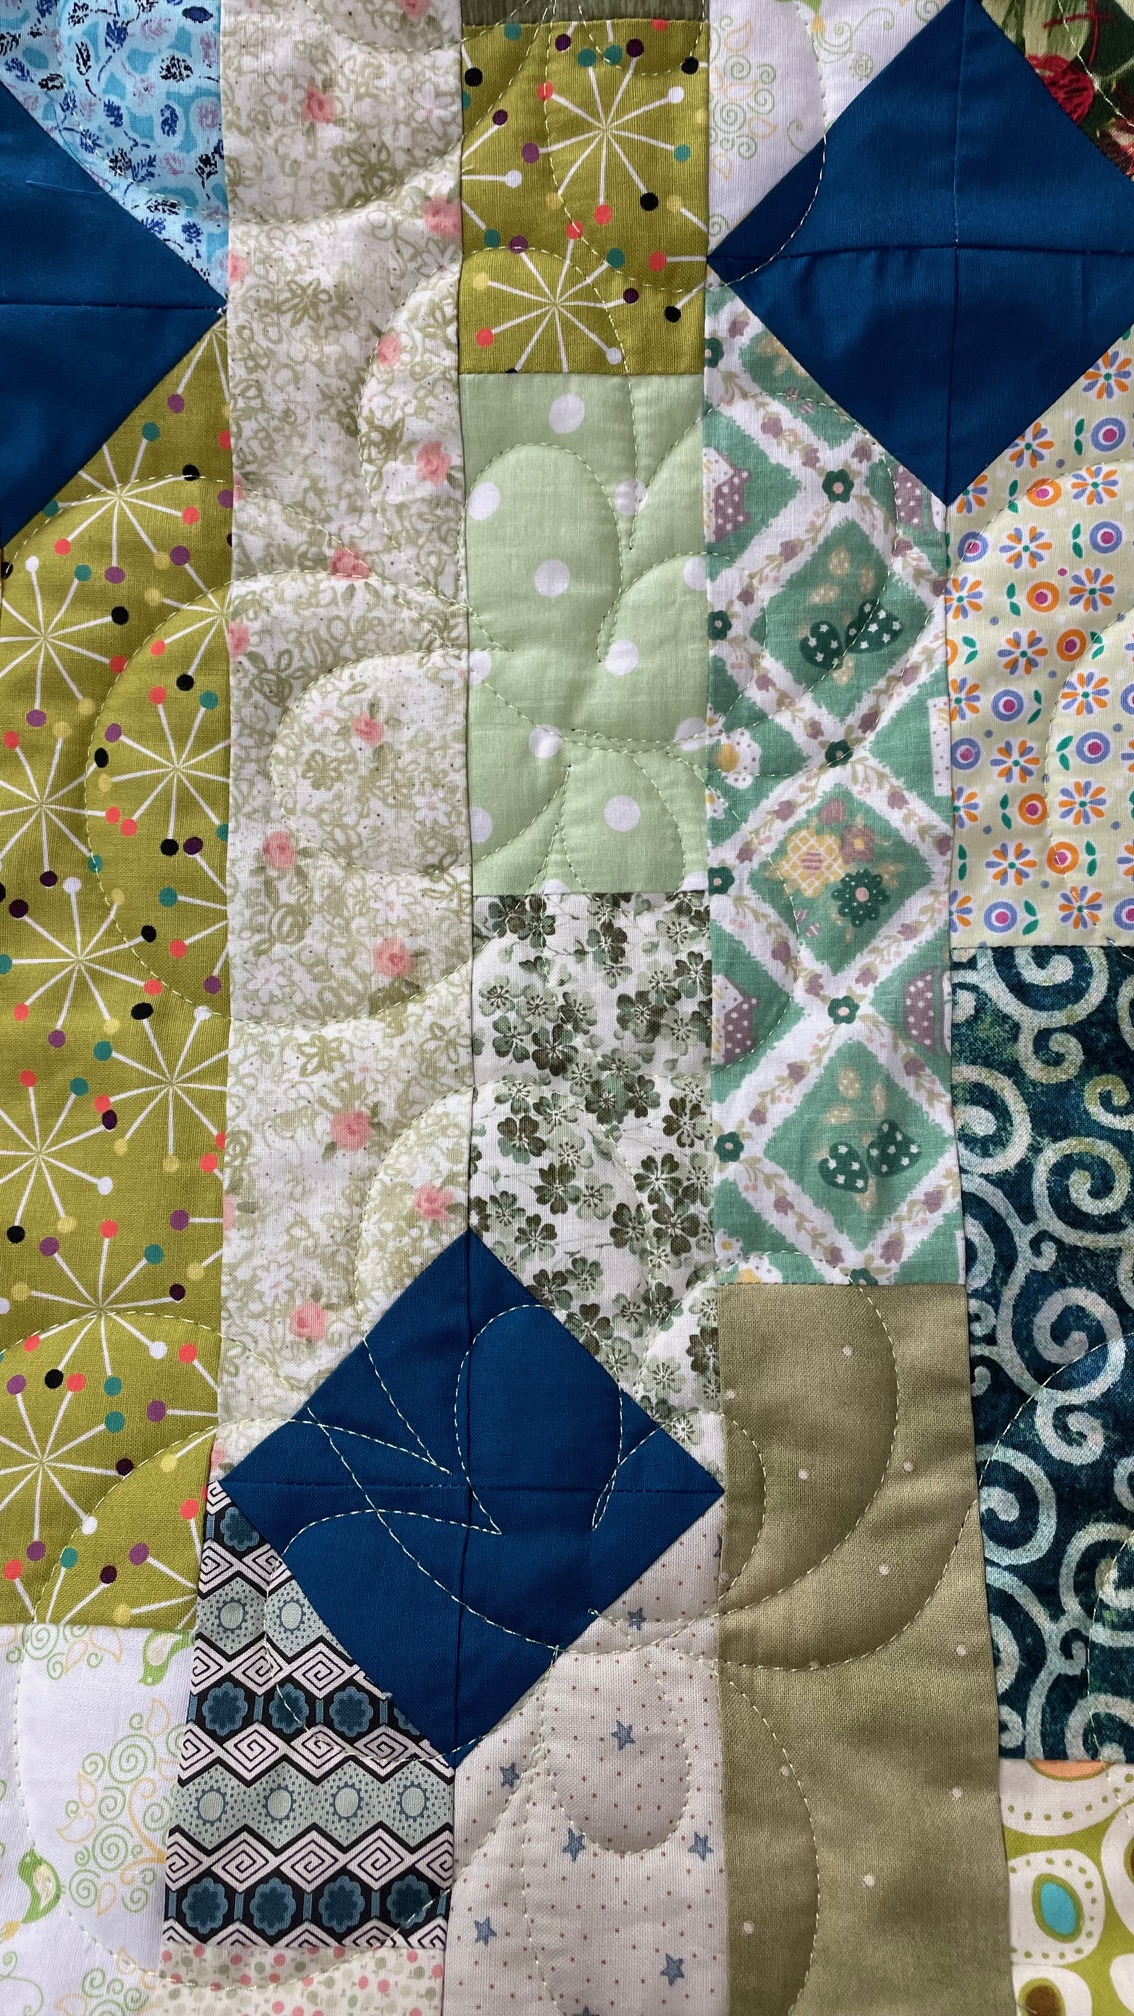
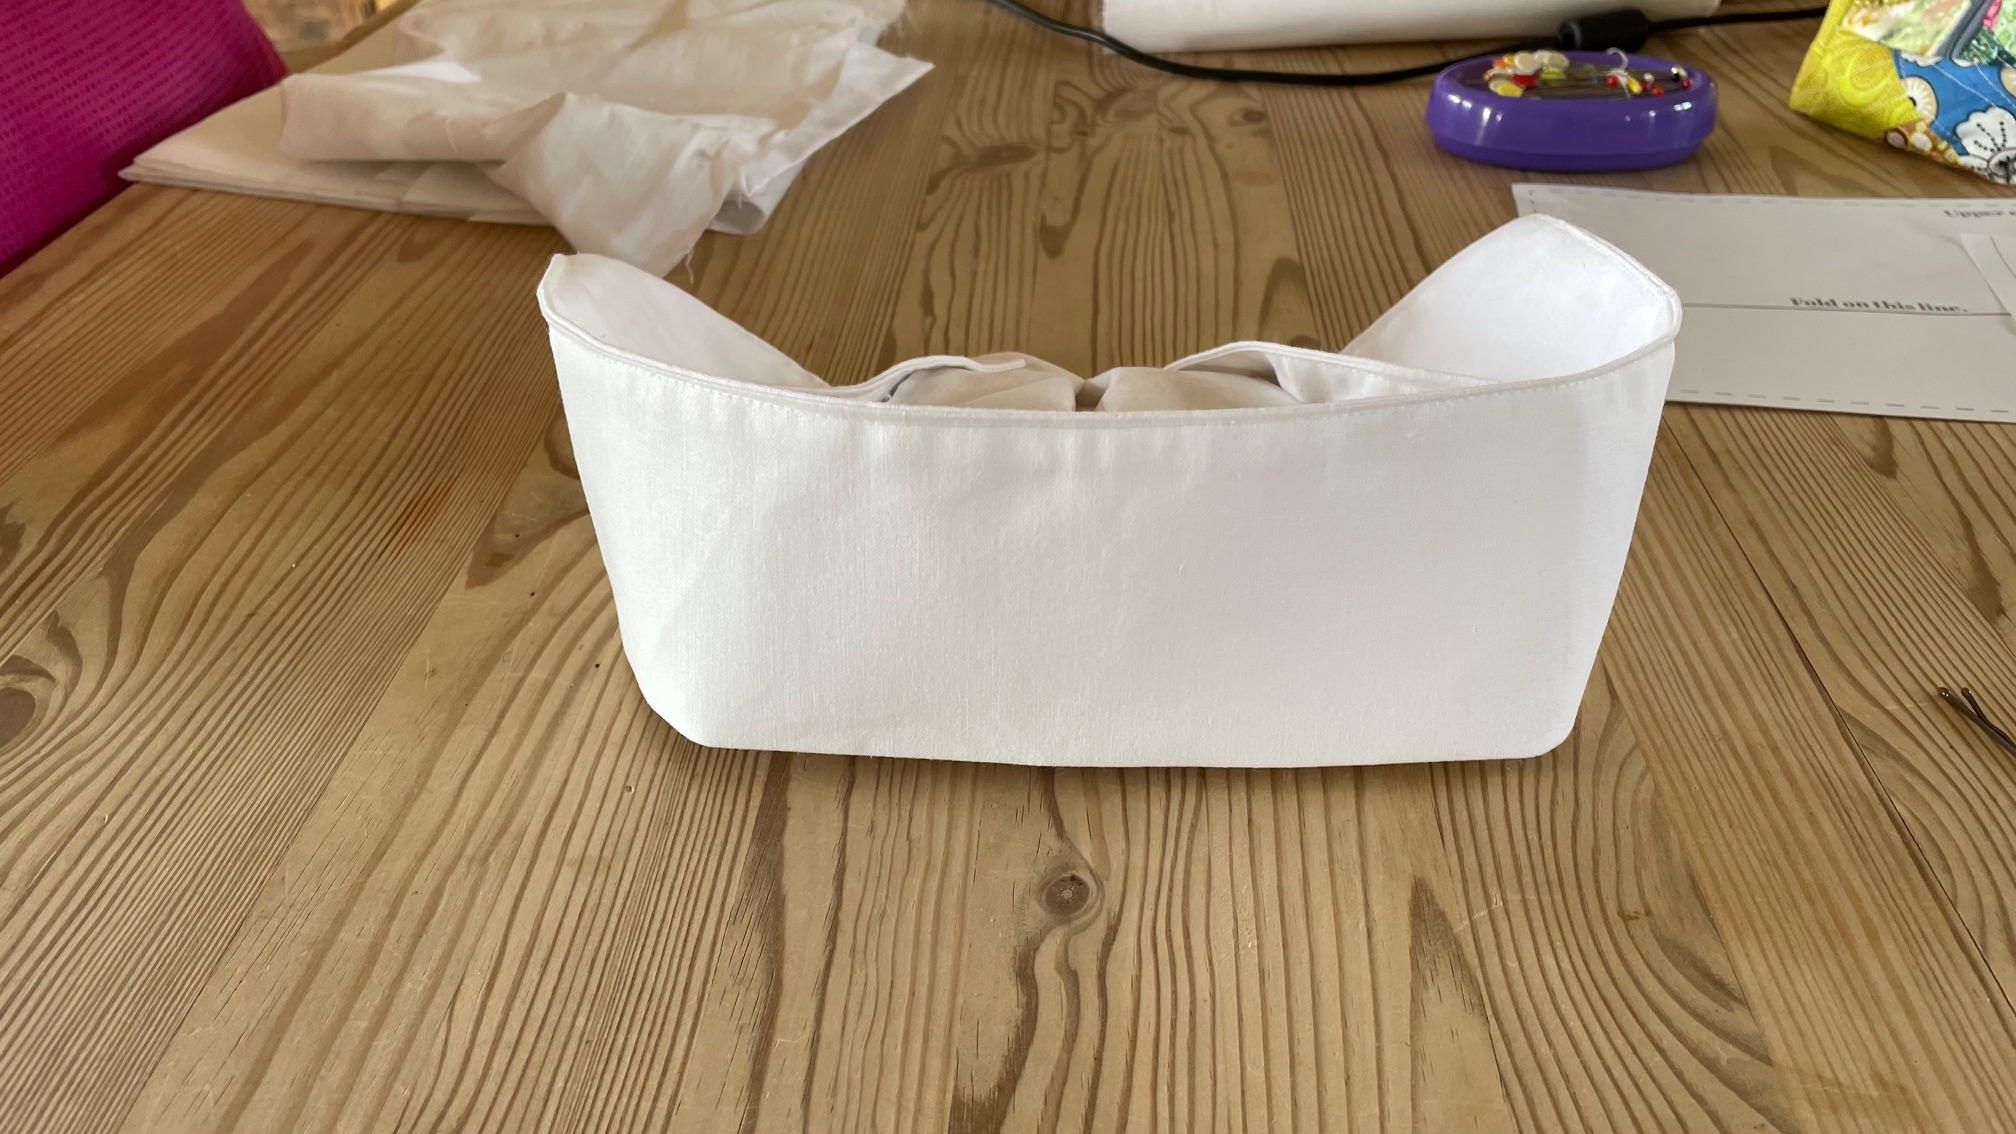
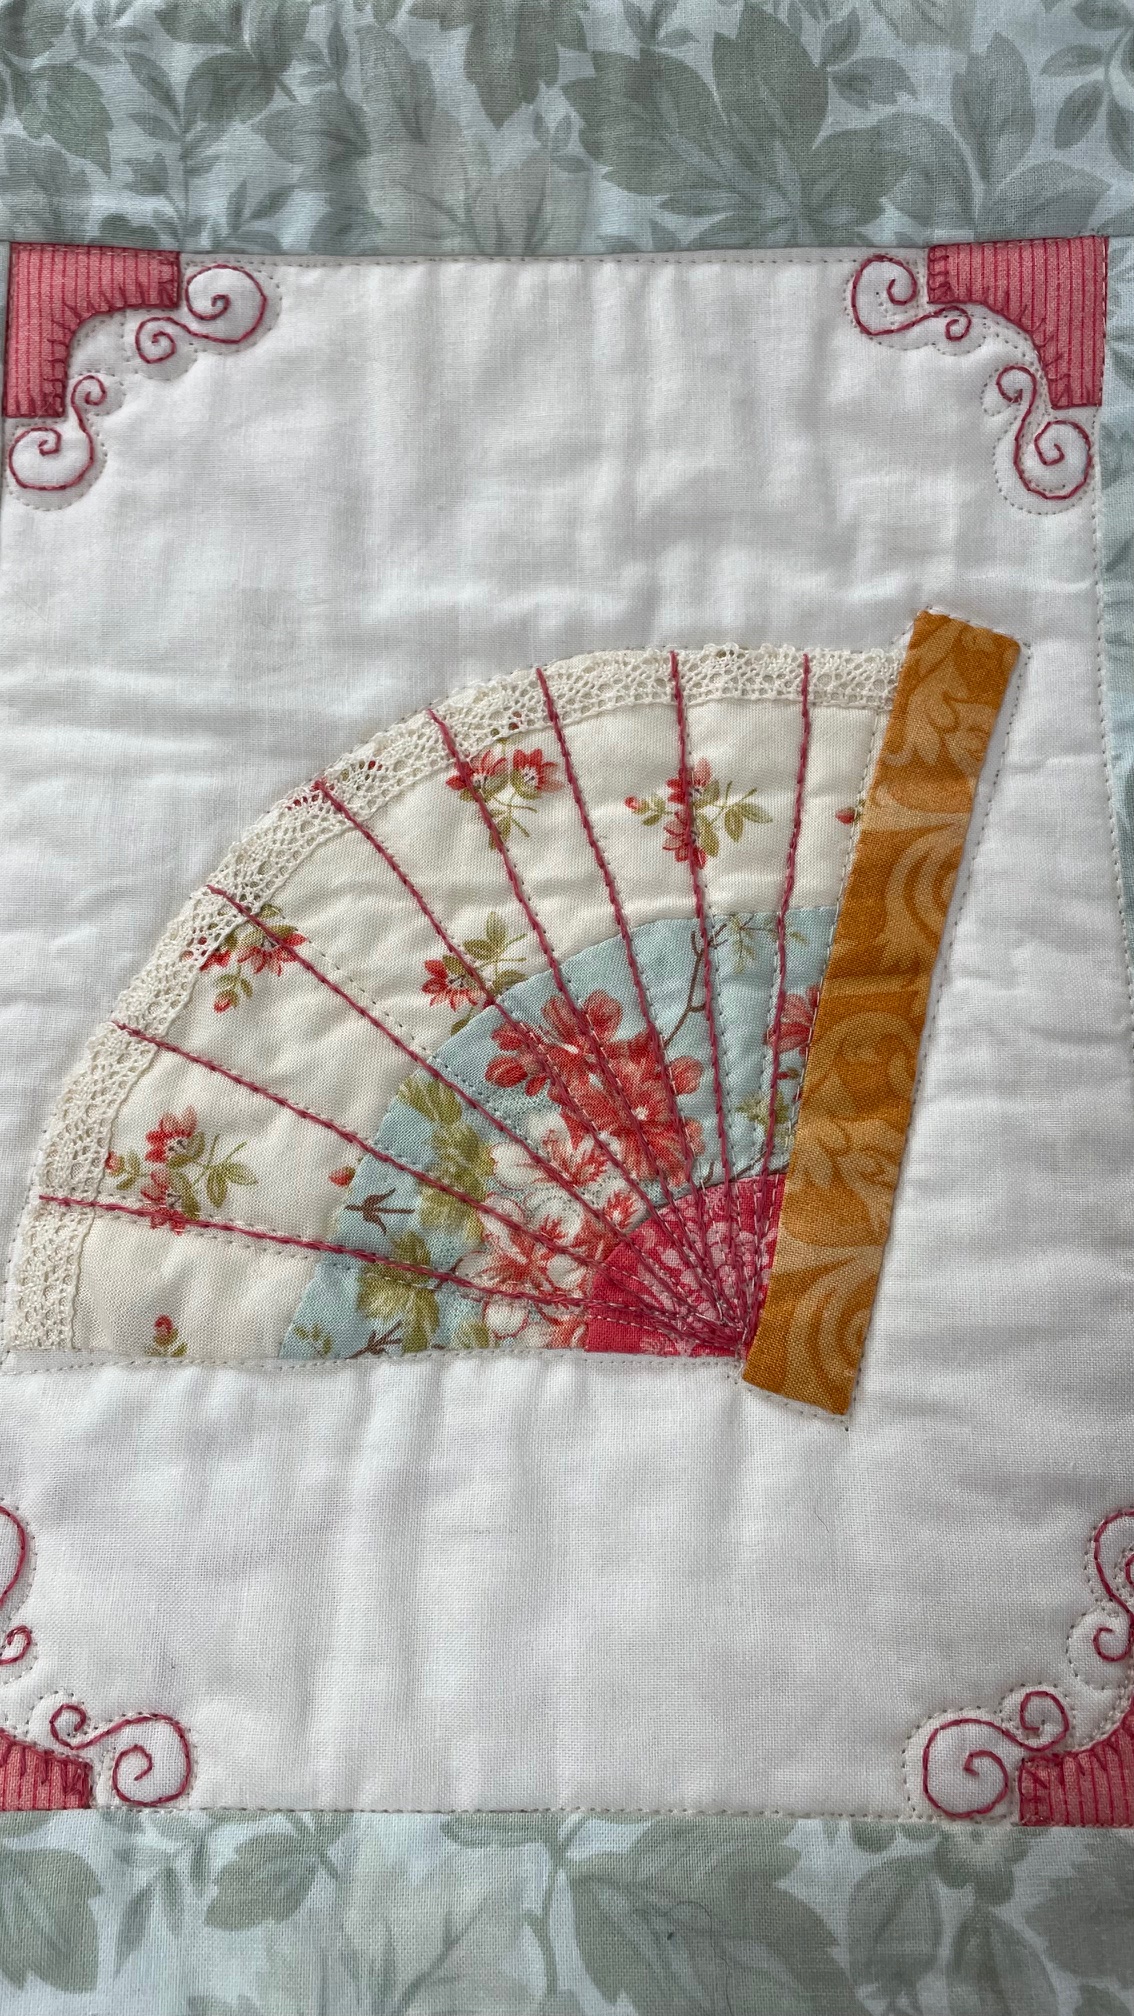
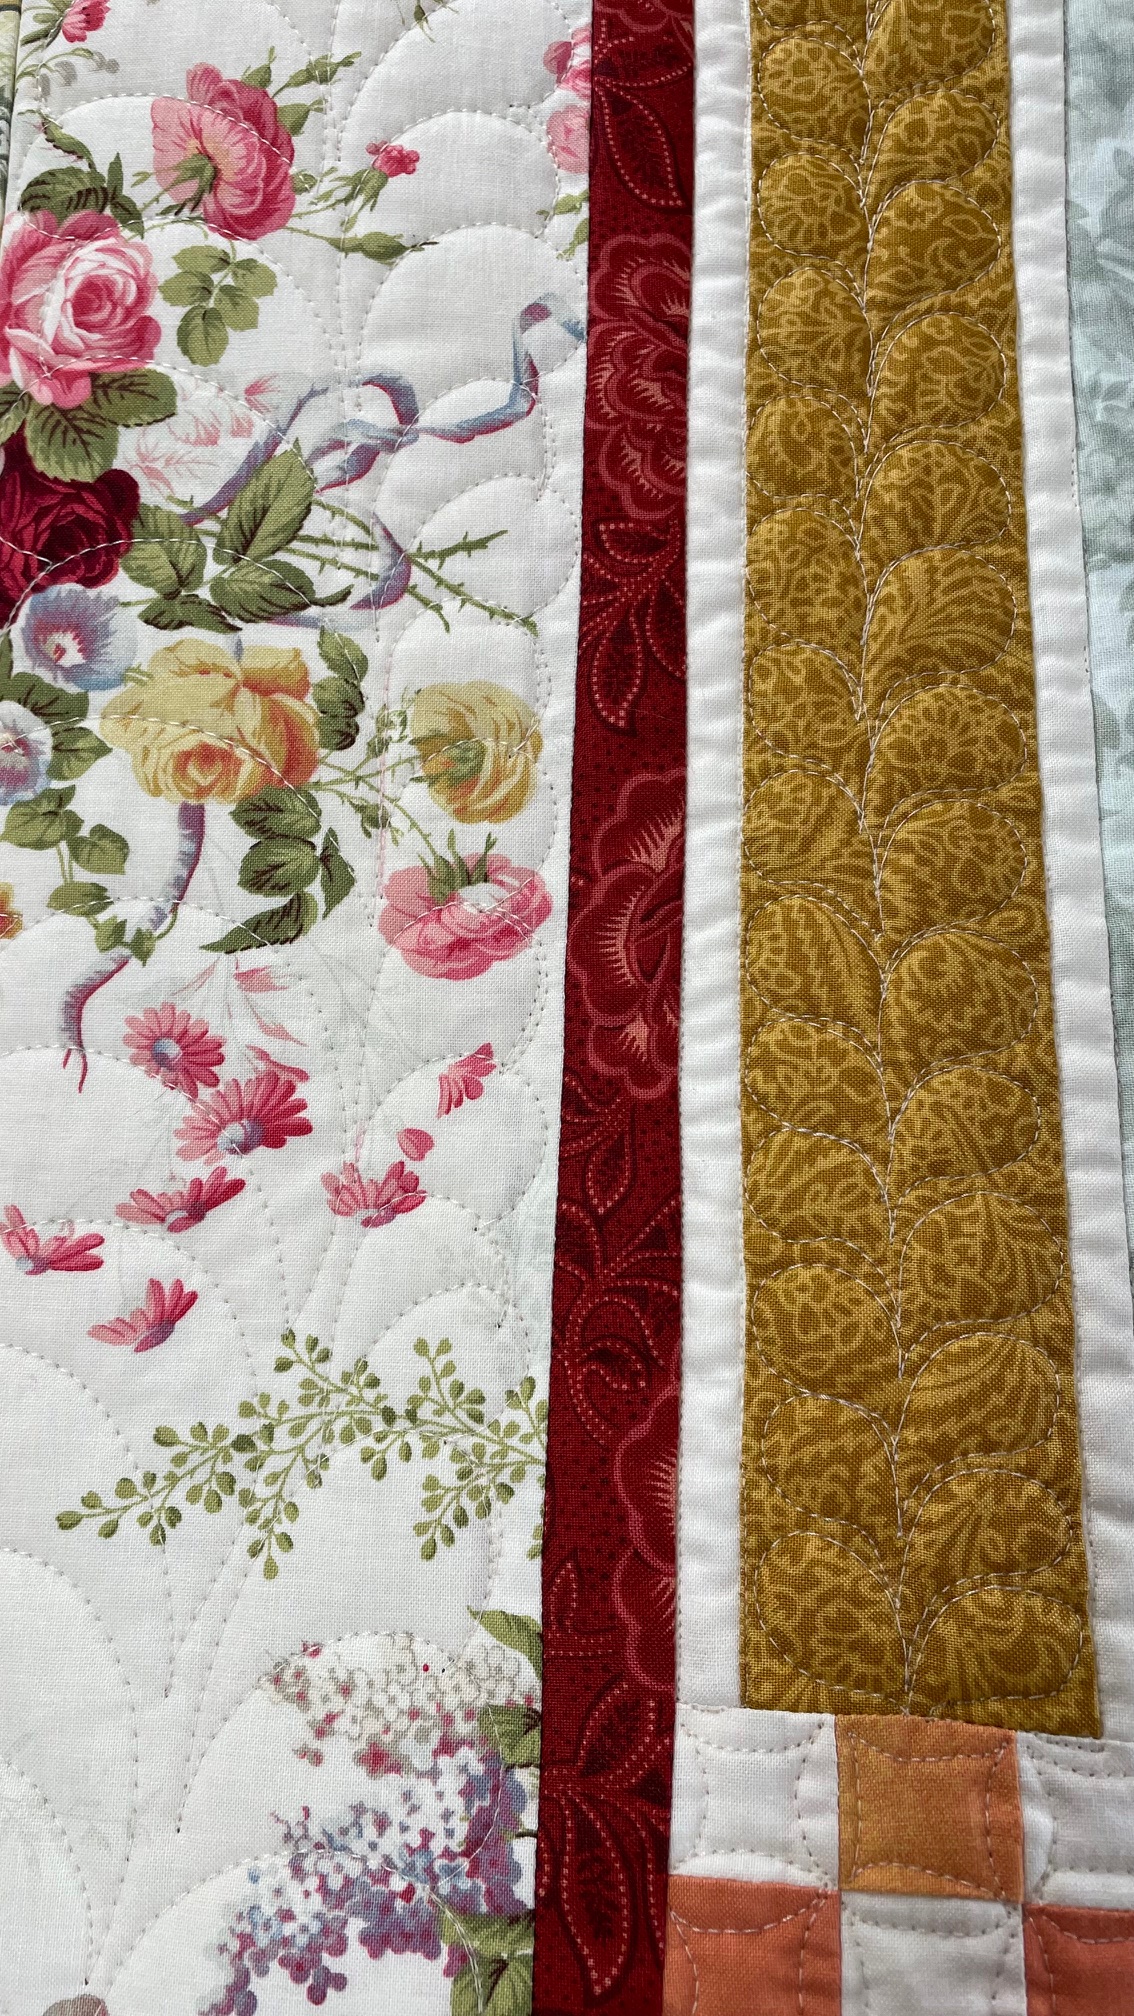
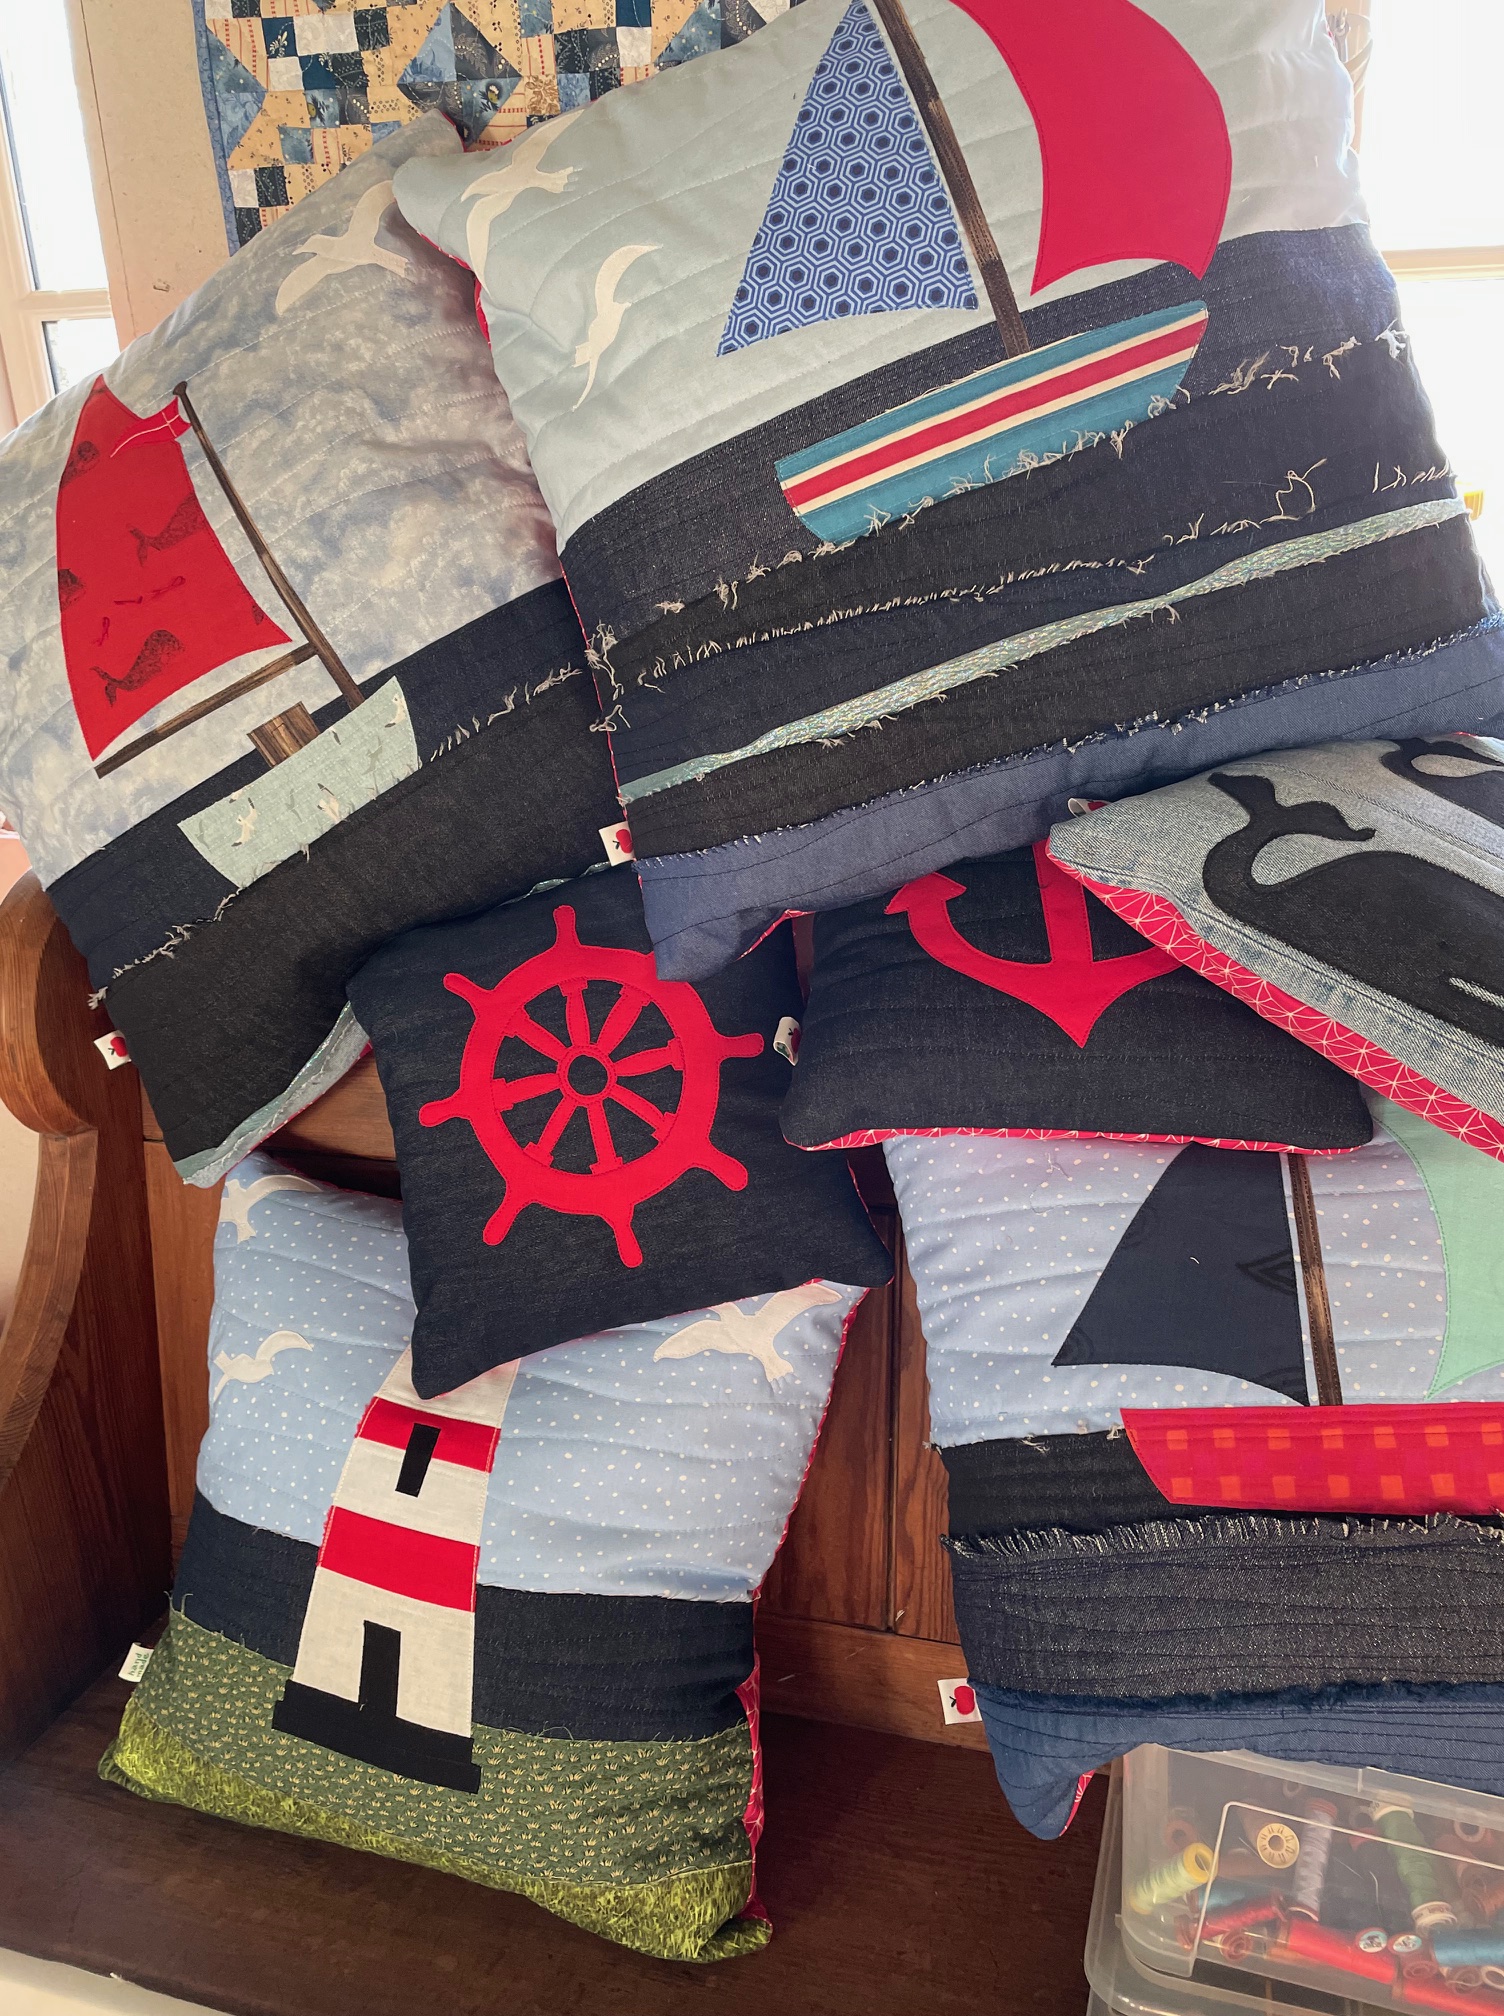
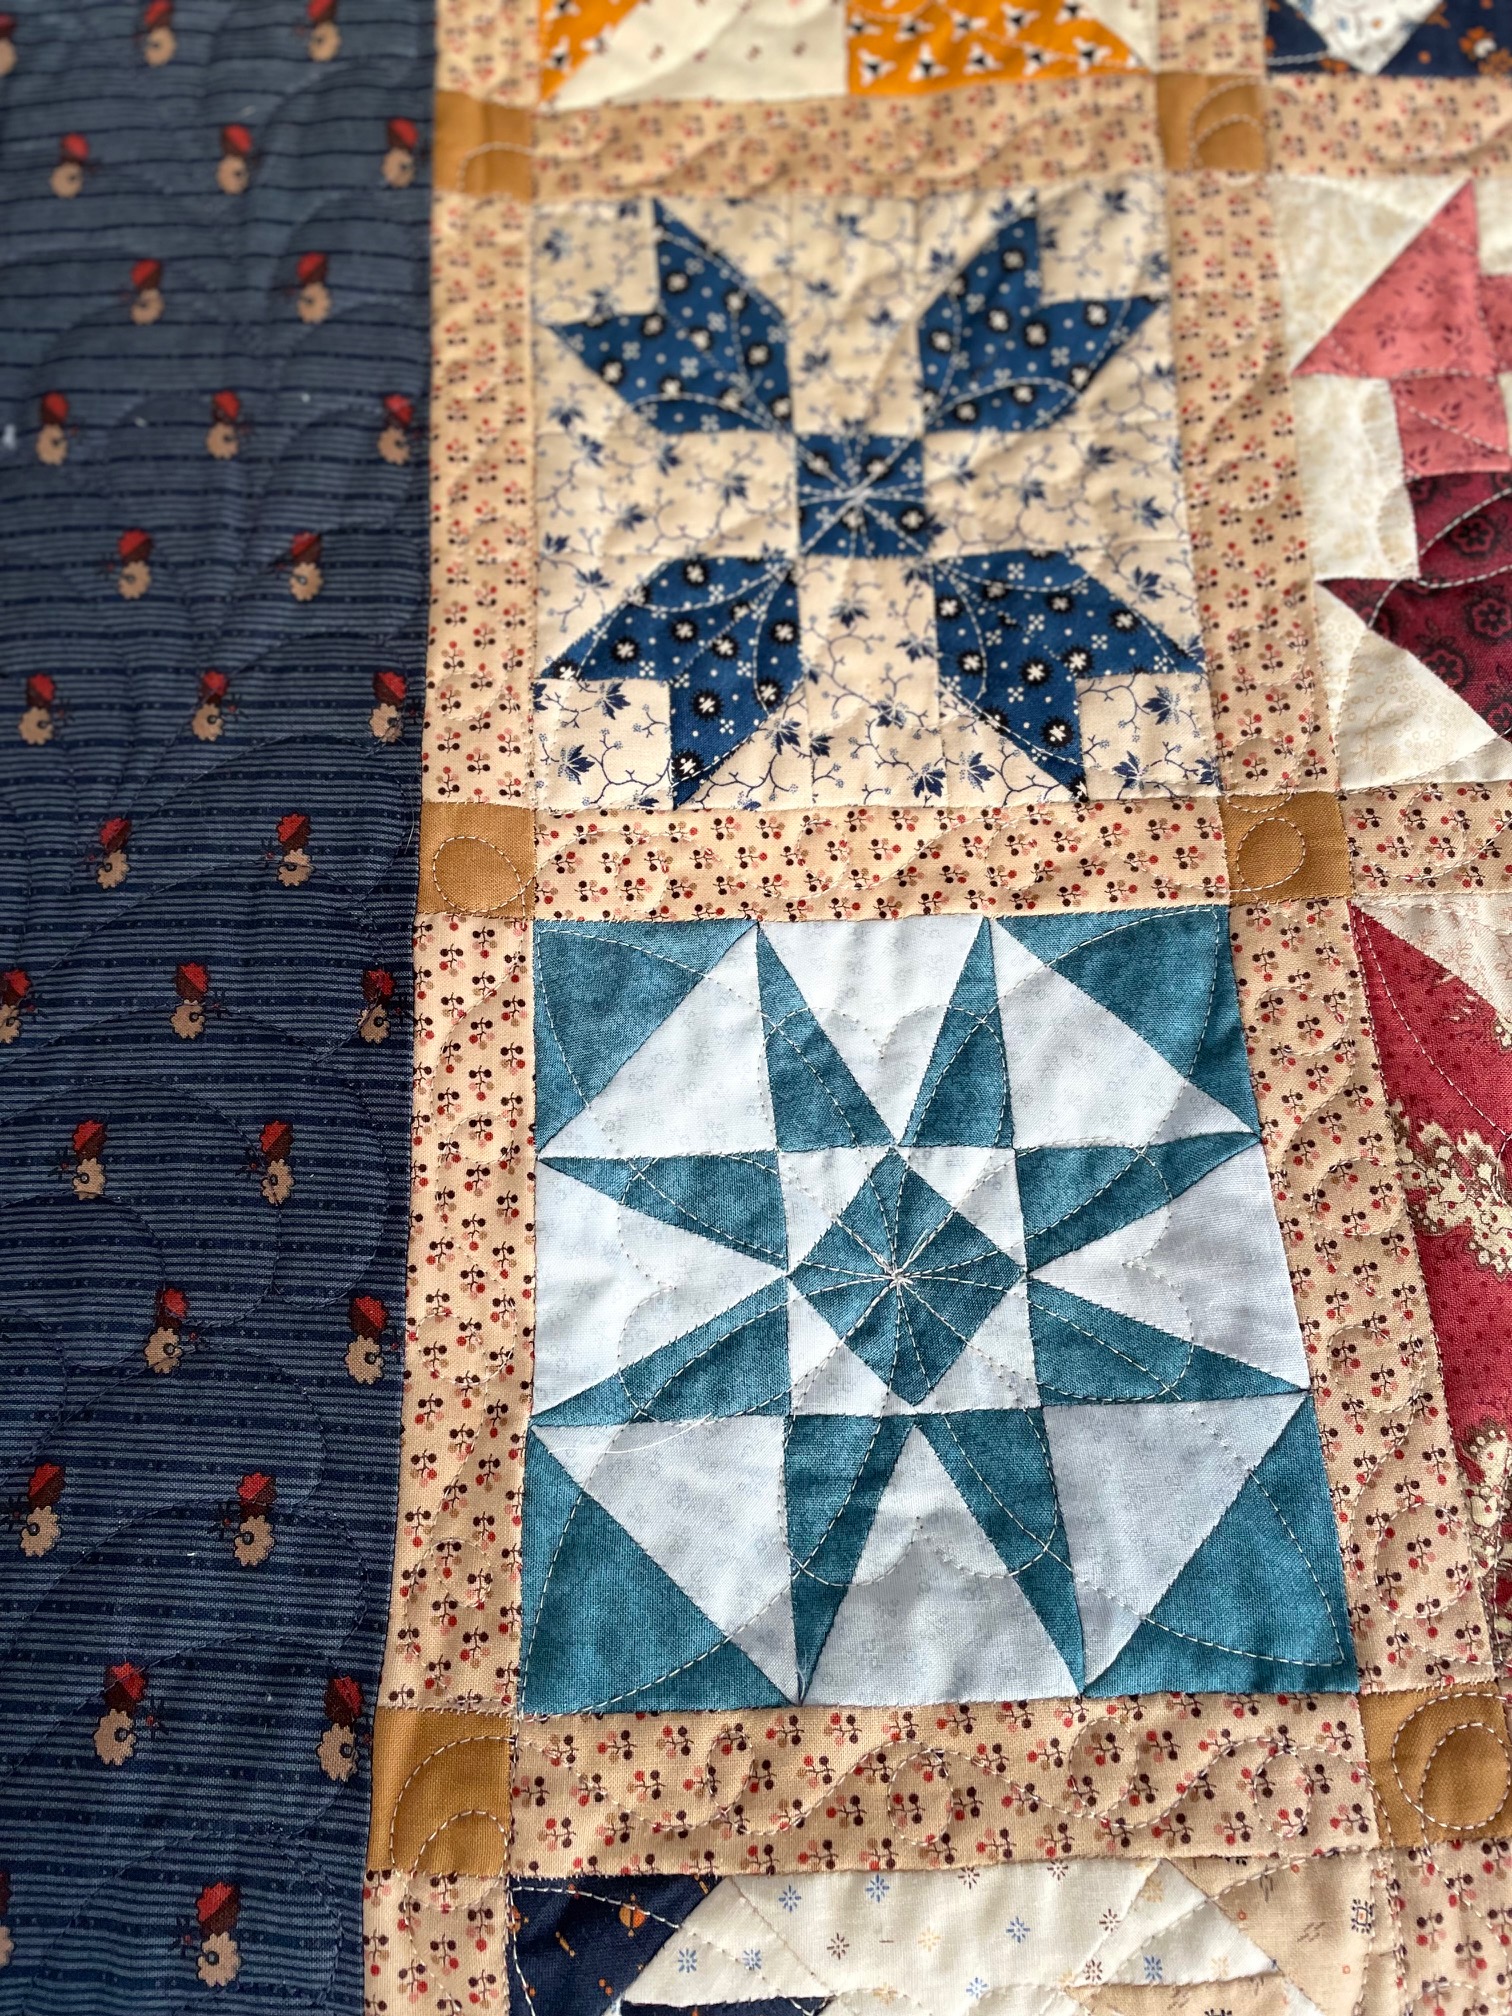
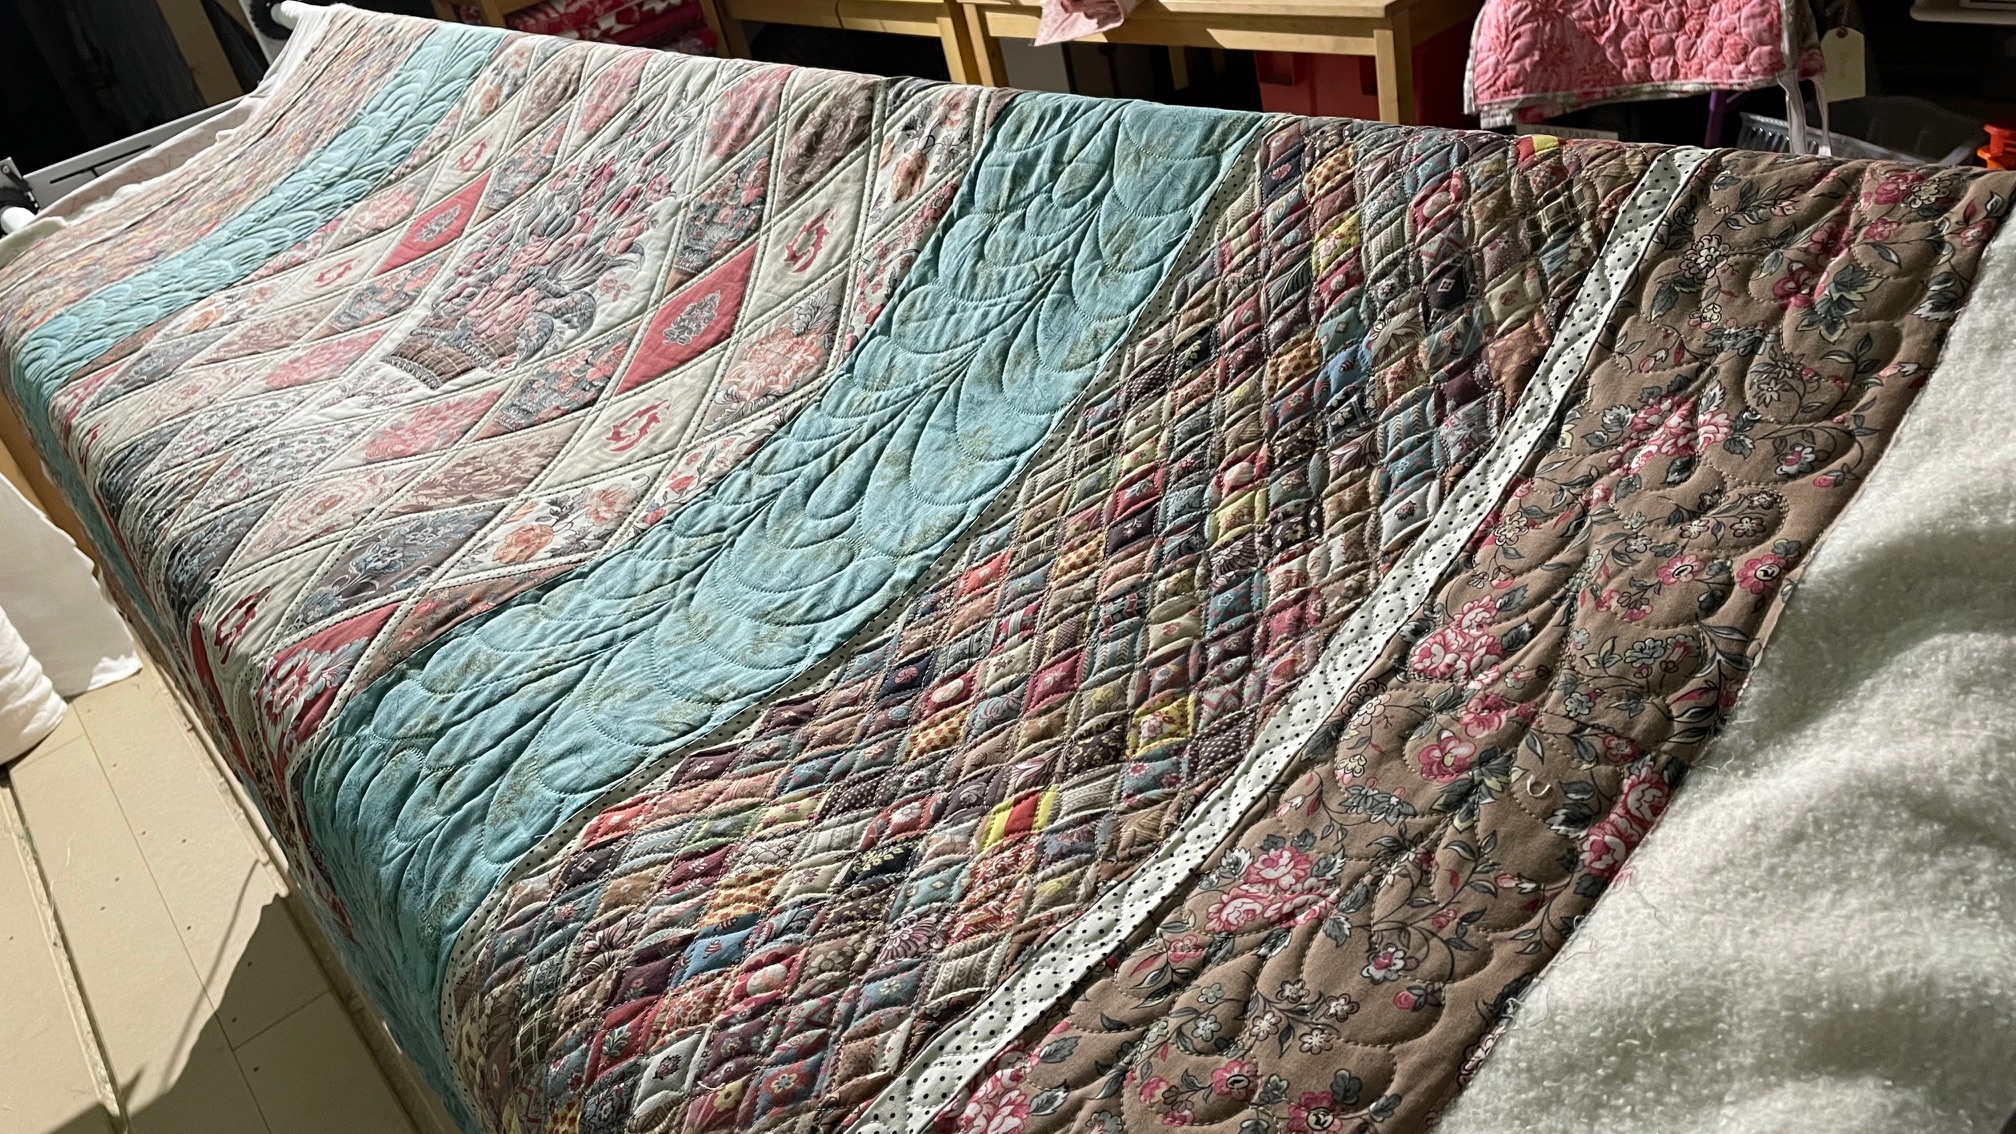
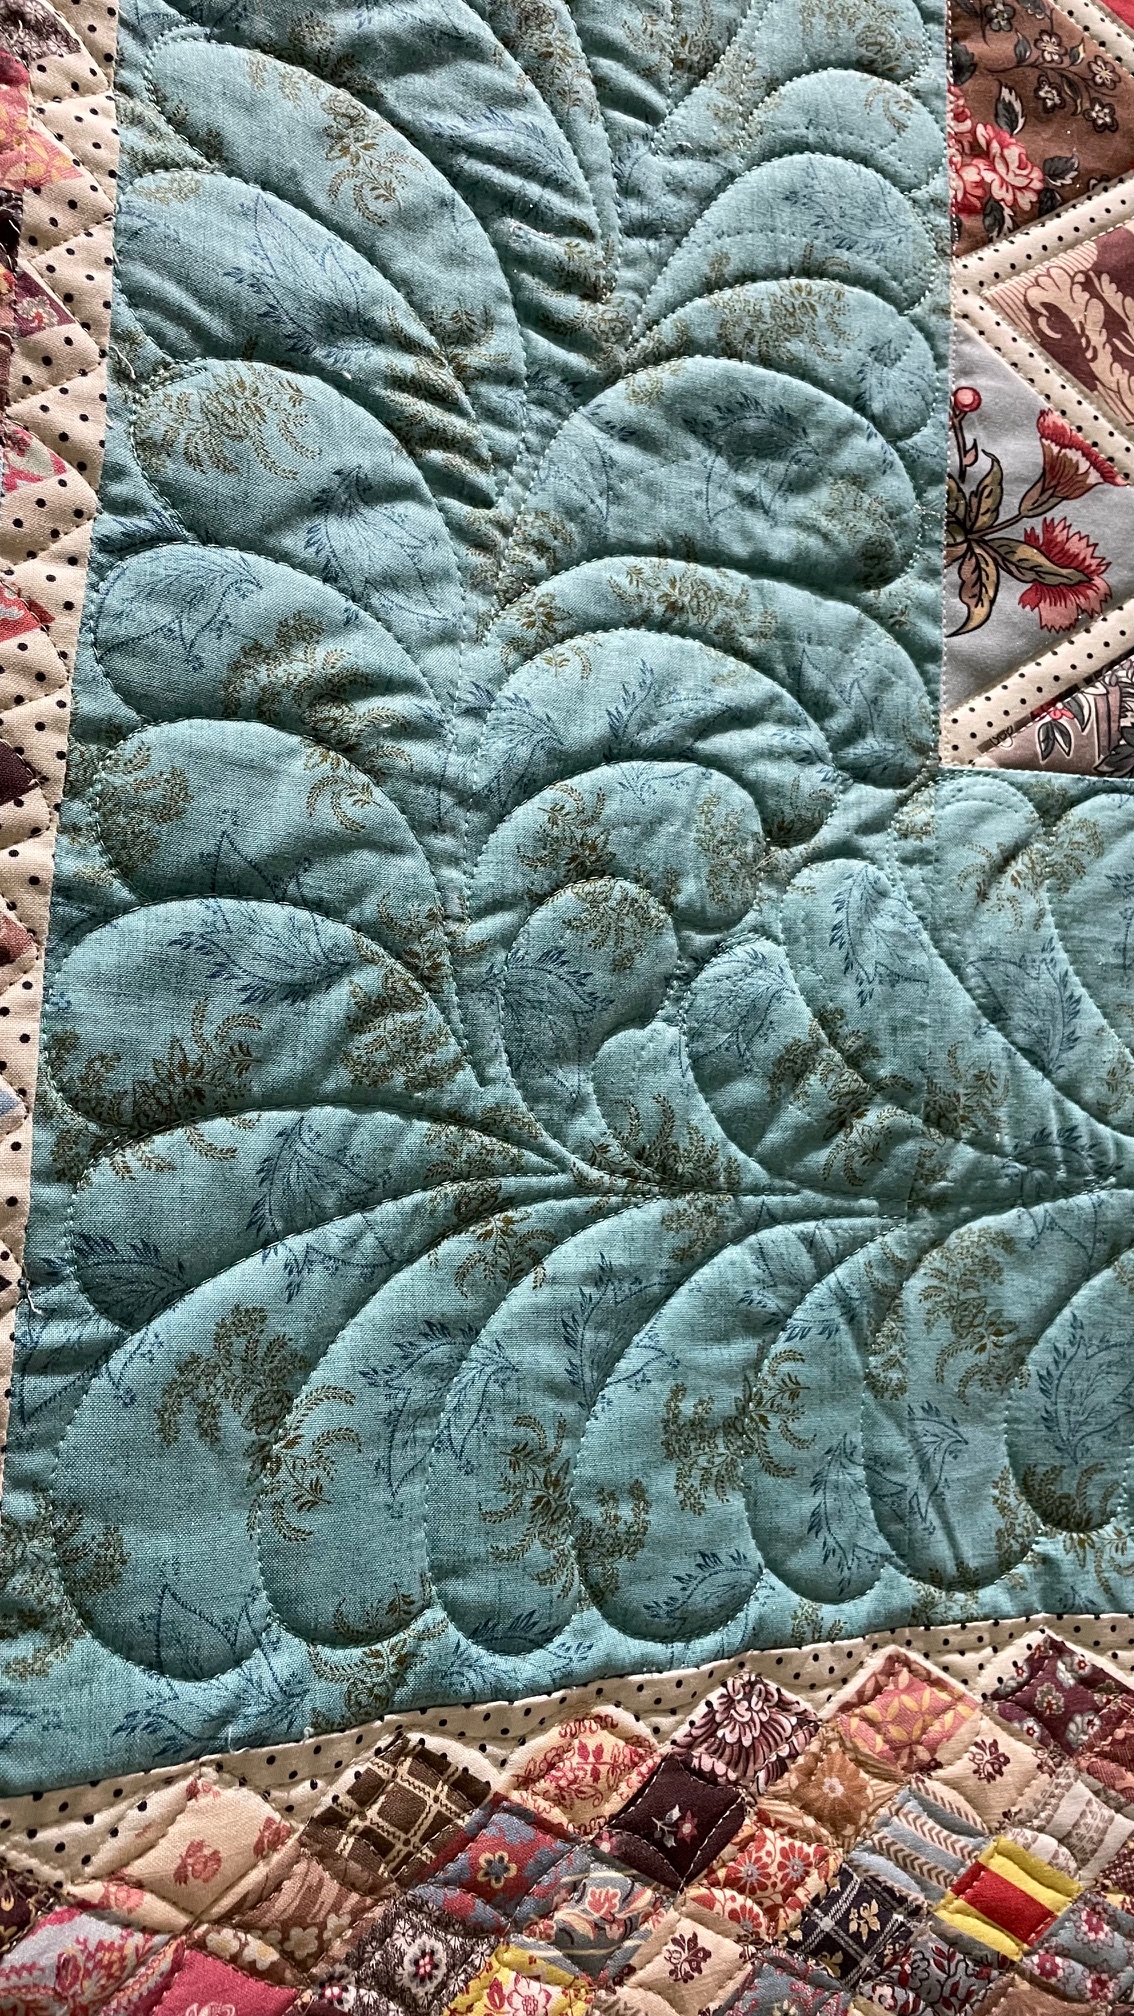
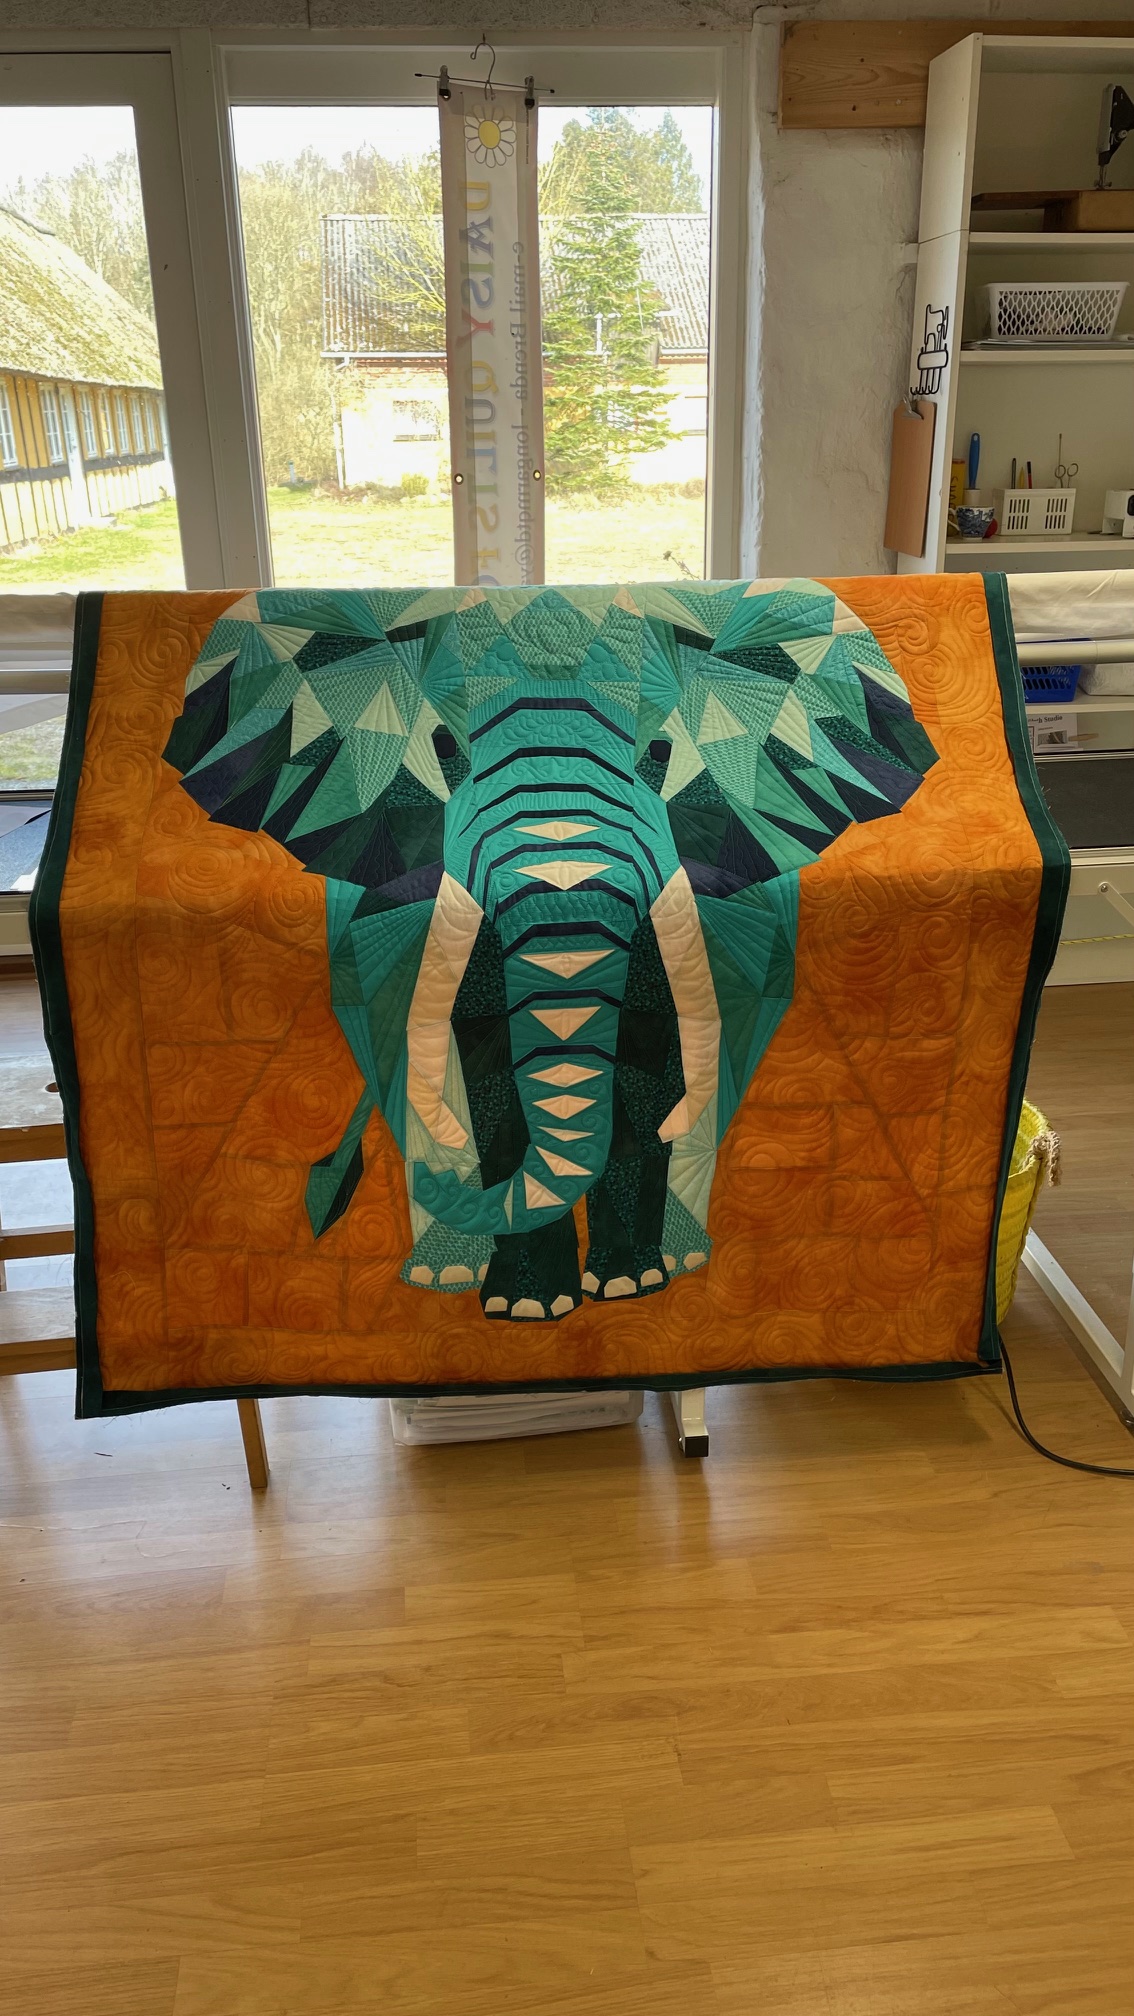
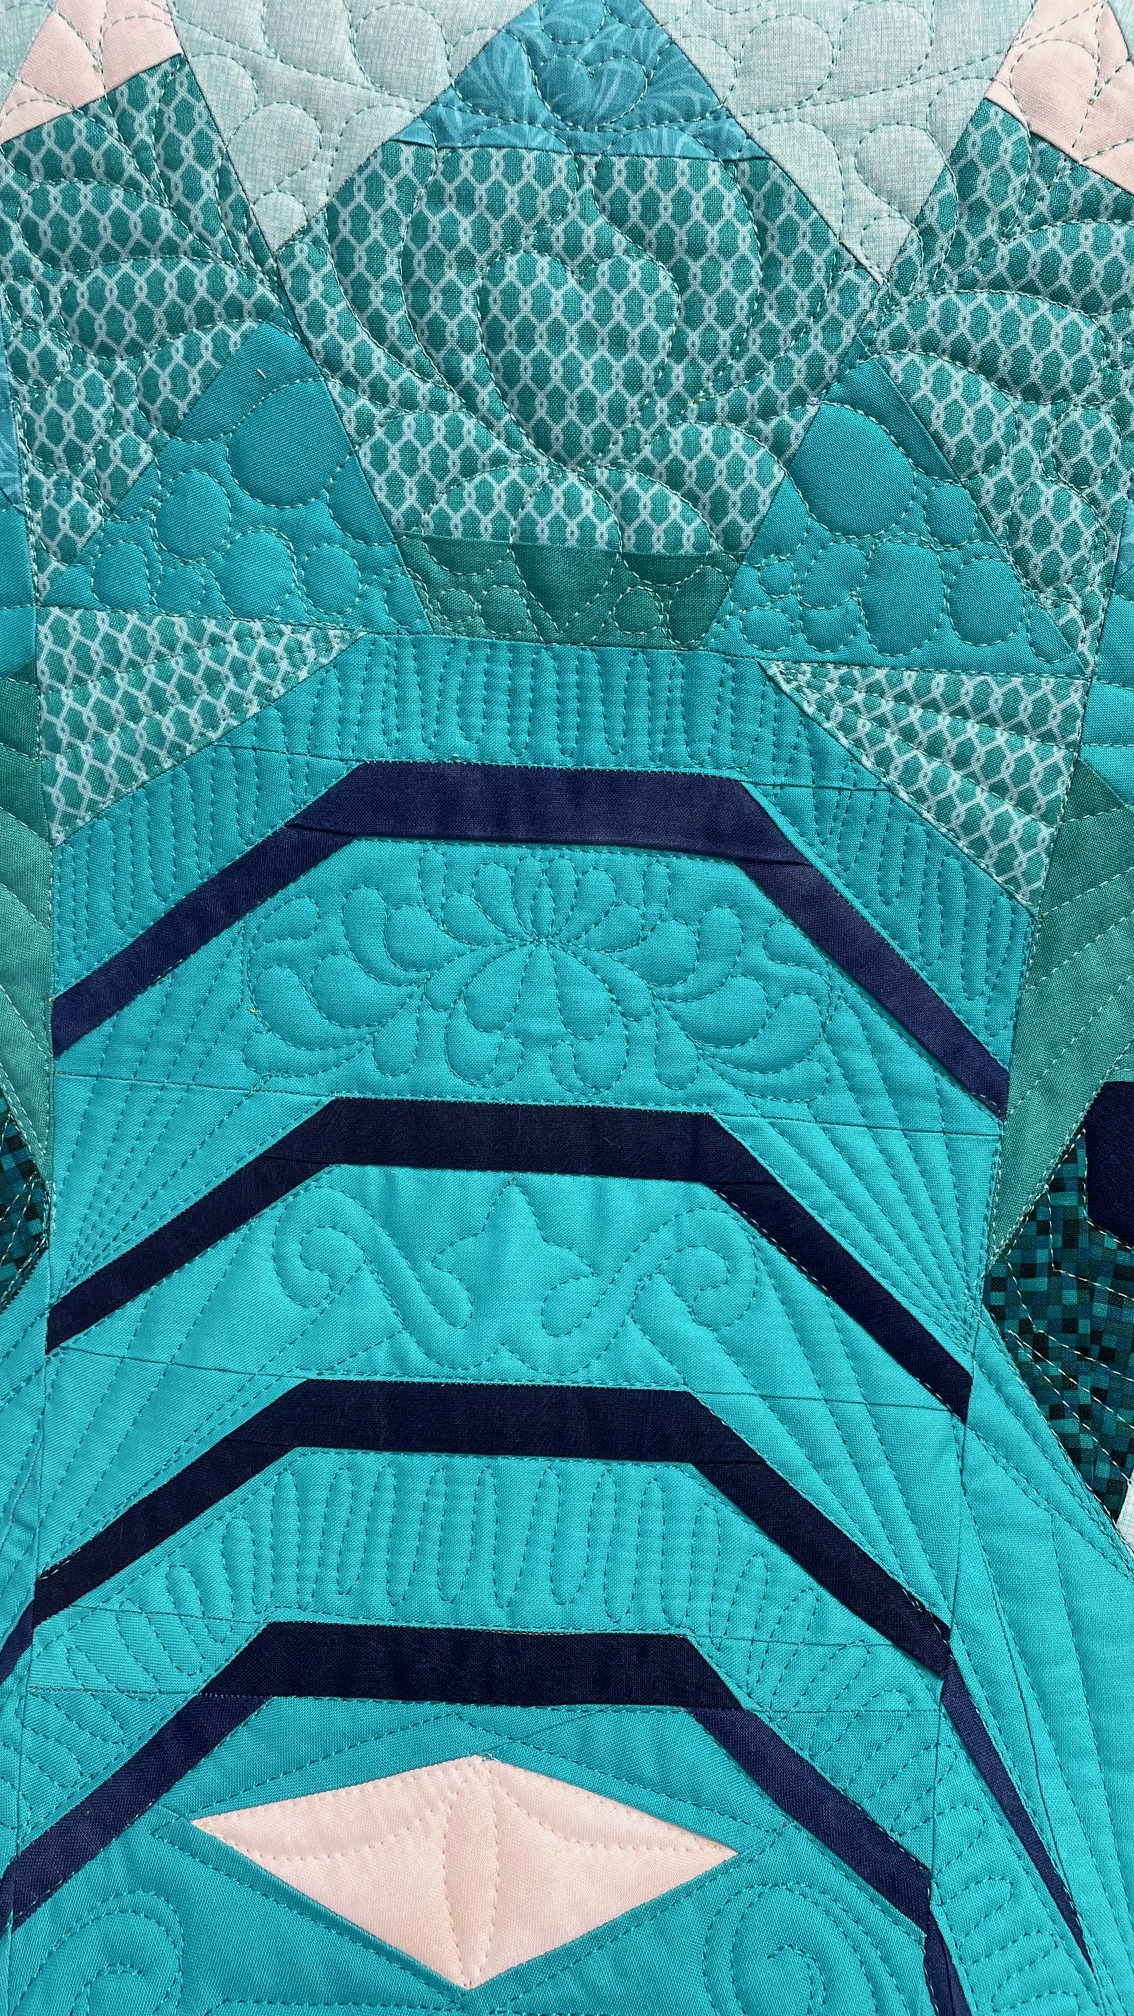
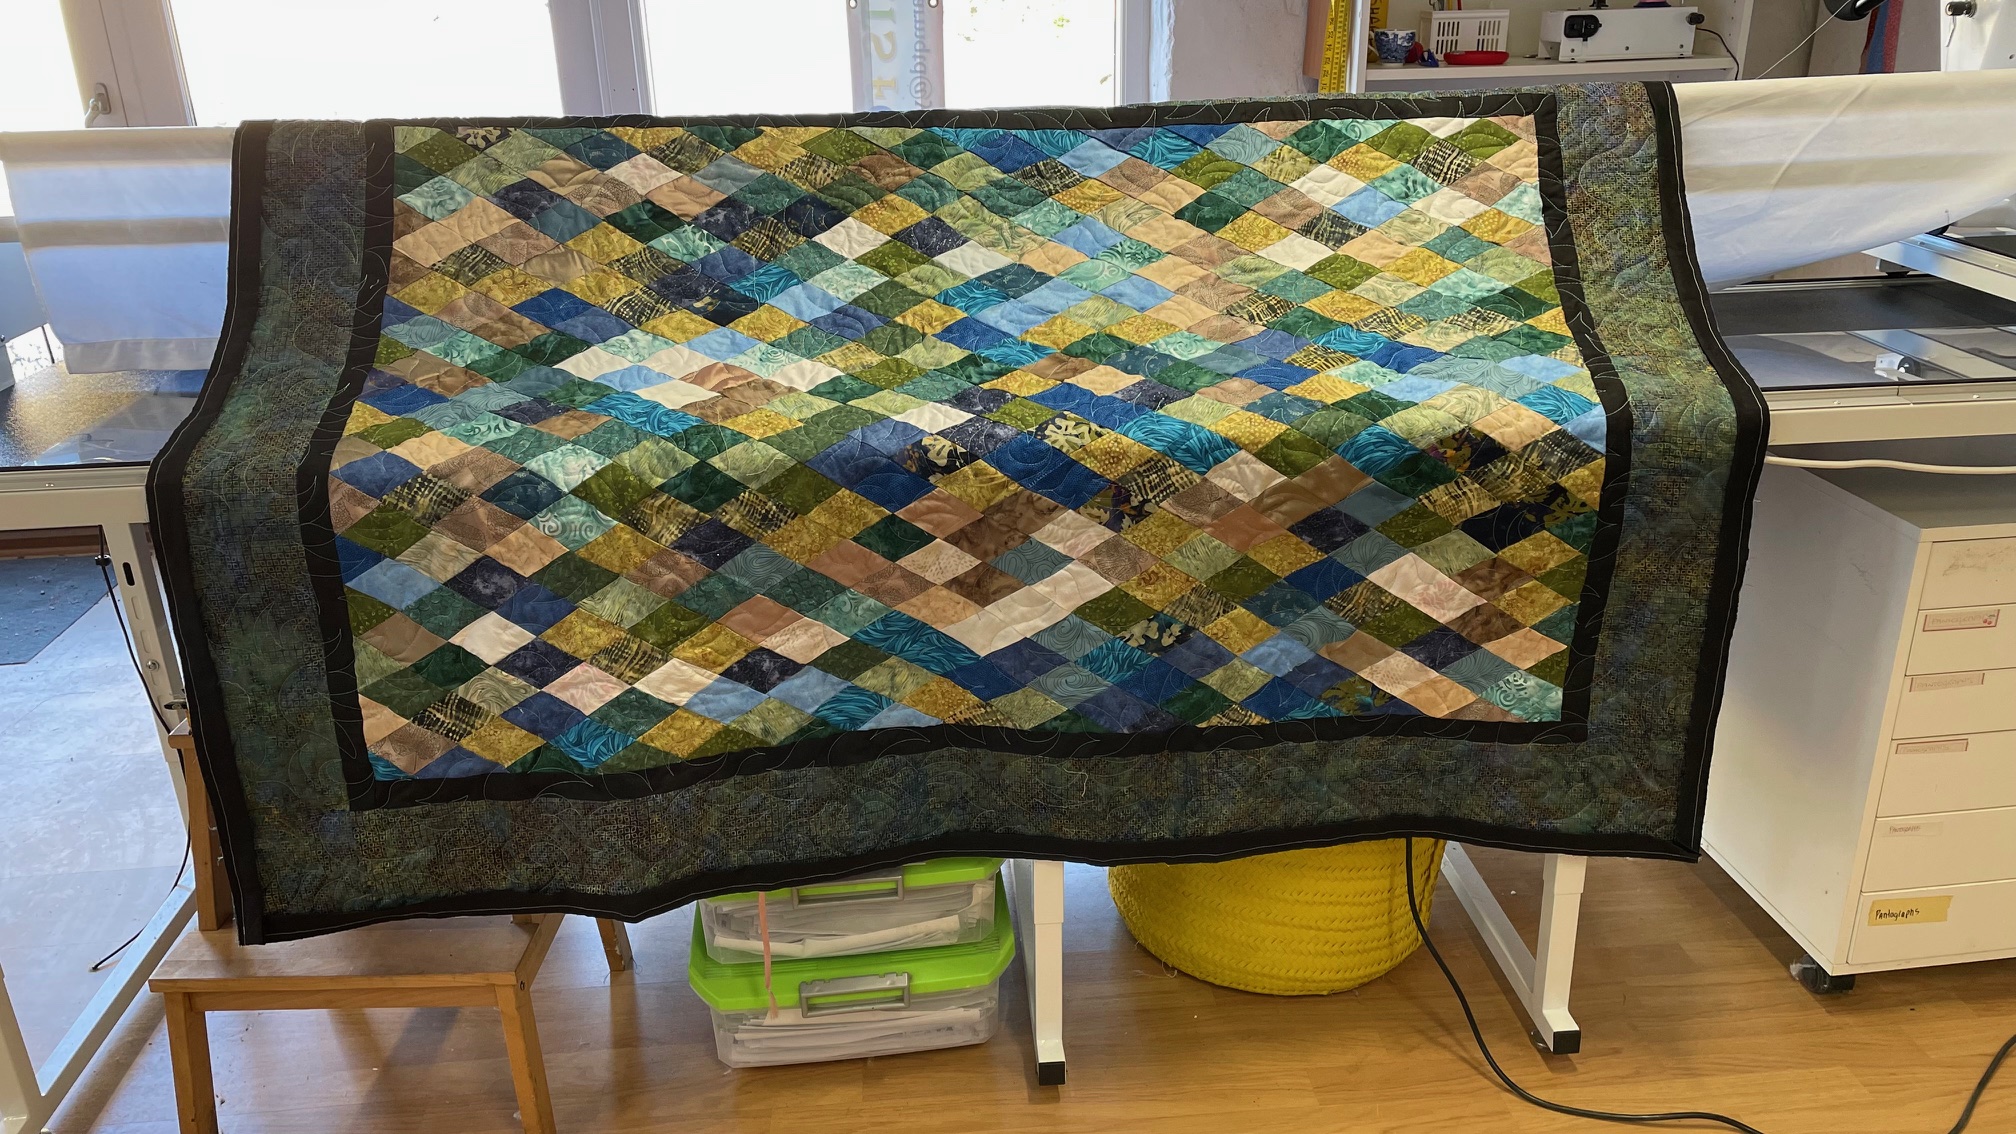
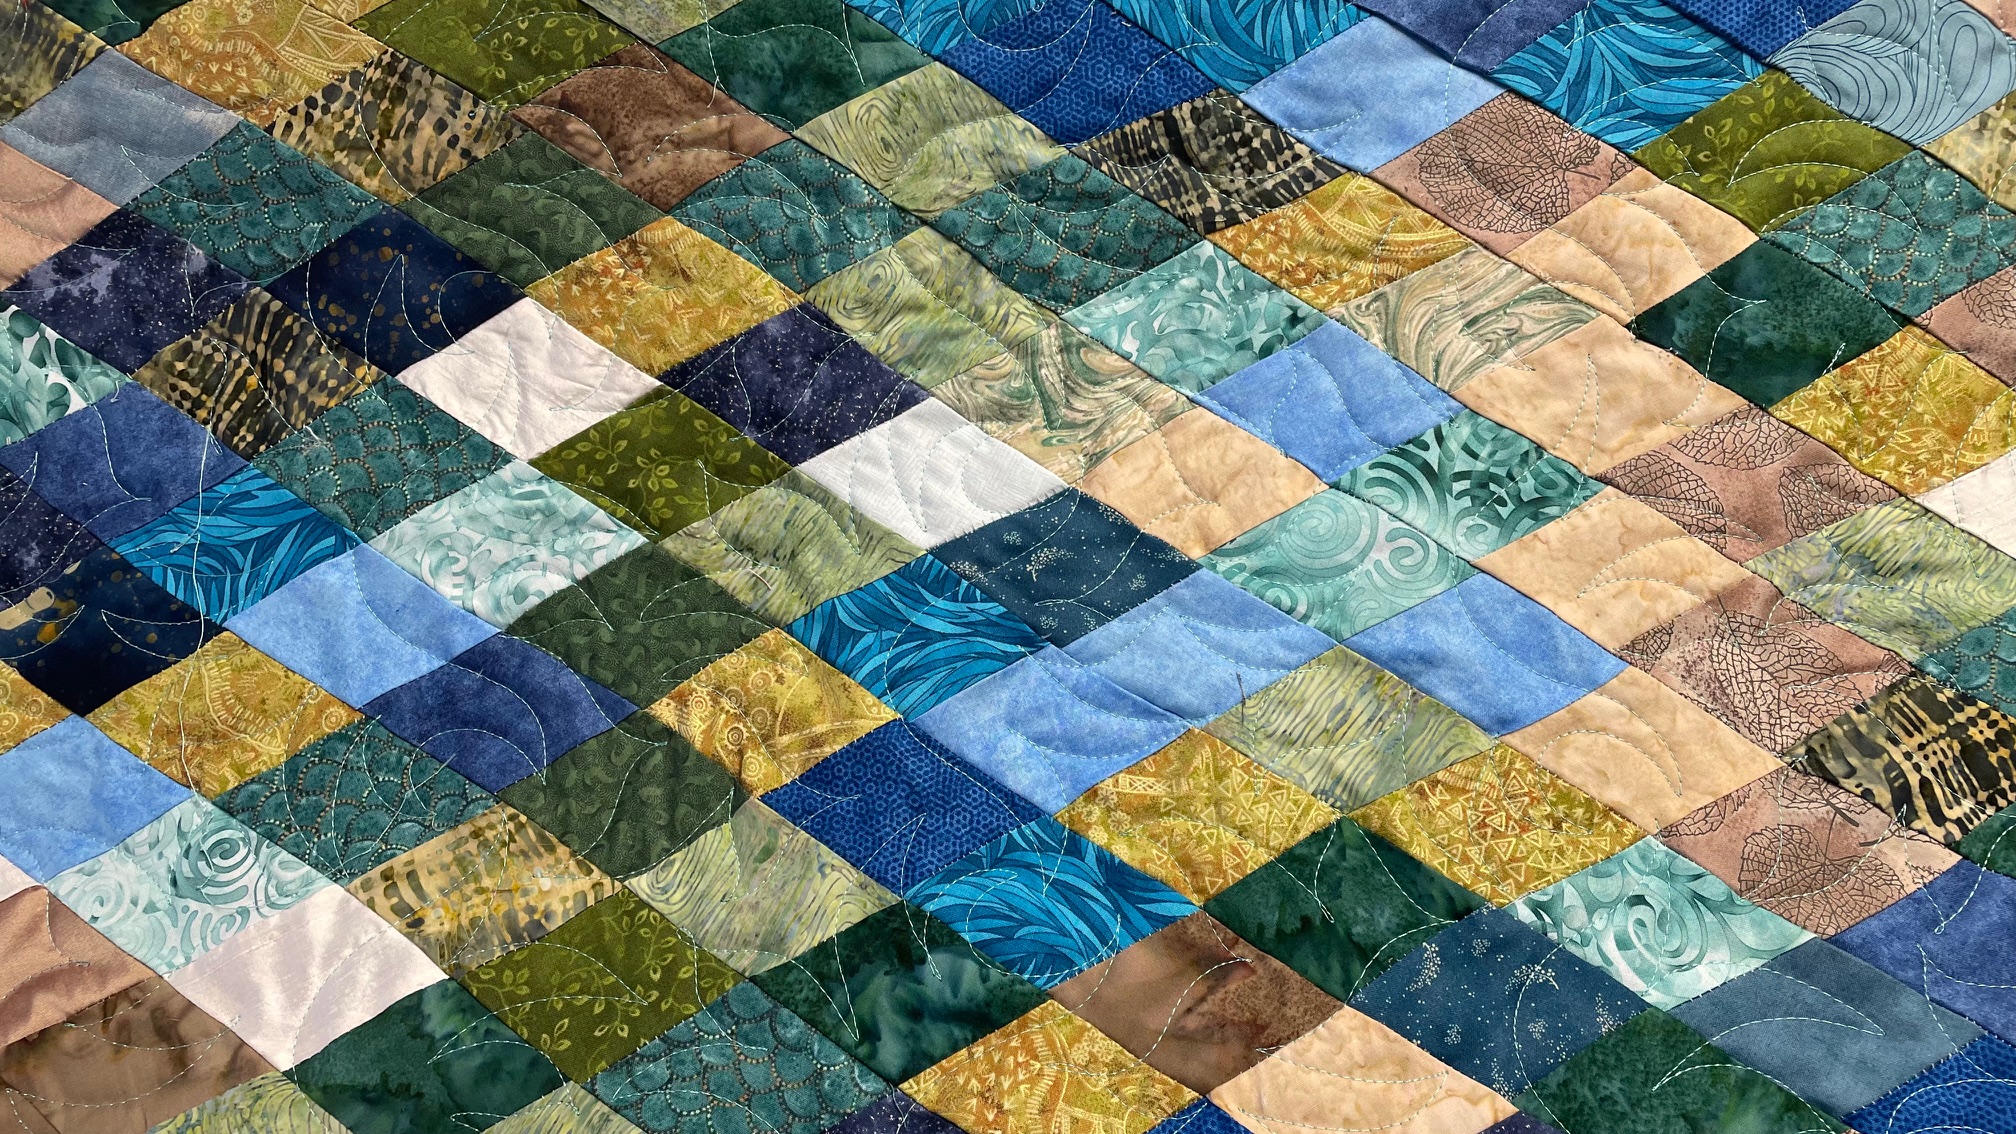
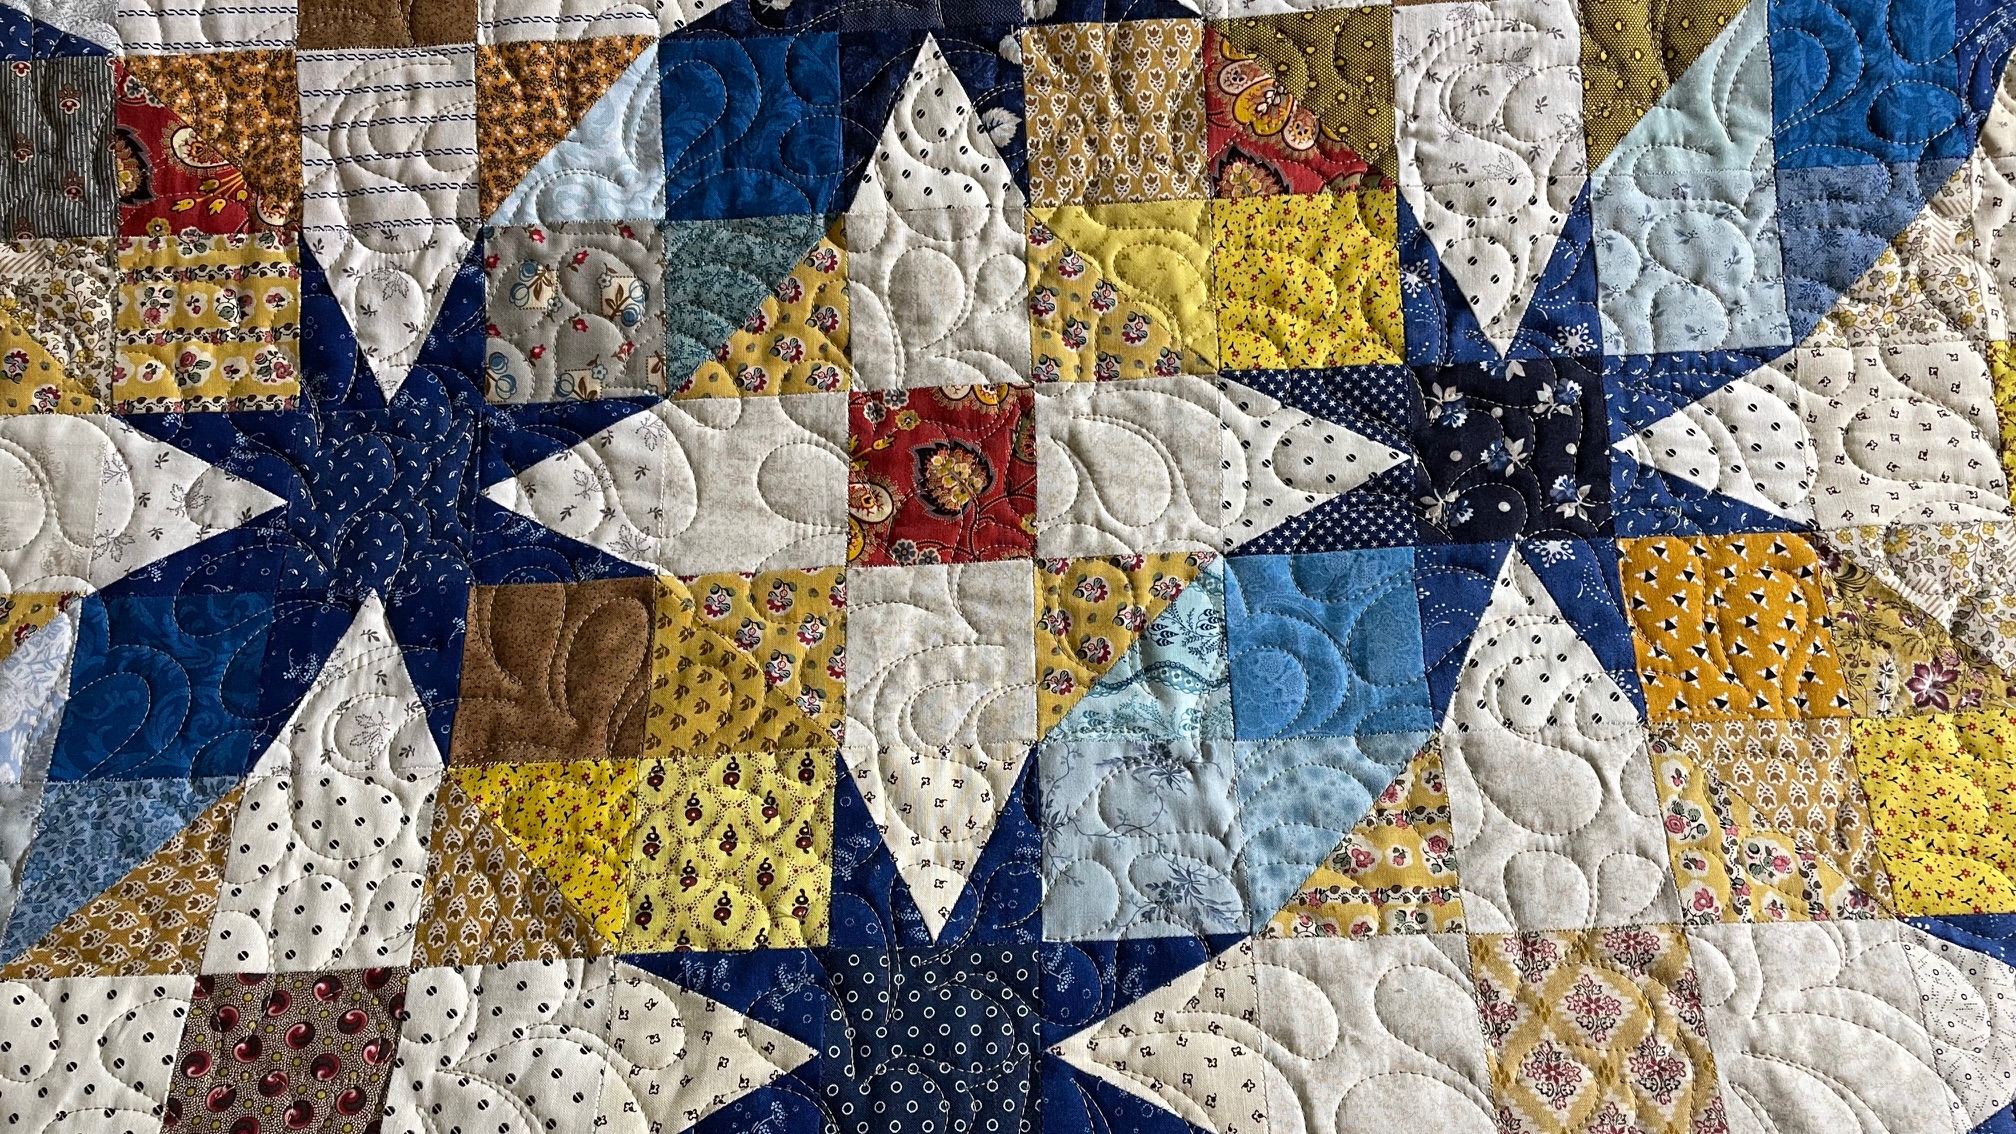
Vintage look nurses hat.For a filmmaker.I quilted Karin’s on my small sit down machine, I’d forgotten how much I enjoyed this way of quilting.I’d forgotten how much I enjoyed this kind of quilting.I love this fan.Feathers.Bundle of pillows for the shop.100 x 6.5” blocks!A gorgeous quilt.I like the back too.2.5 x 2.5 meters!E2E quilted with a fabulous geometric design, blue thread on the top, black on the bottom.
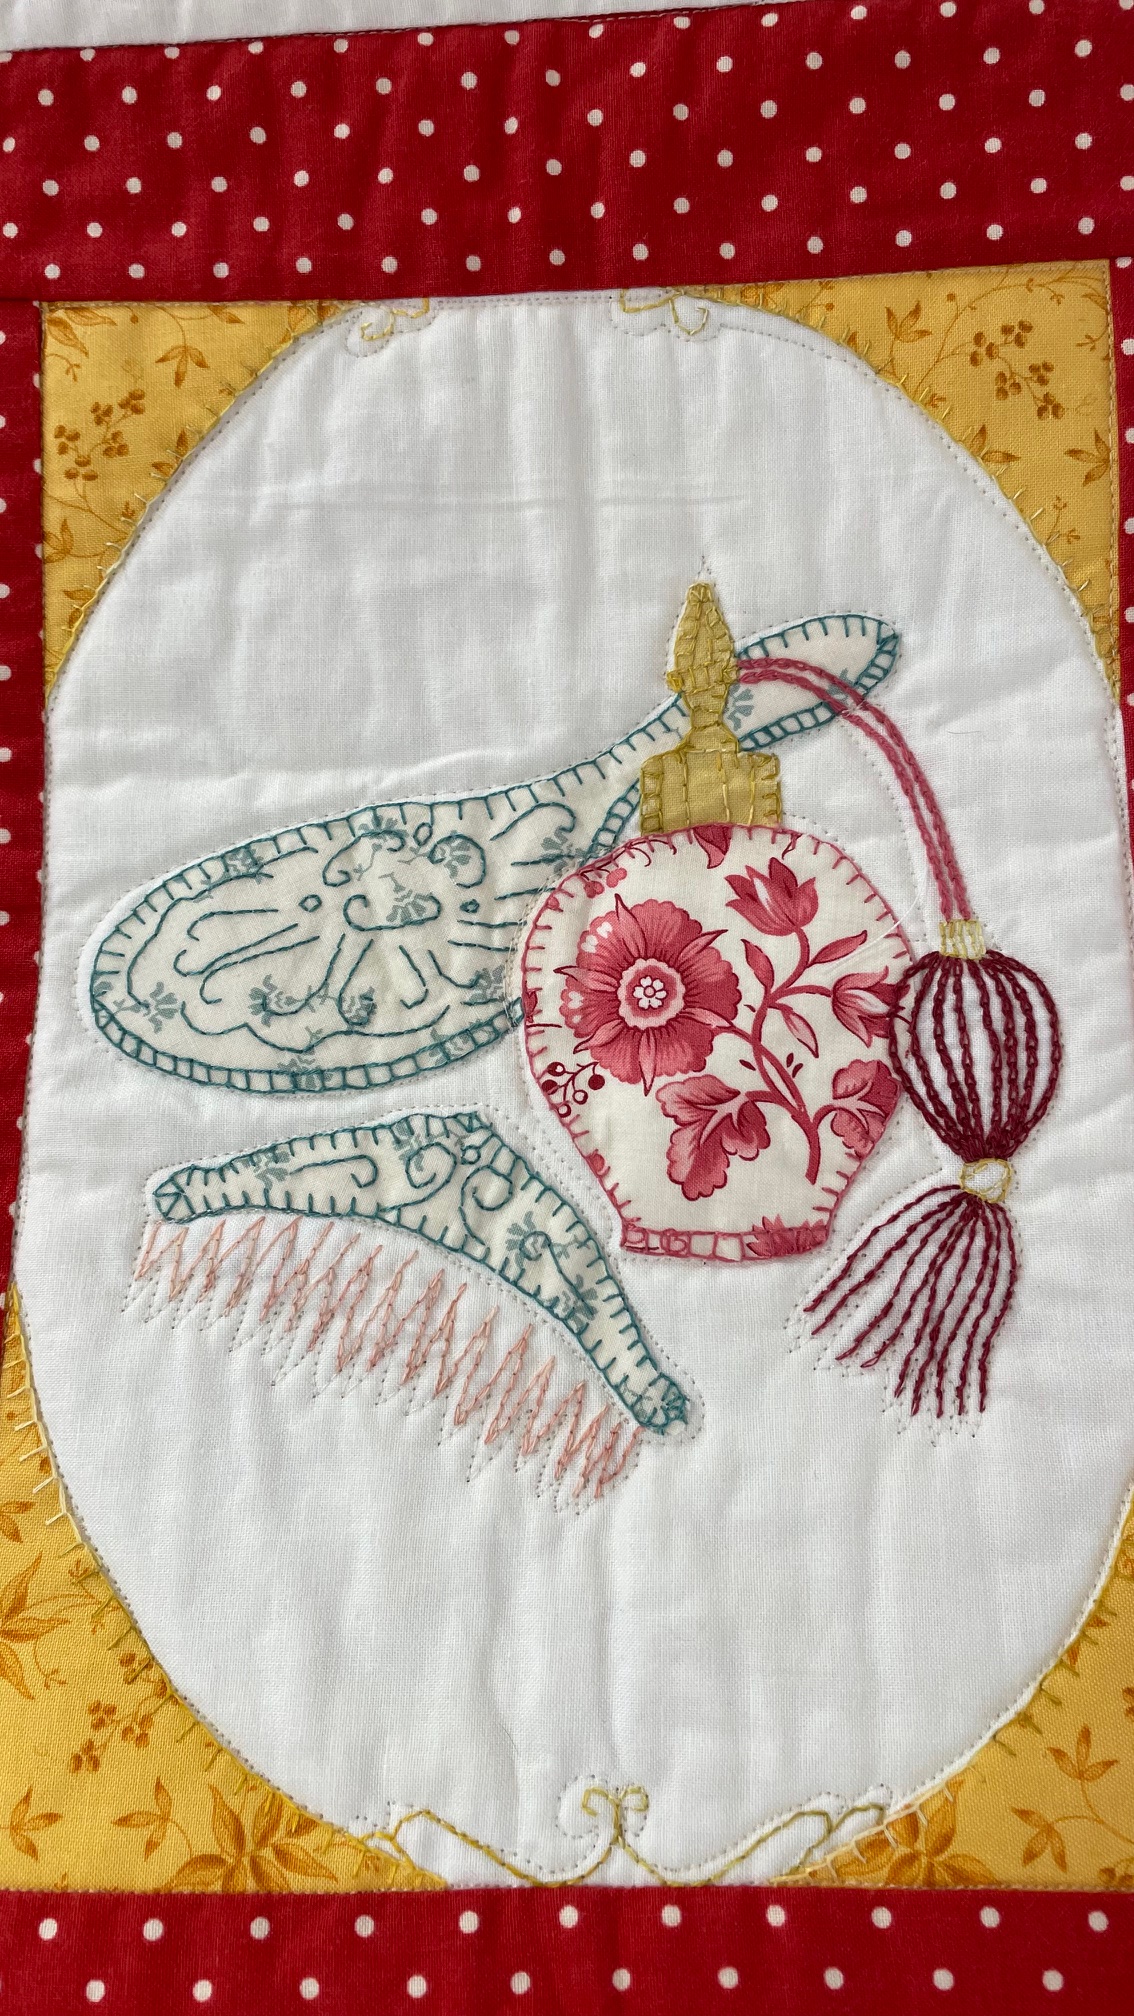
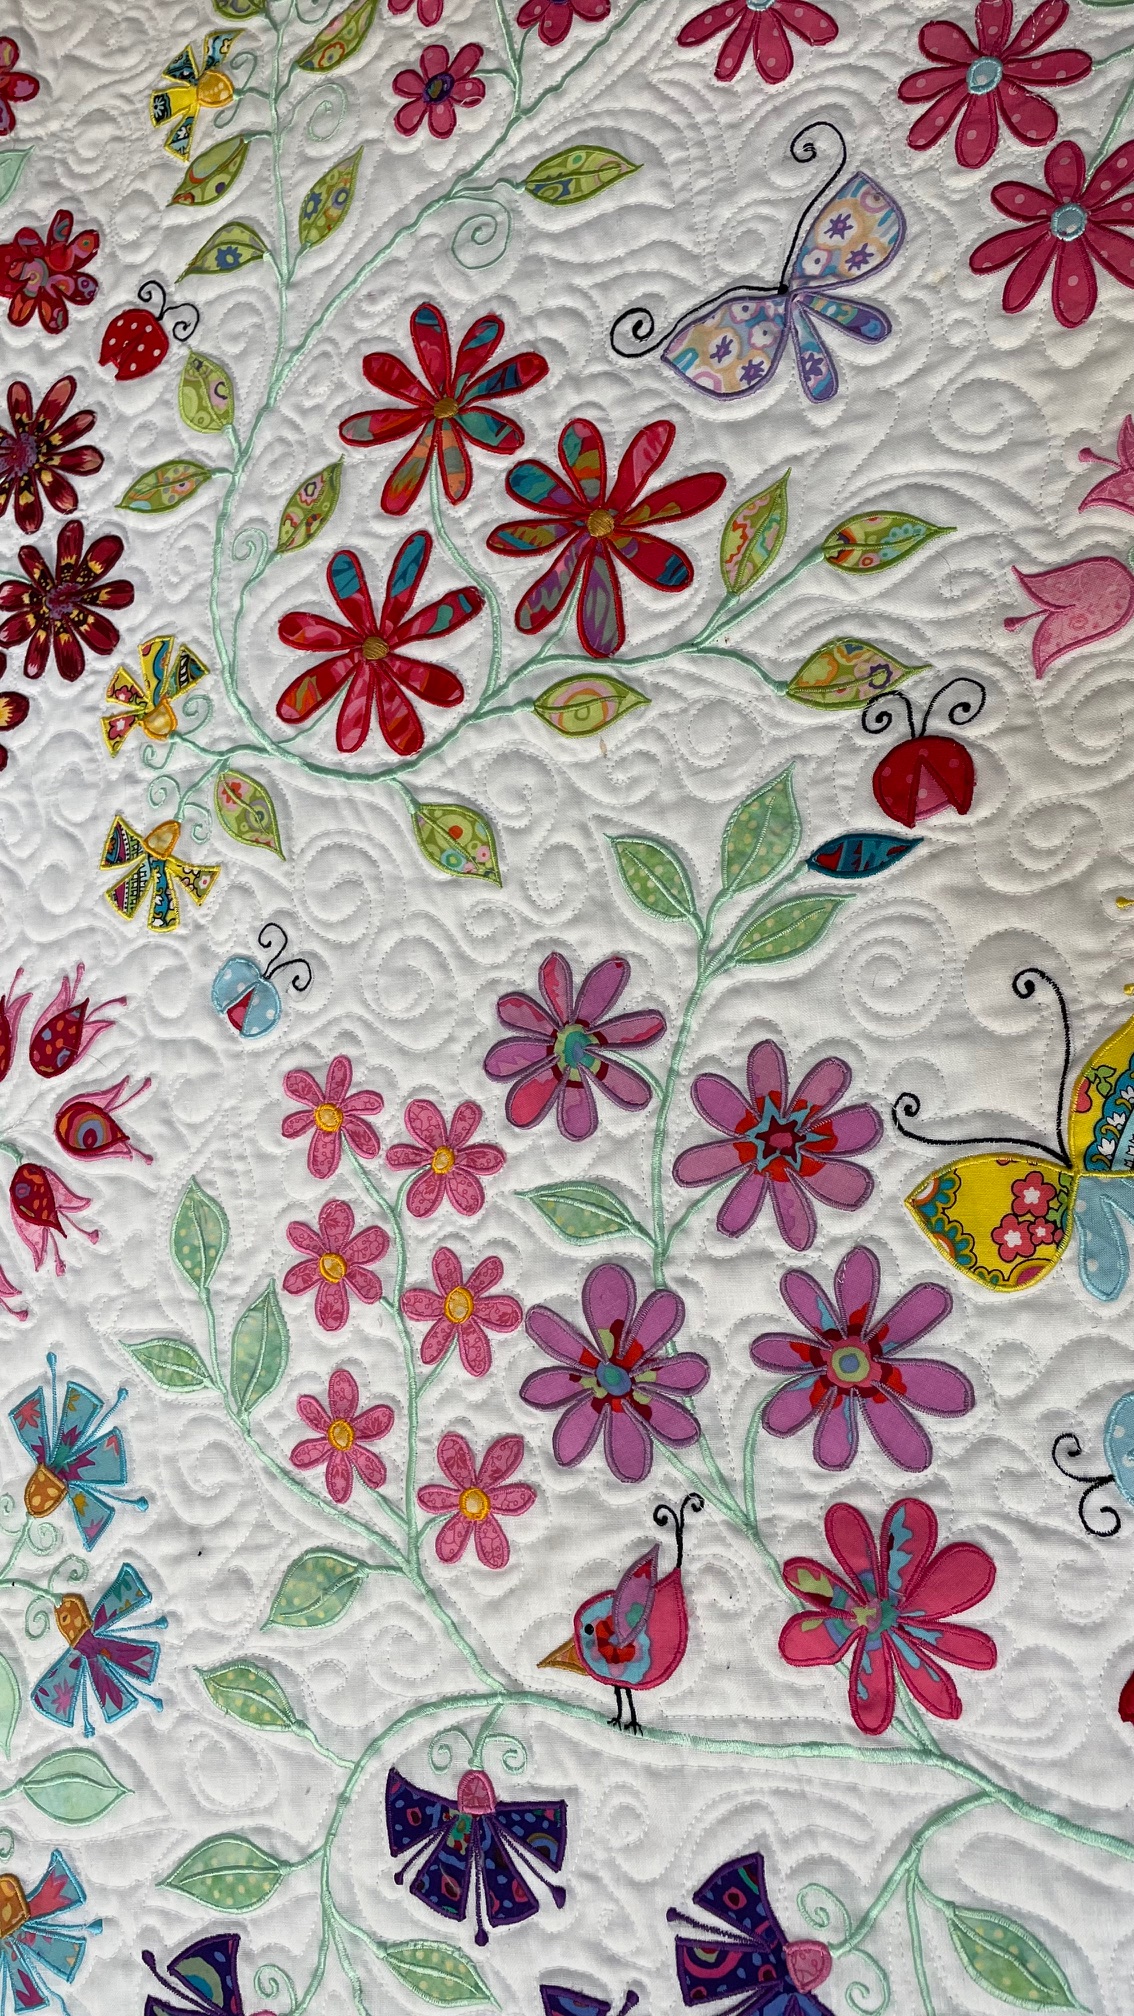
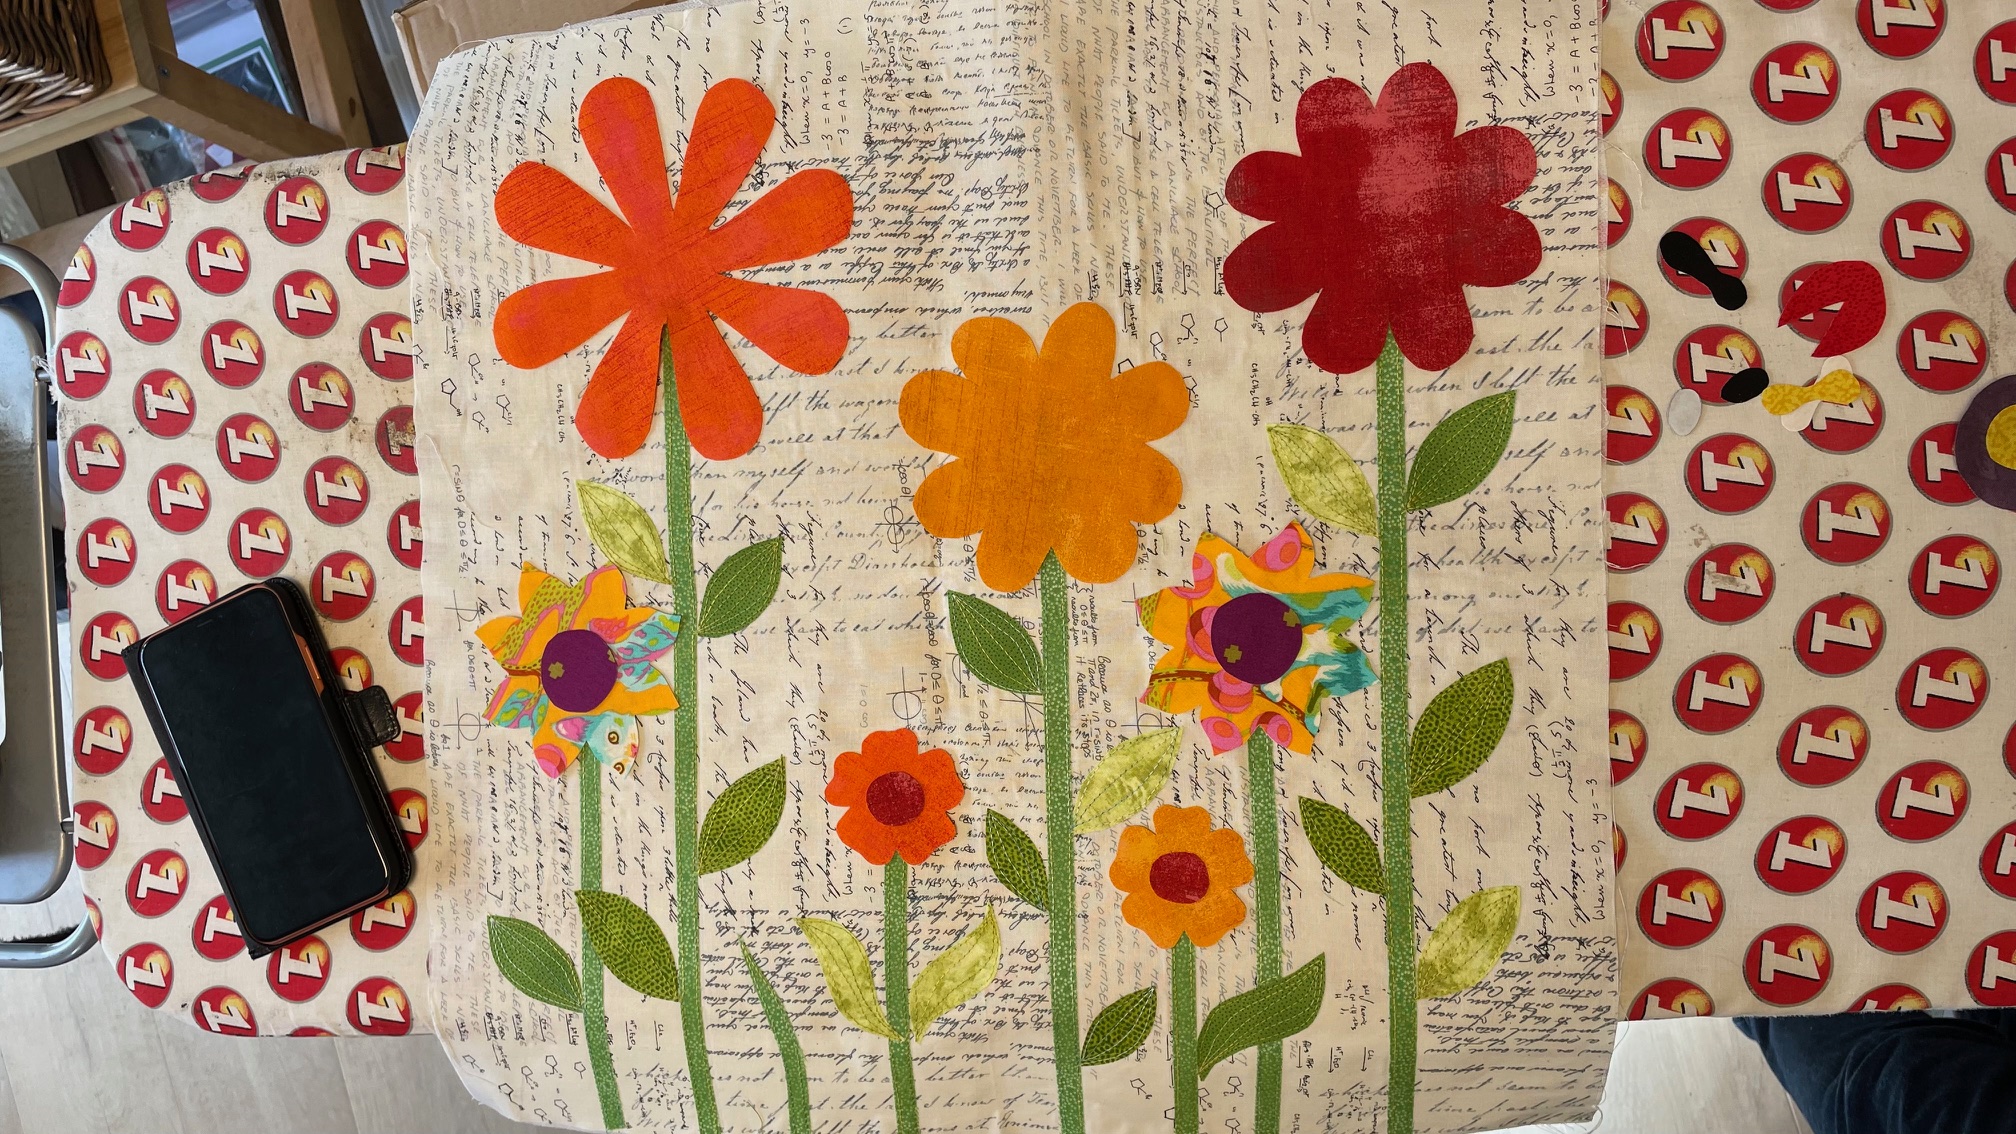
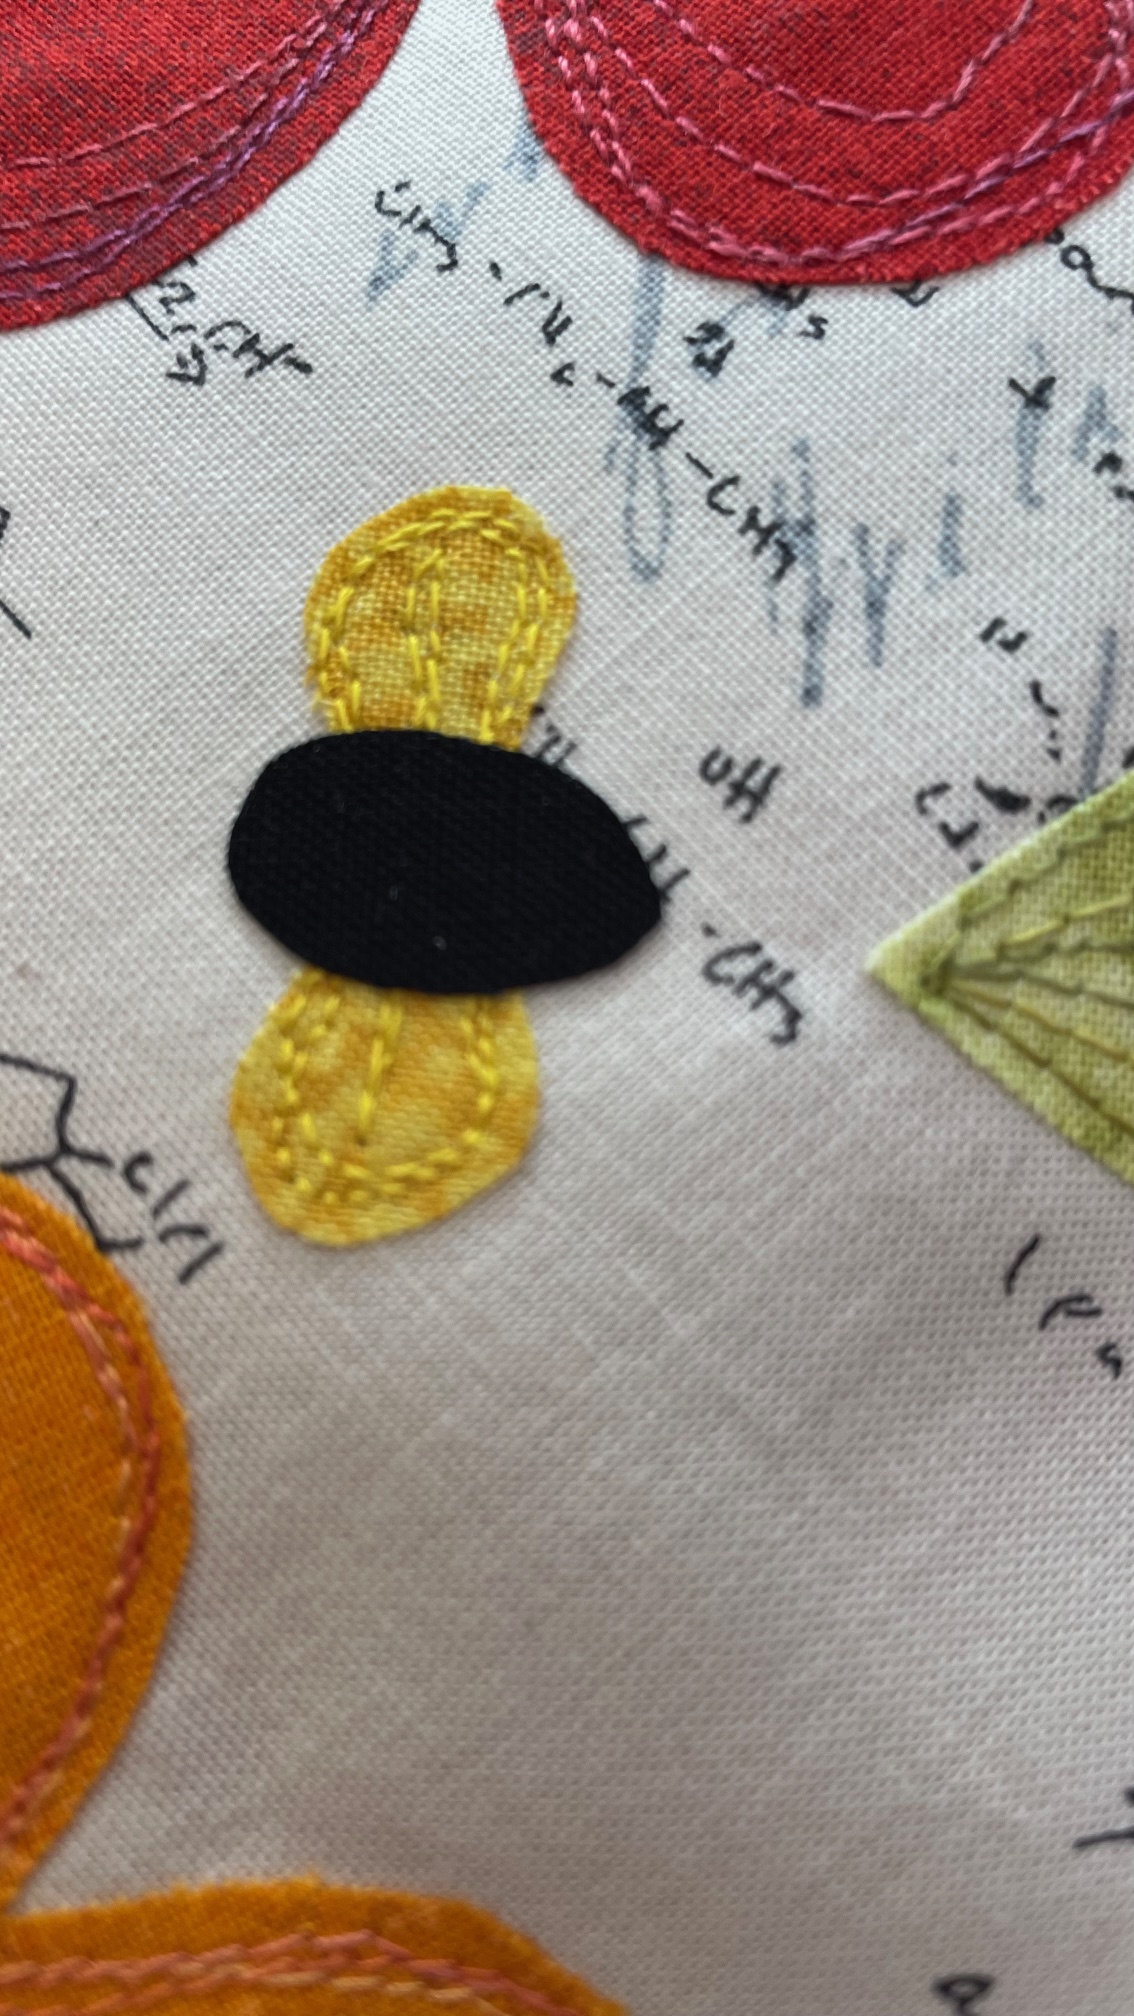
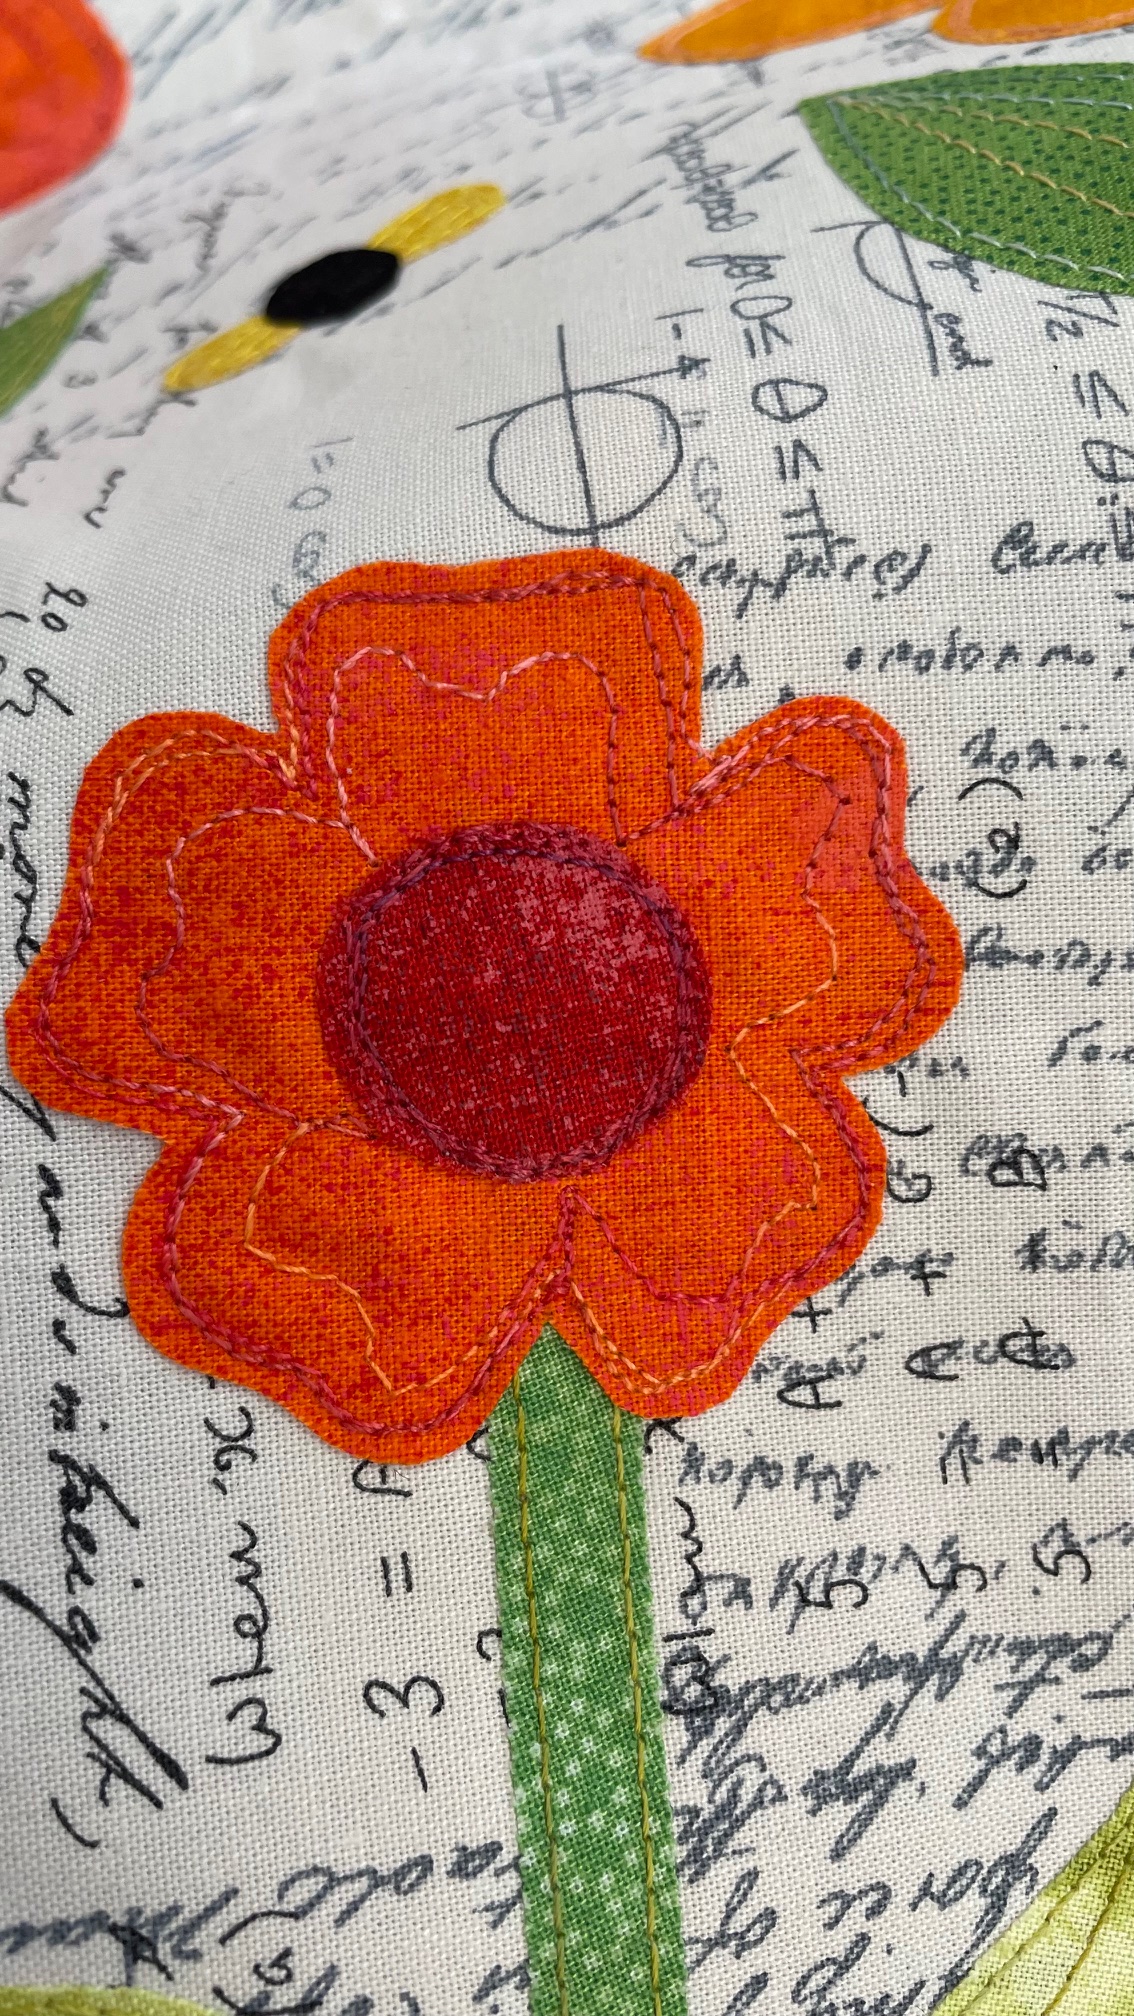
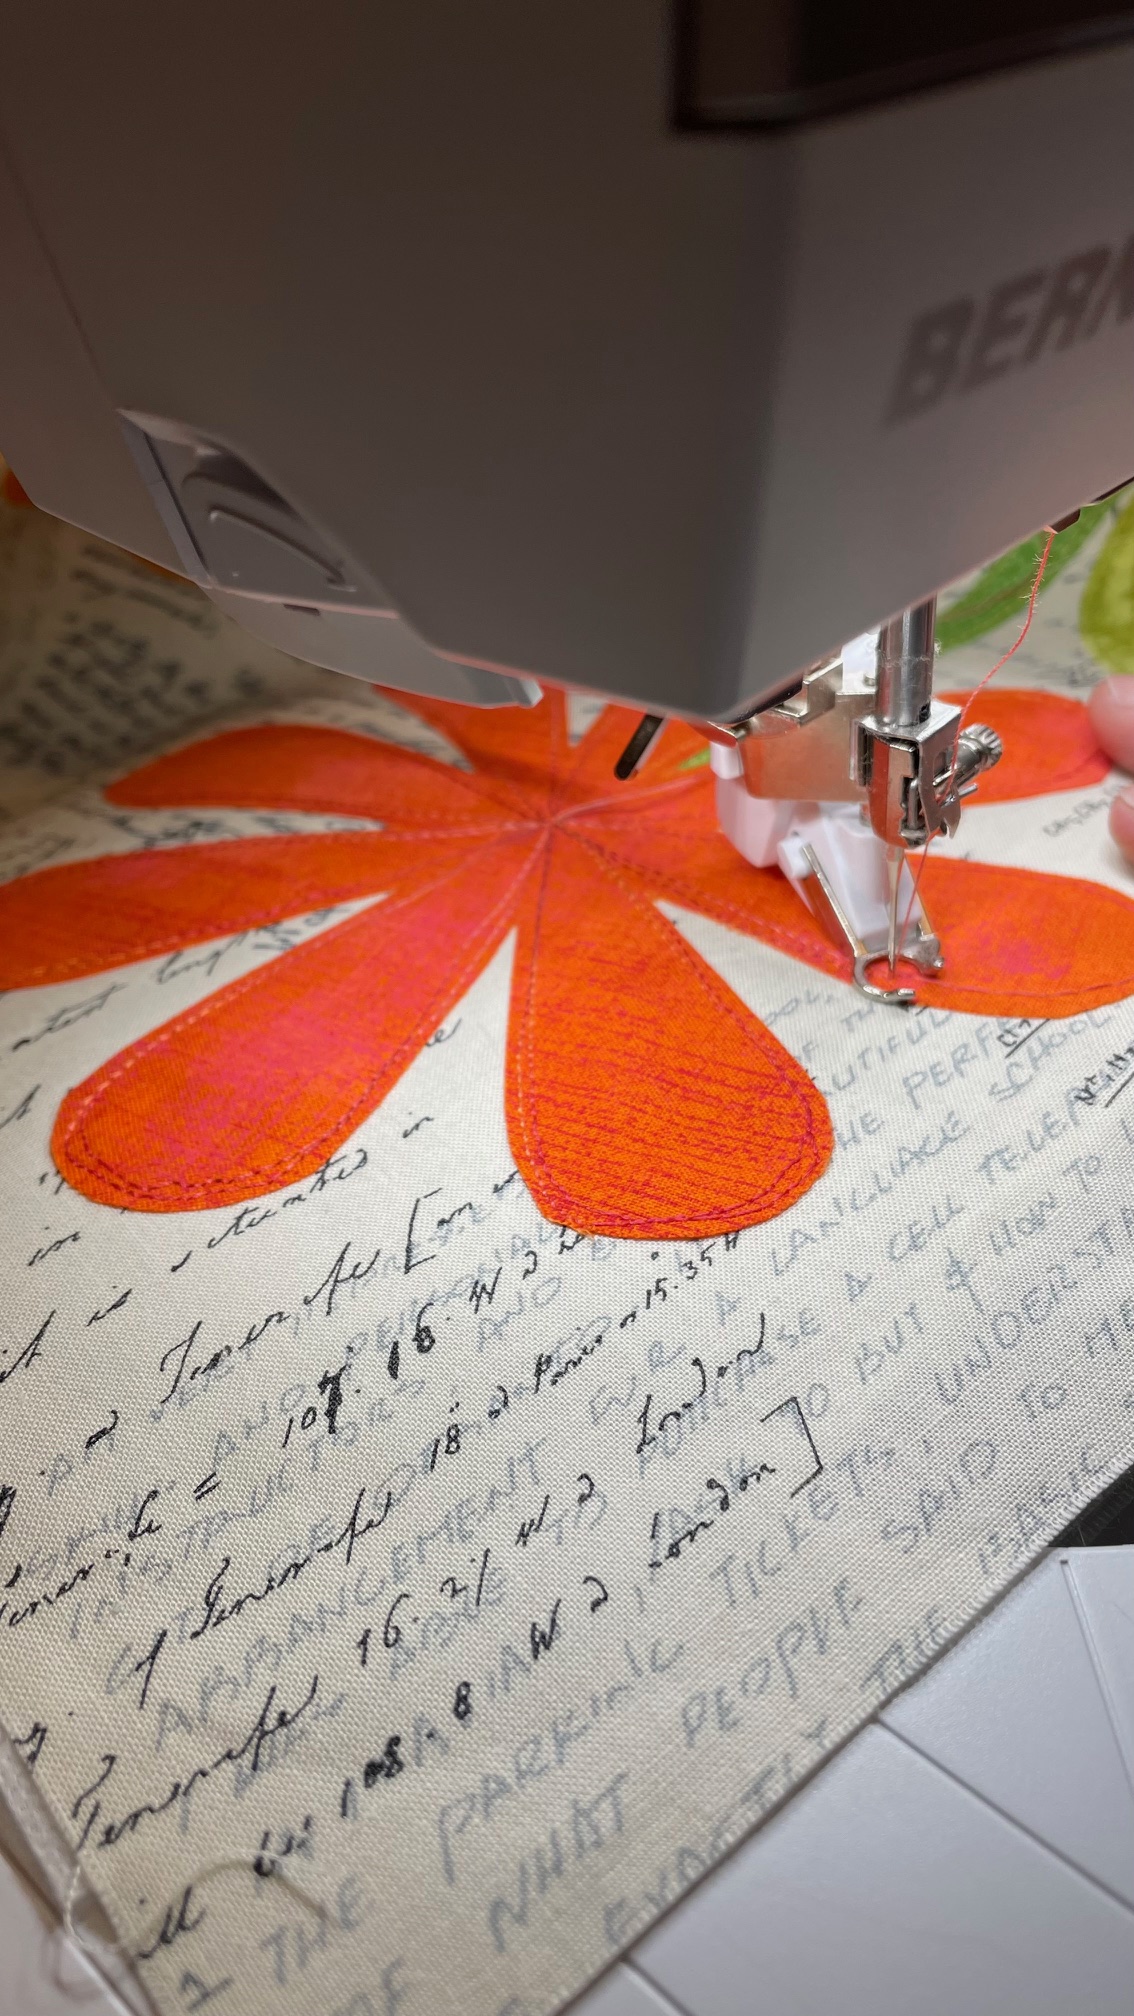
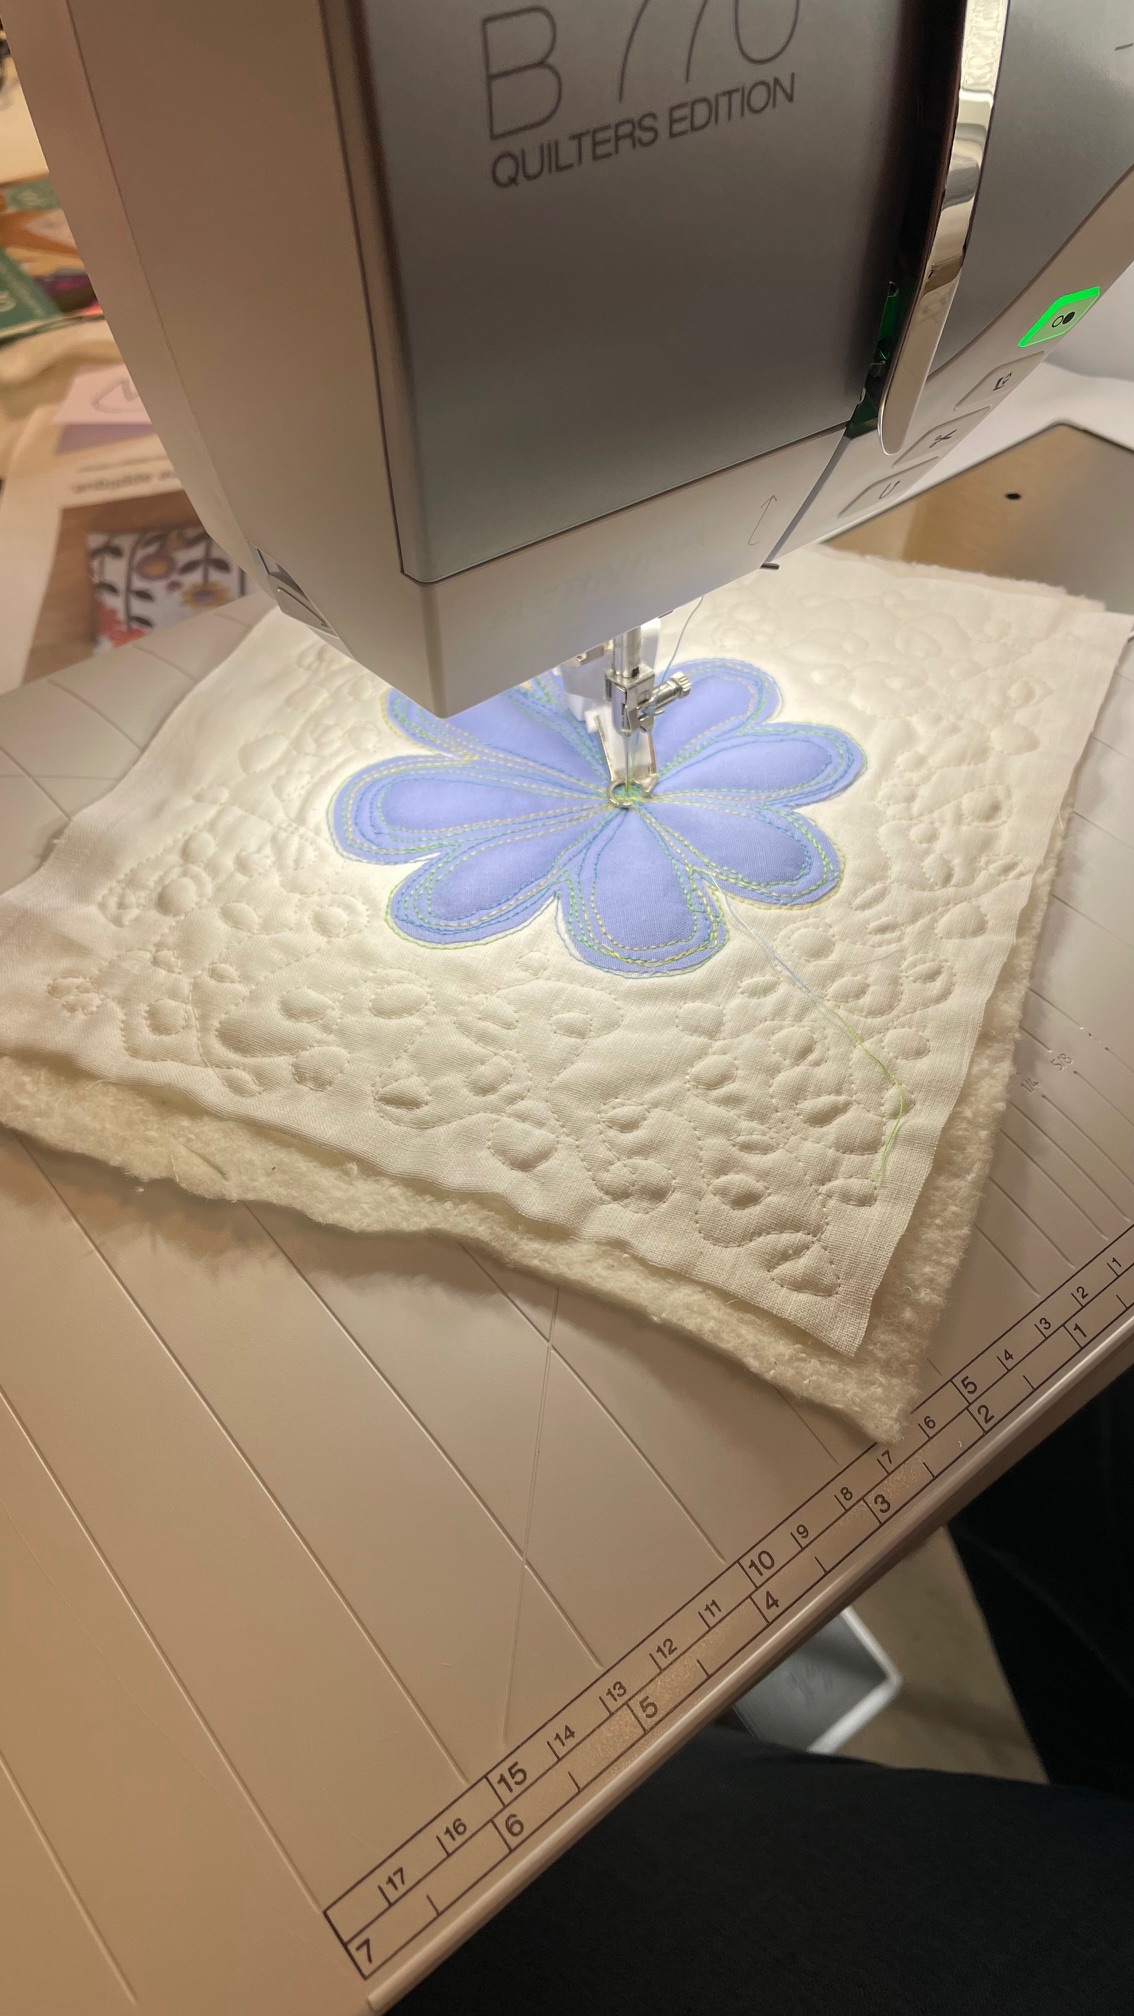
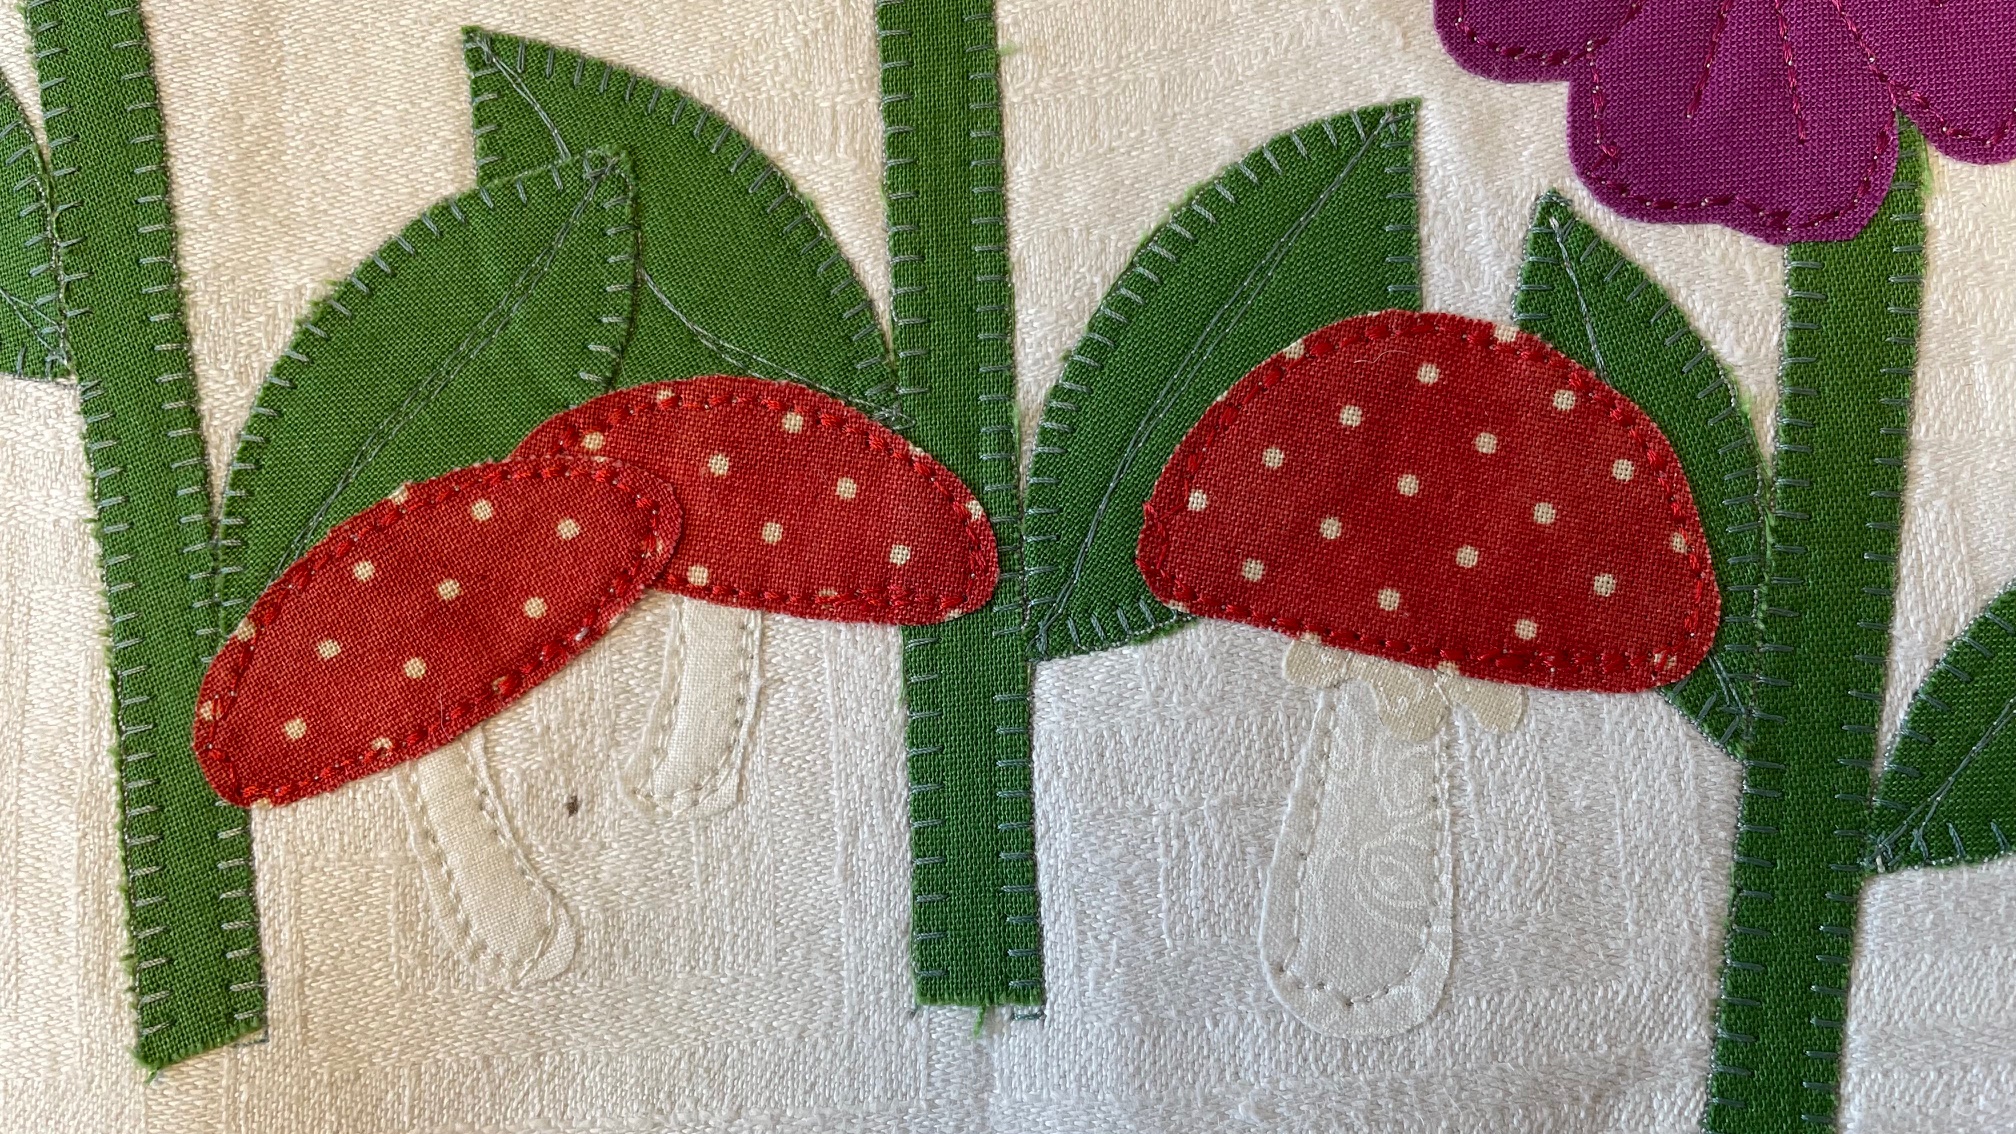
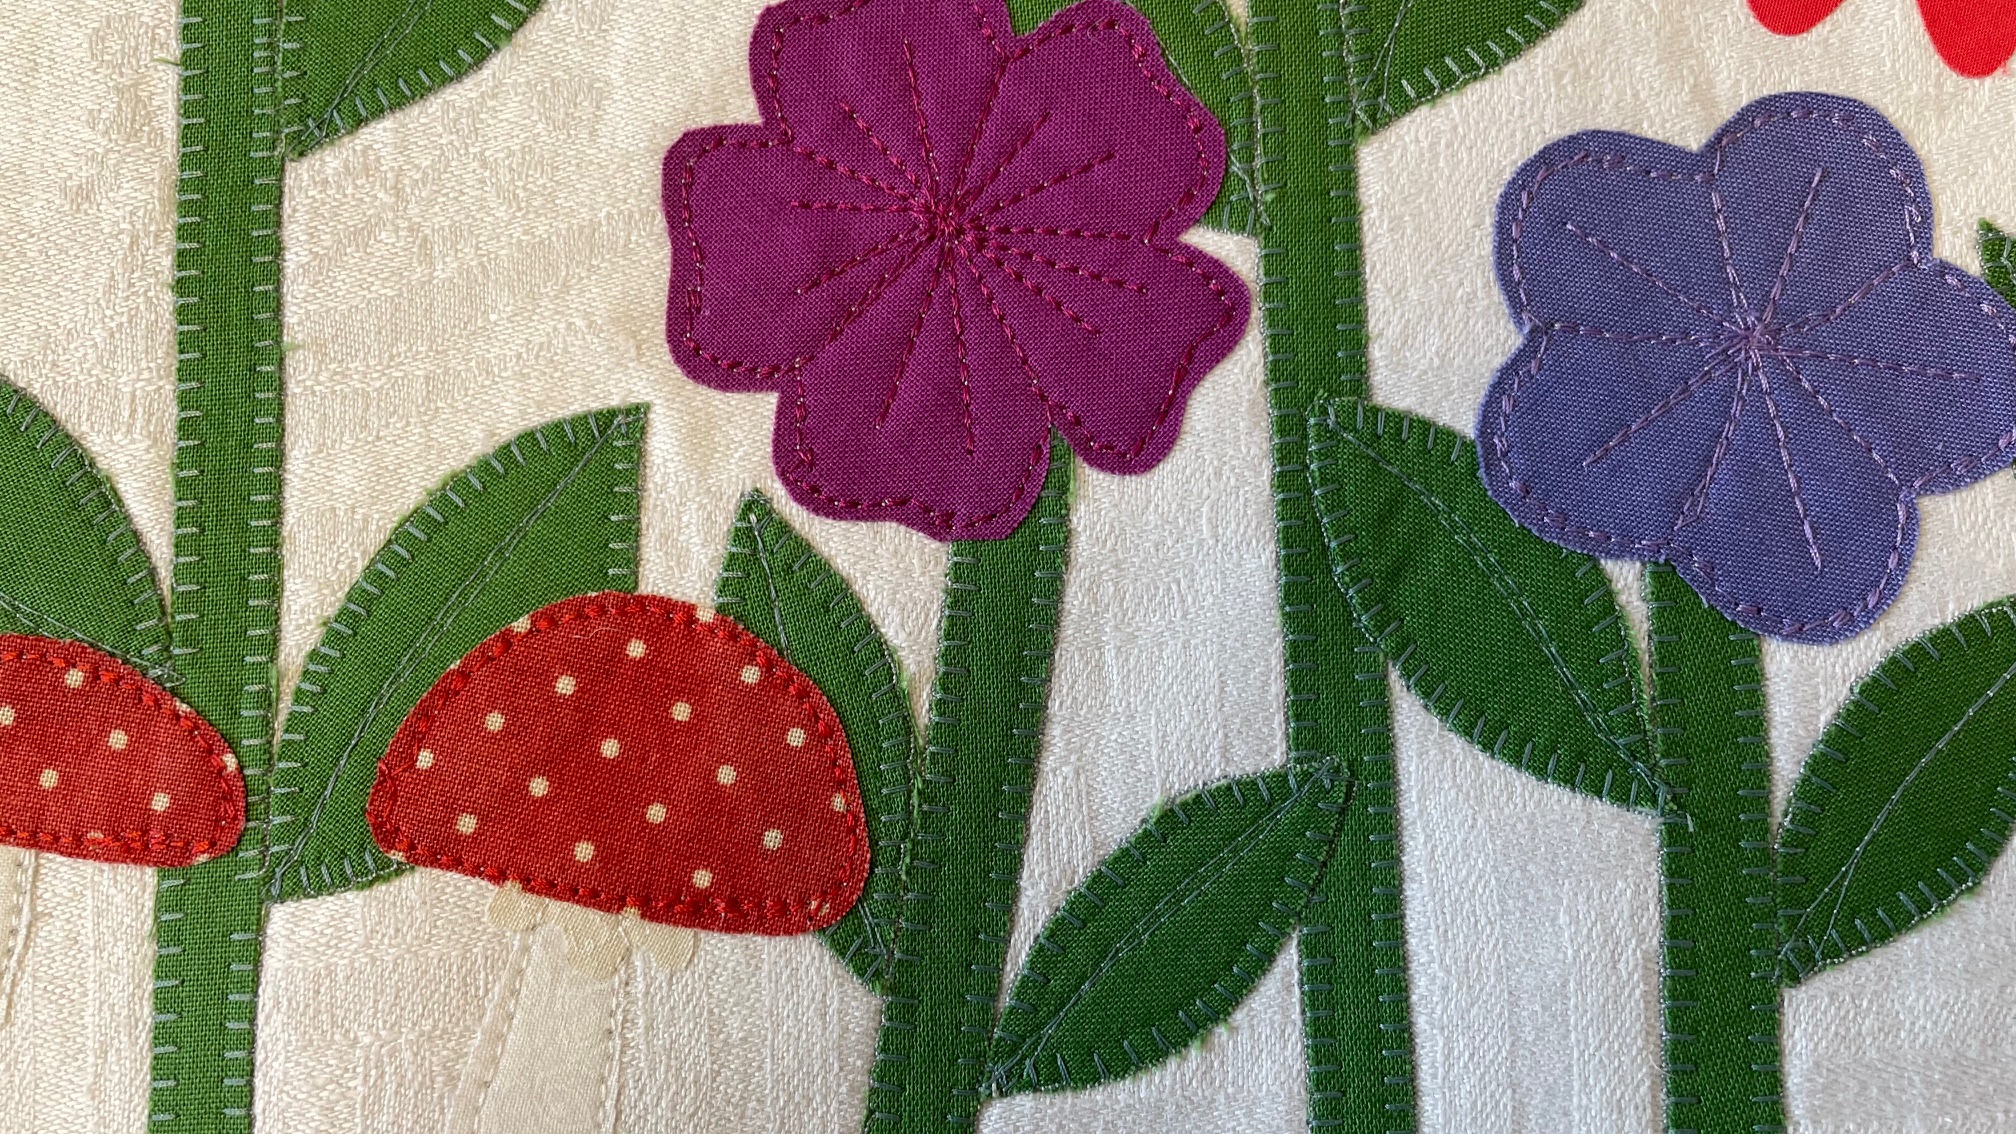
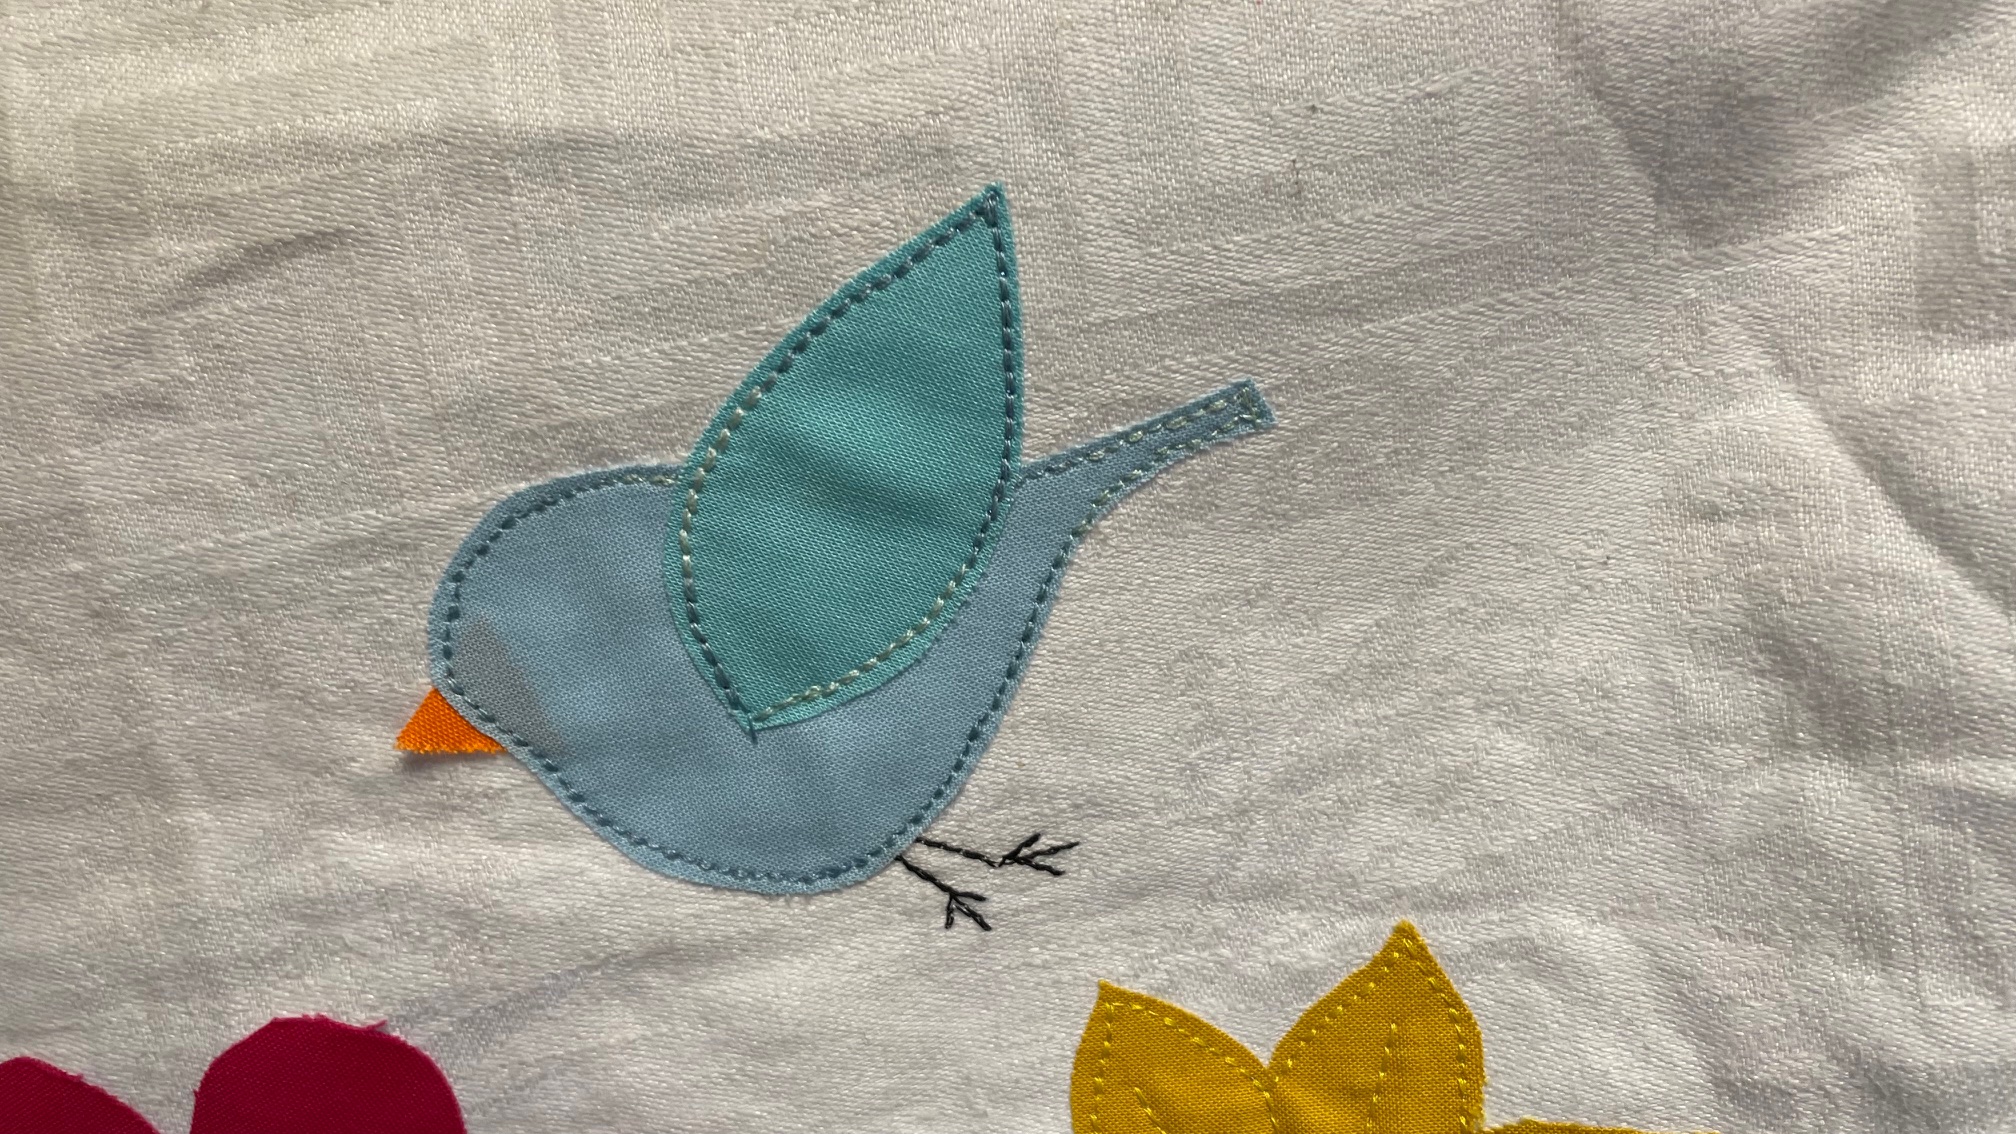
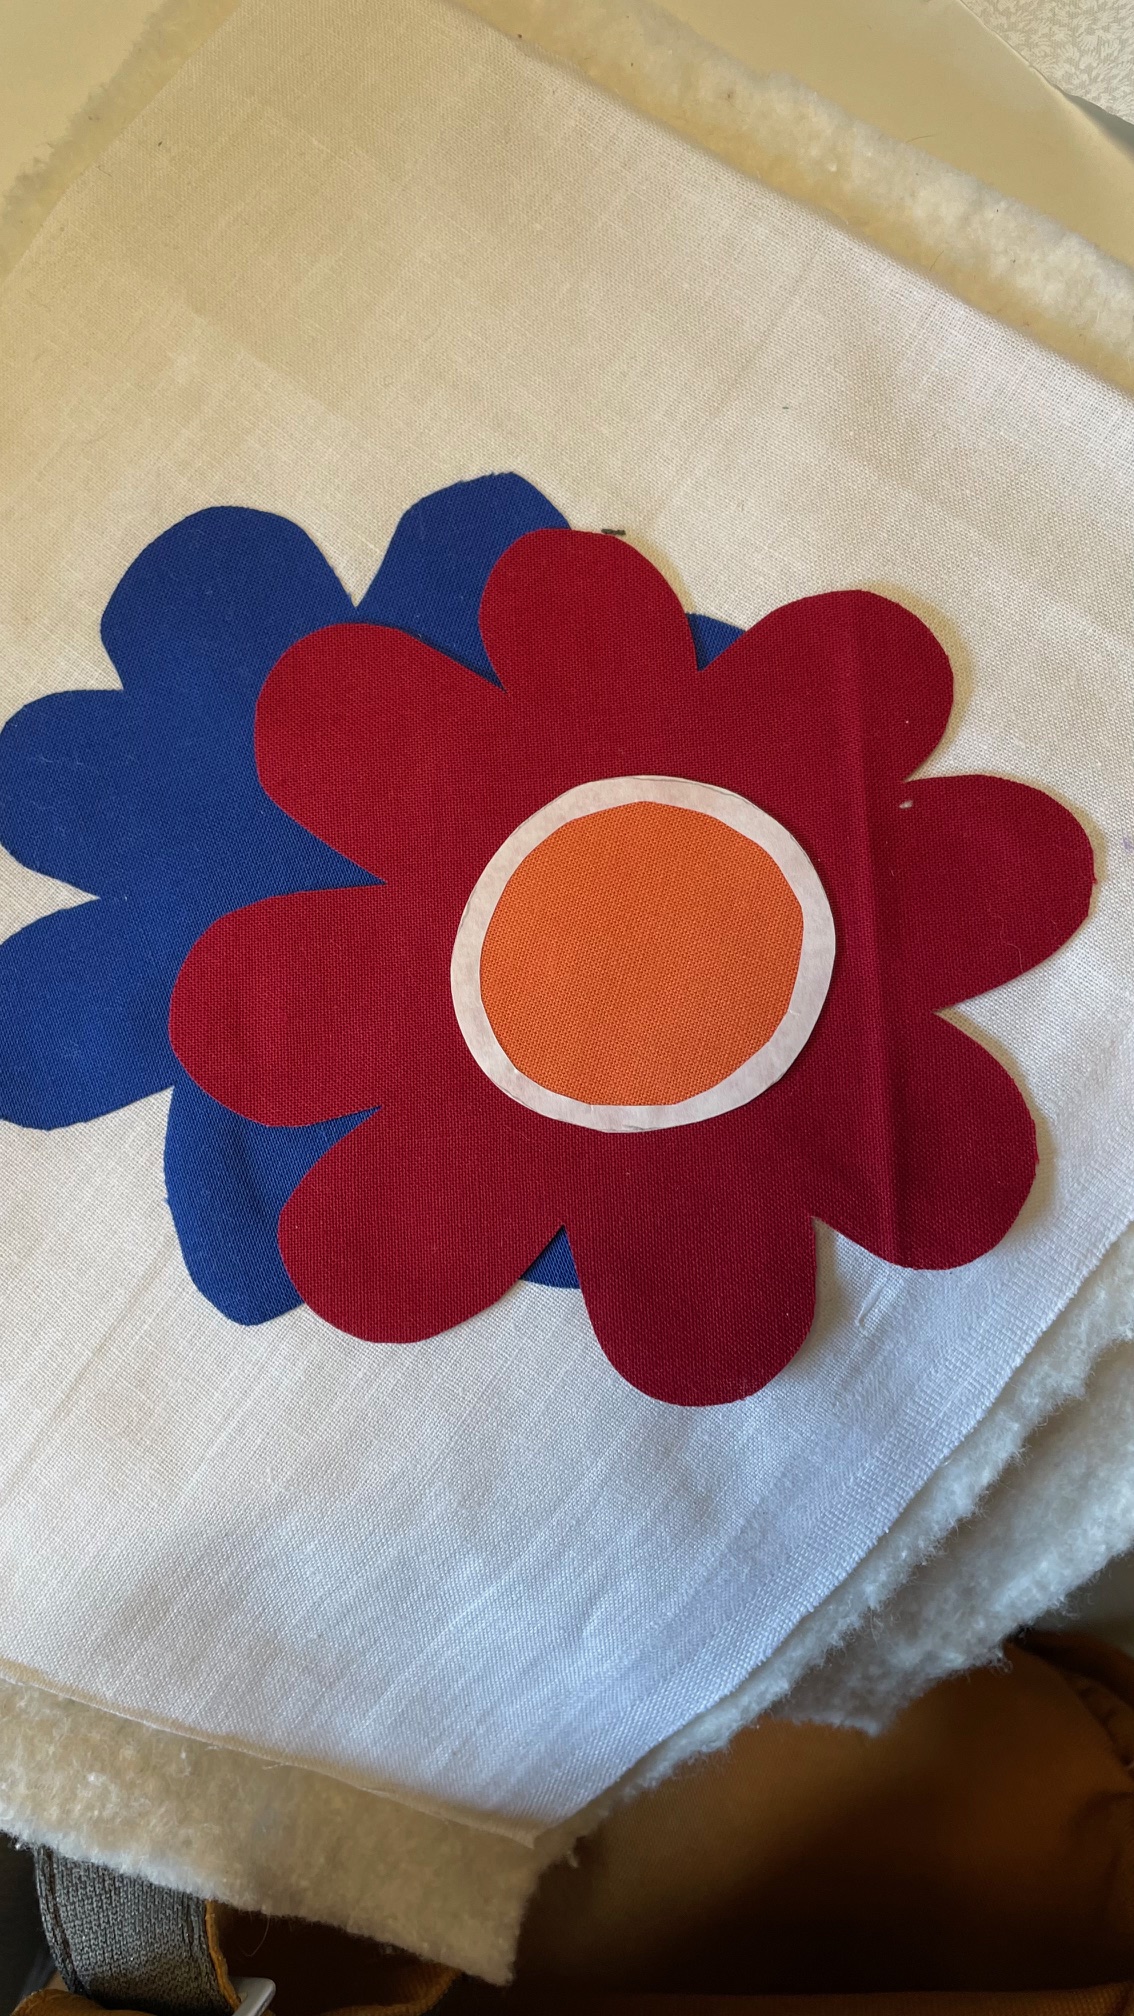
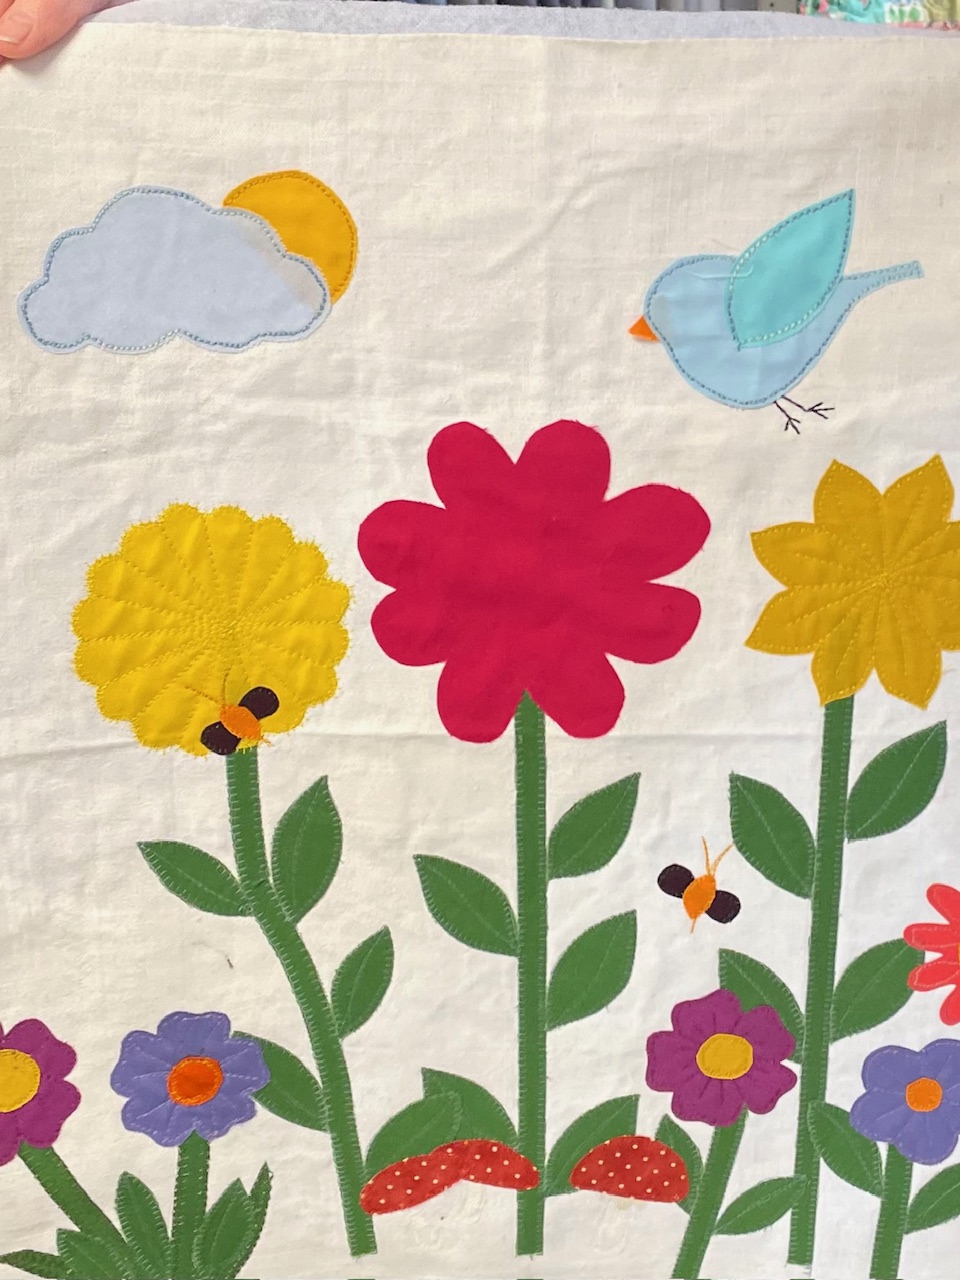
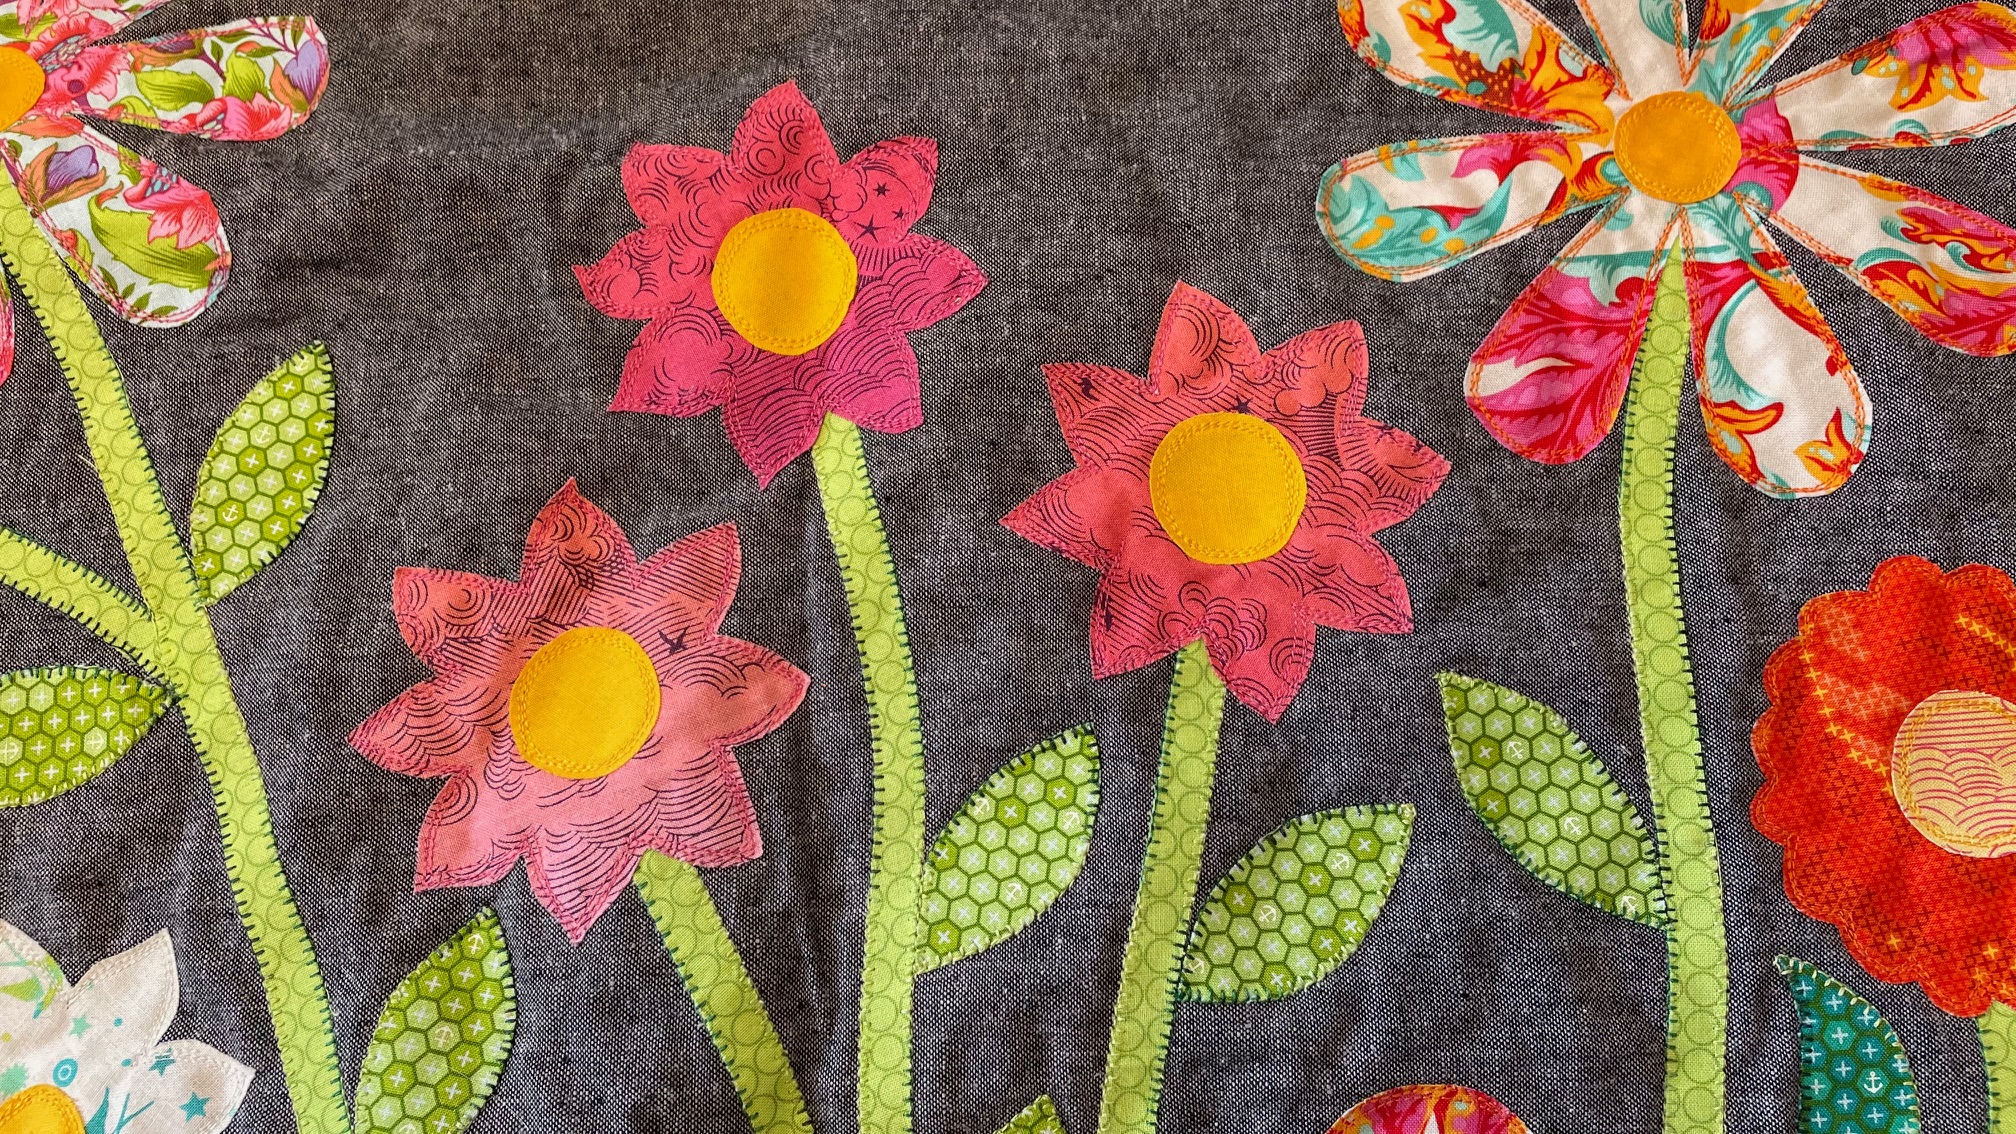
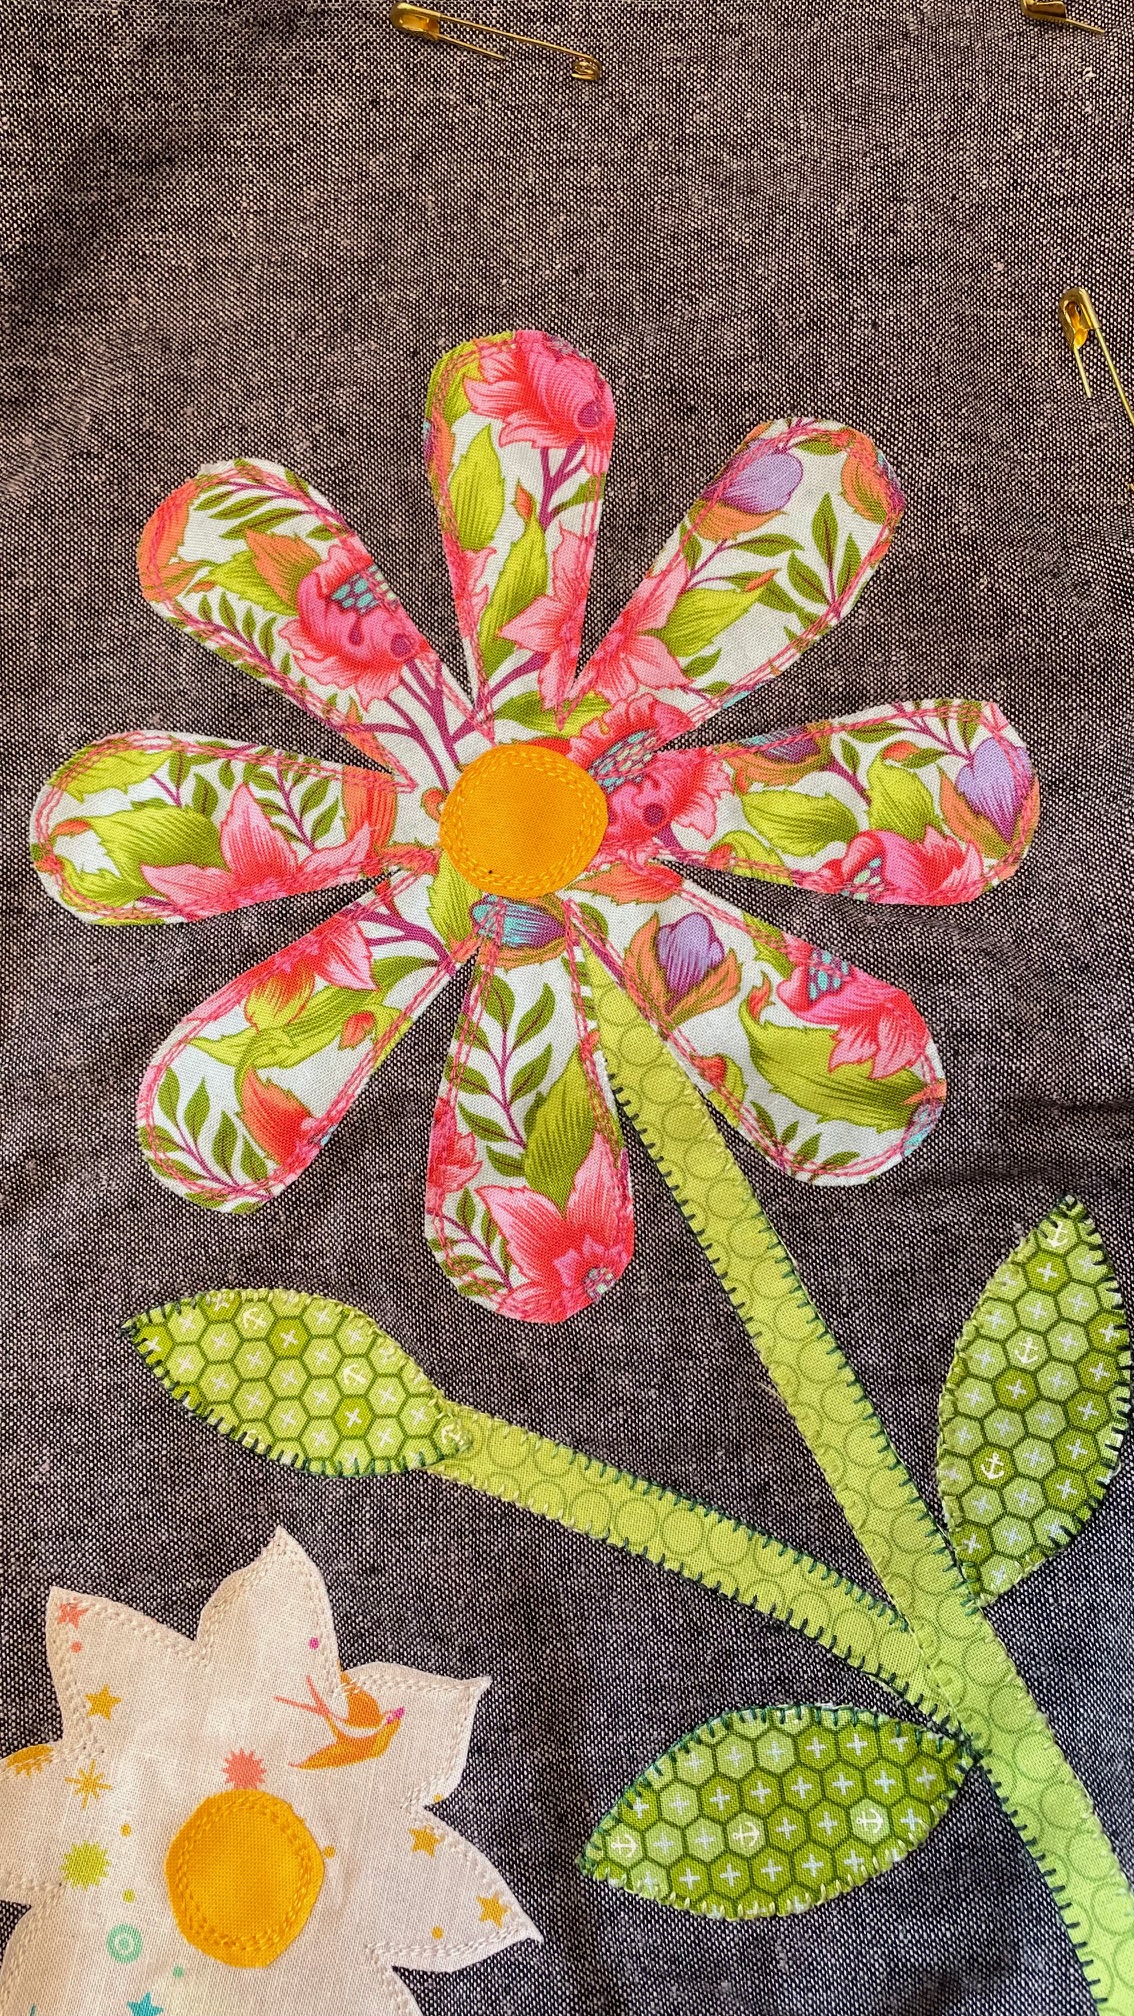
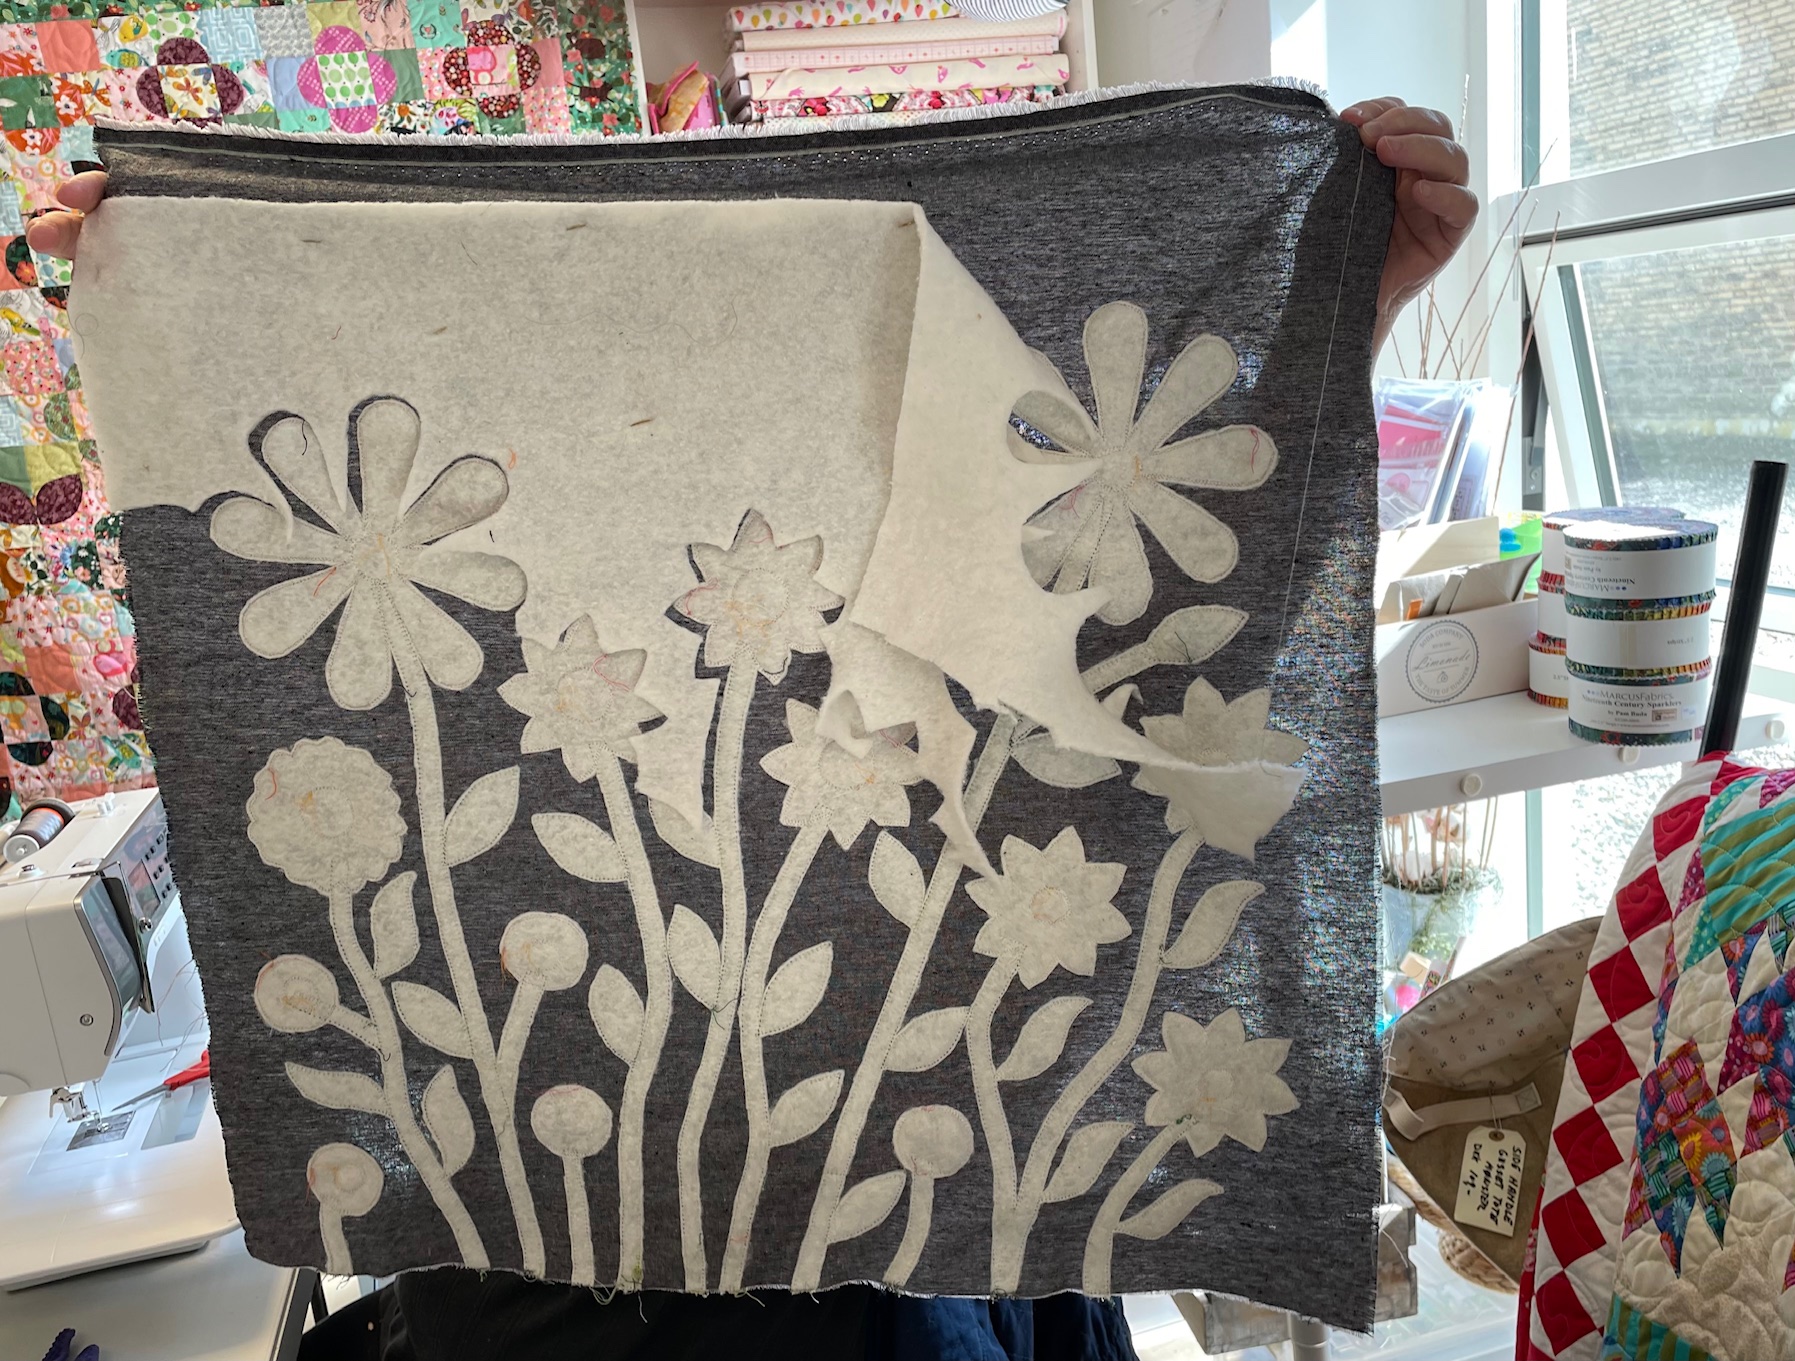
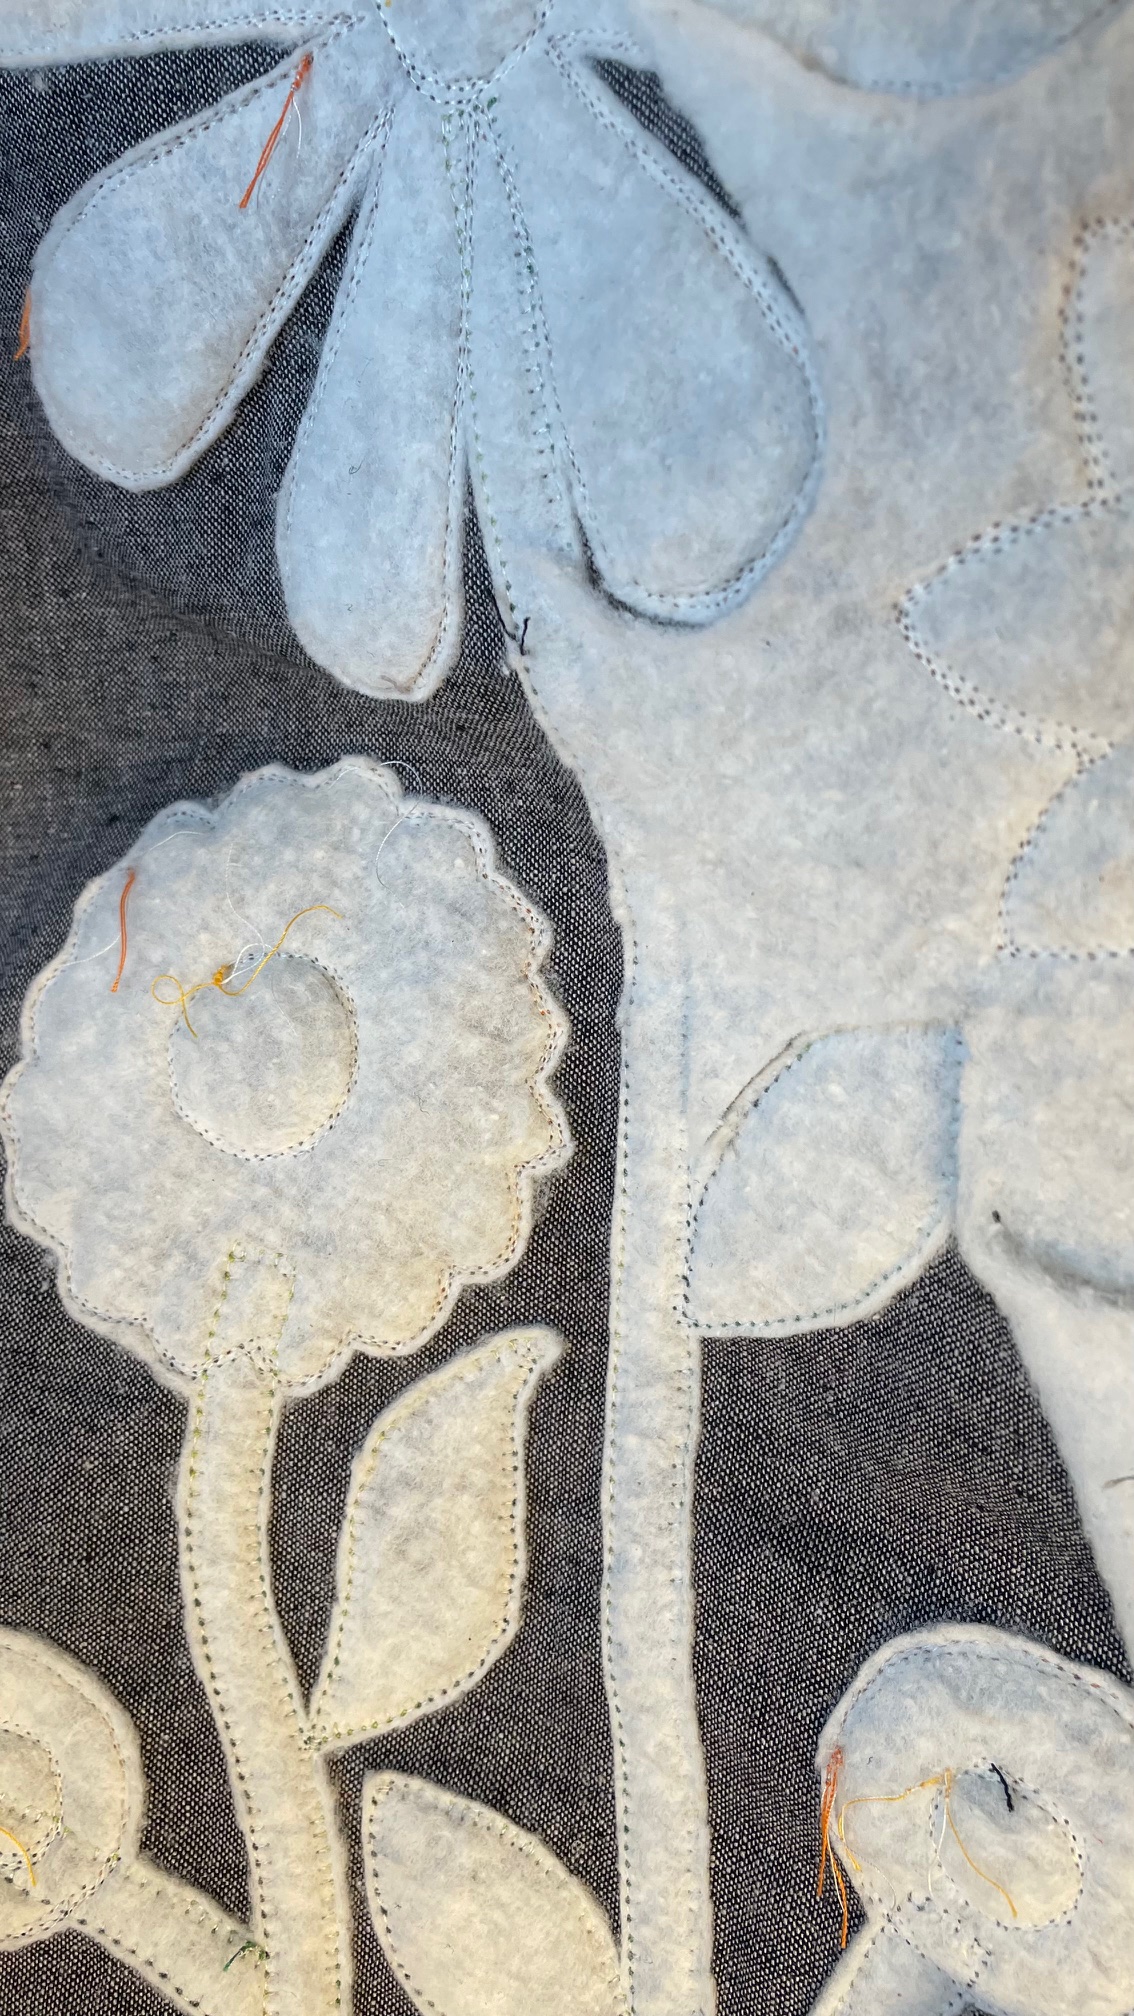
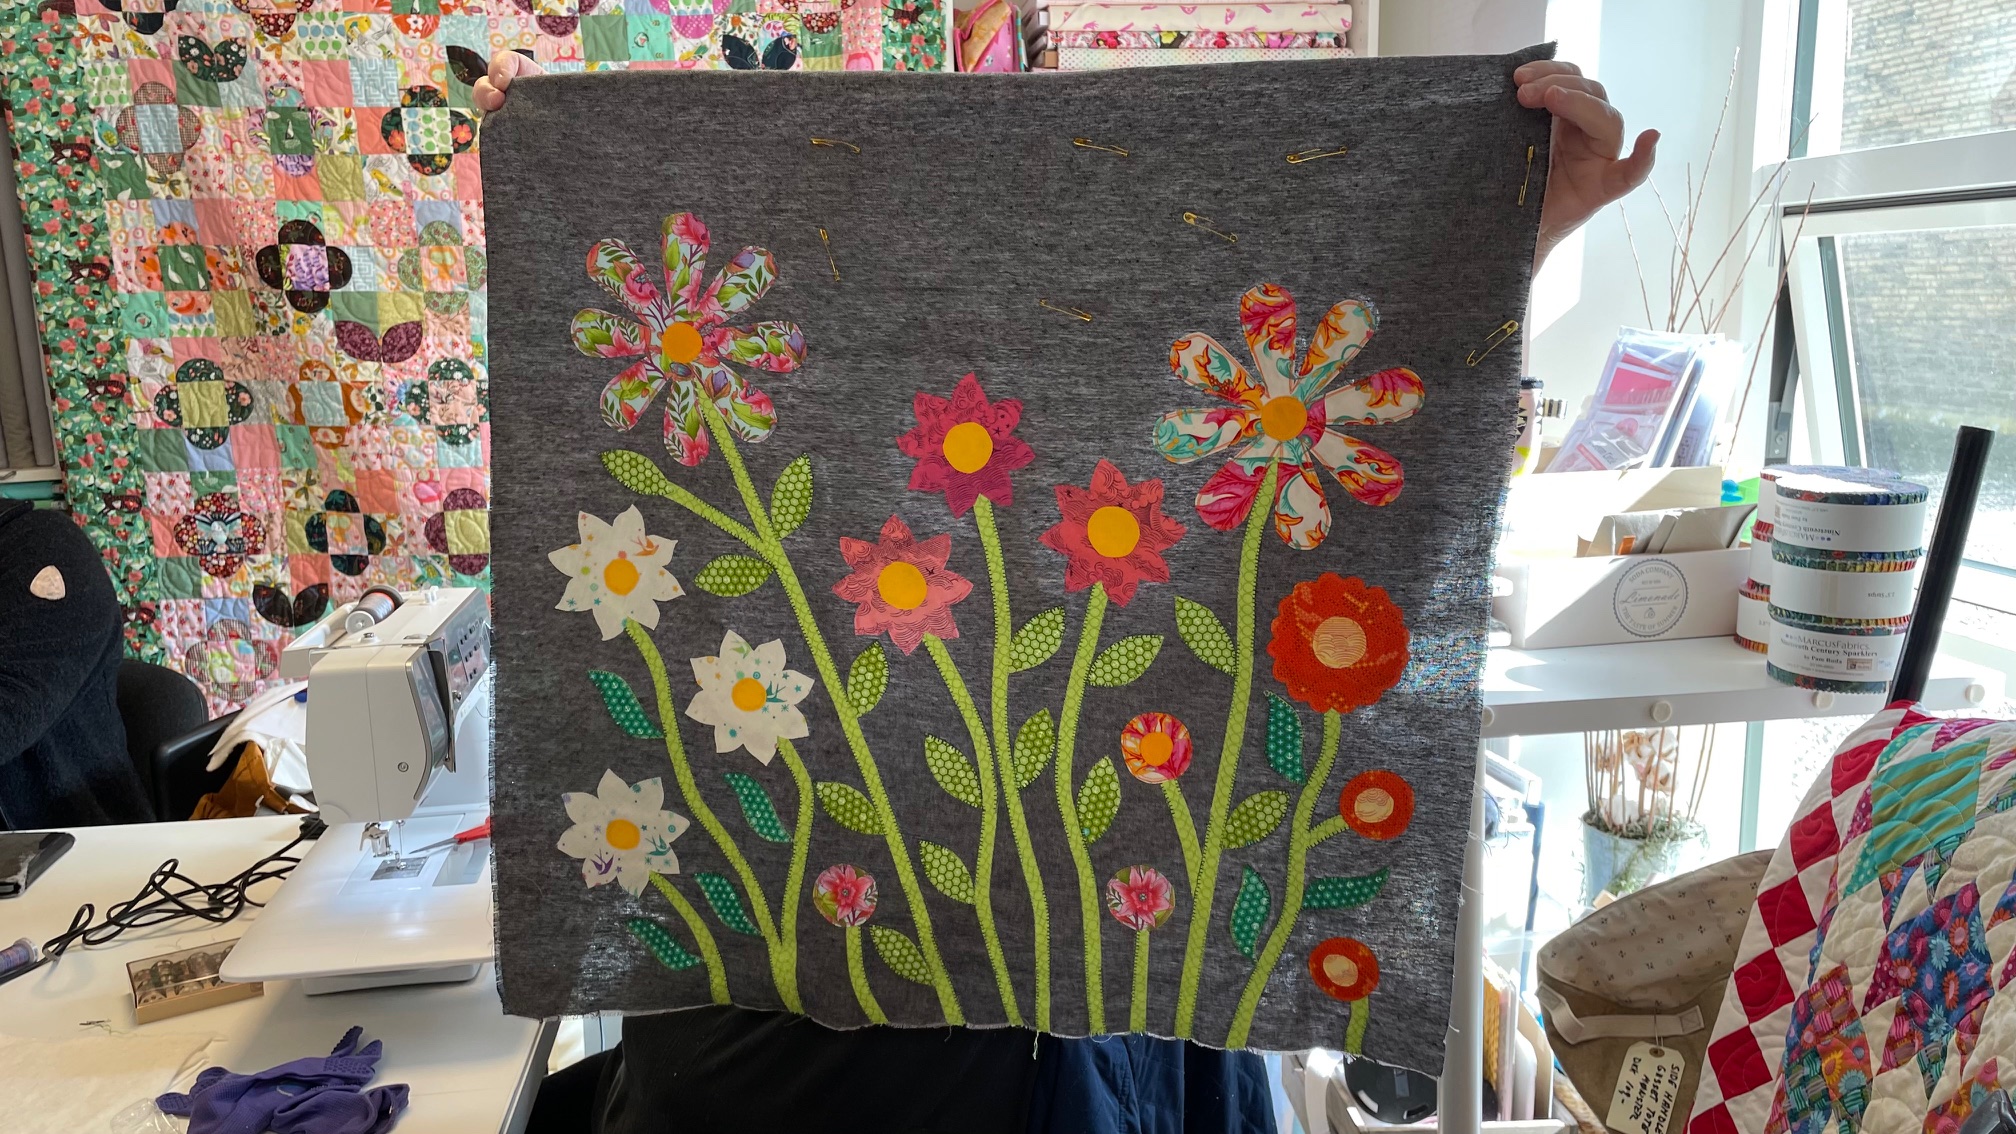
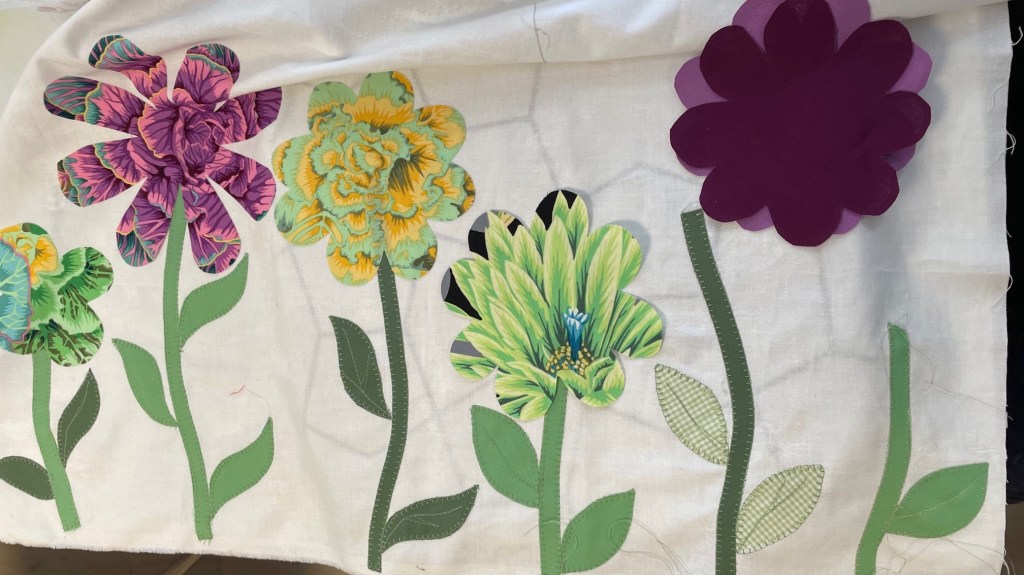
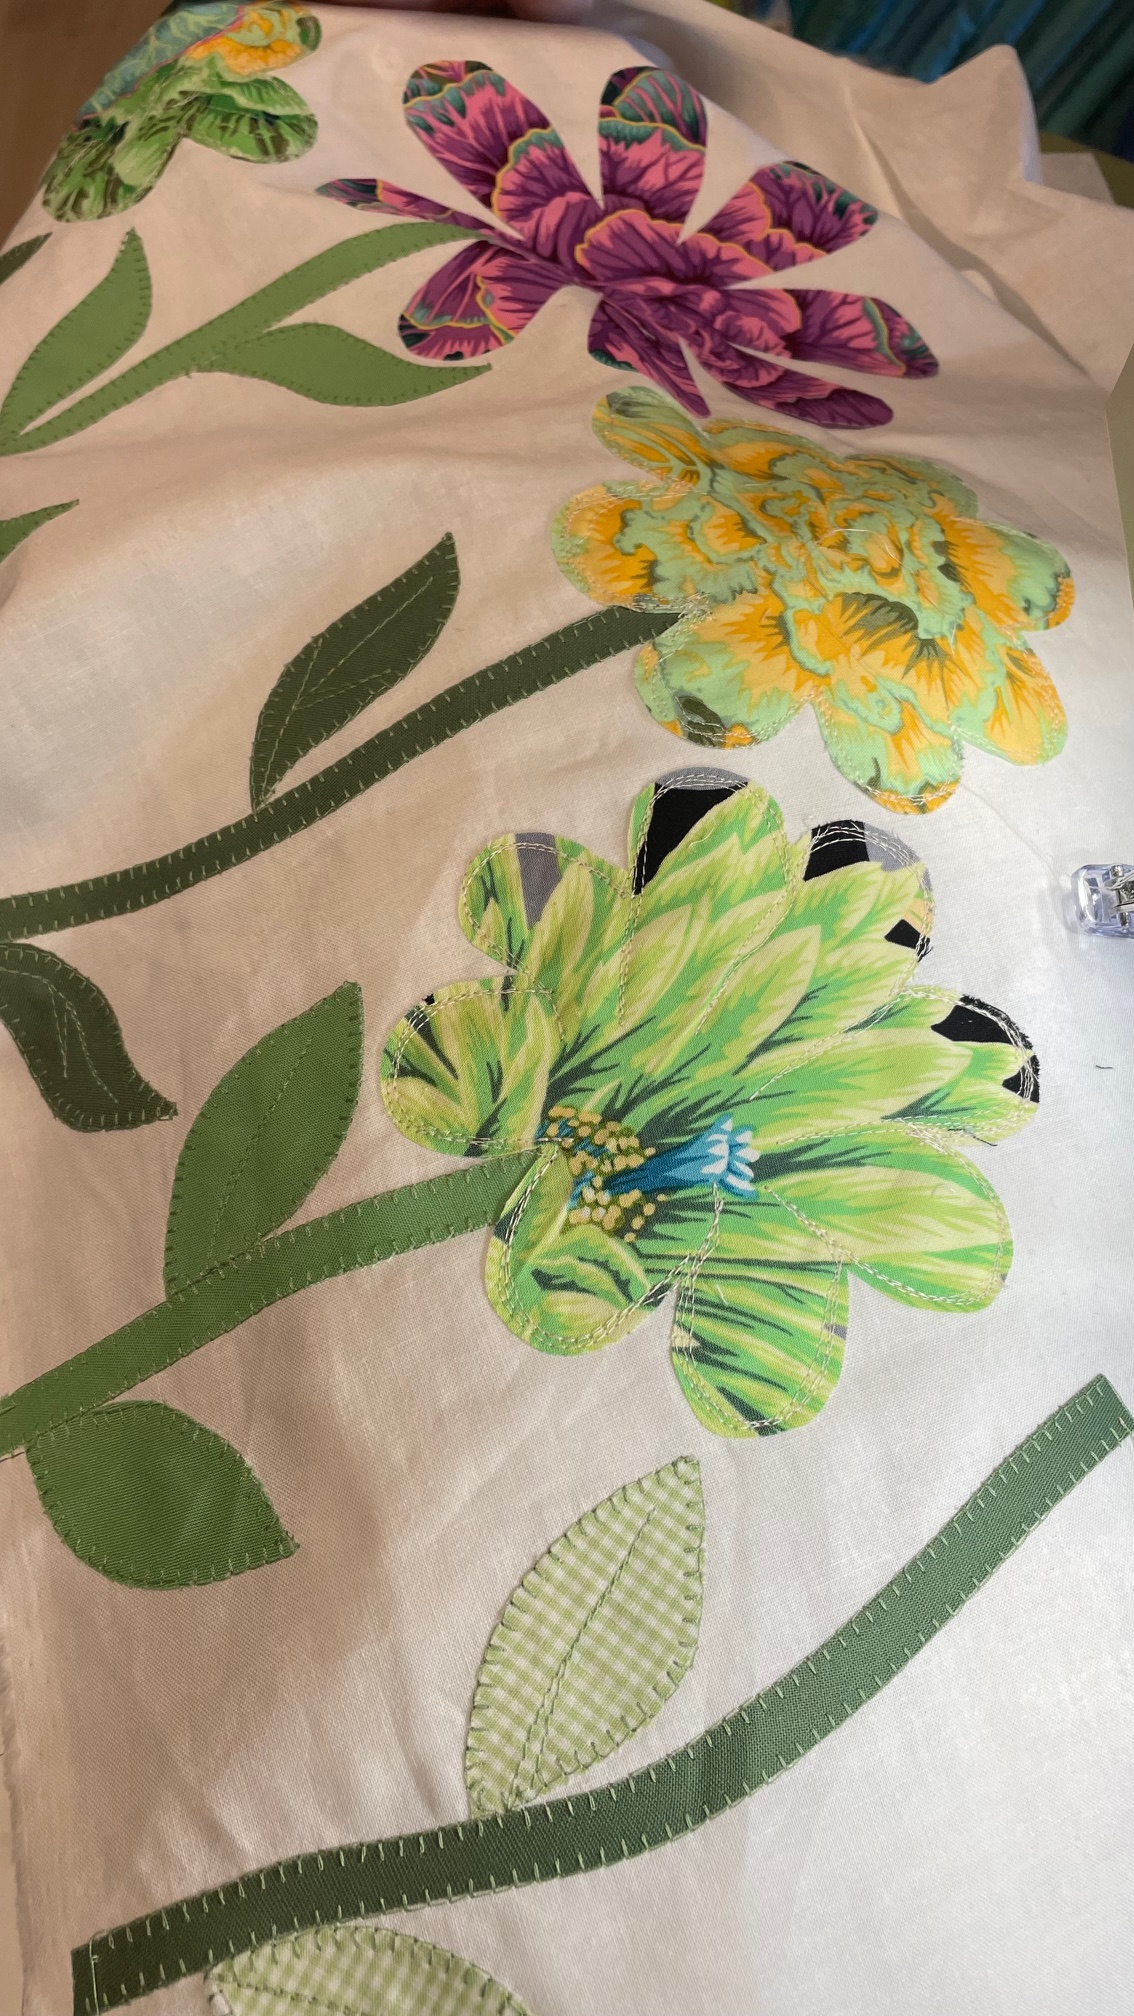
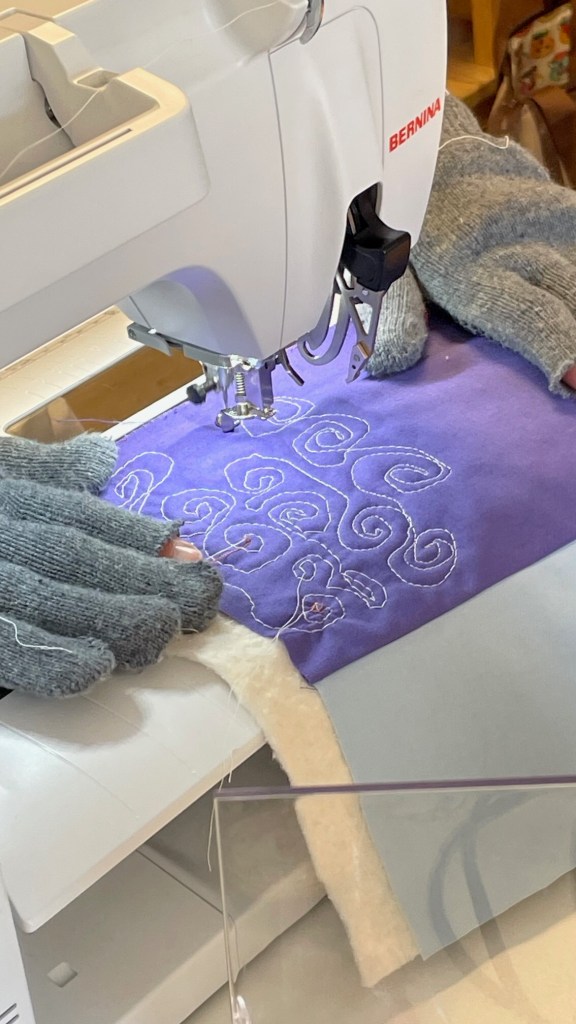
In part two we learned about expanding the appliqué with embroidery.We continued to work on the pillows.I really like the different background fabrics.An adorable little bee.Lovely stitching.We tried out free-motion stitching.A little bit of mock trapunto. The mushrooms are so beautiful.Perfect stitching.An adorable bluebird.Preparing some flowers.So full of life. Vibeke used a vintage napkin for her background.The bright colours on the dark background are so dramatic.A mix of straight stitch and blanket stitch.Love the colours.Cutting away the batting.Getting it as close to the edge of the flowers.A fabulous pillow.Bright on light.Stitching with the basic foot.A great choice of colours.Endless different pillows and stitching.
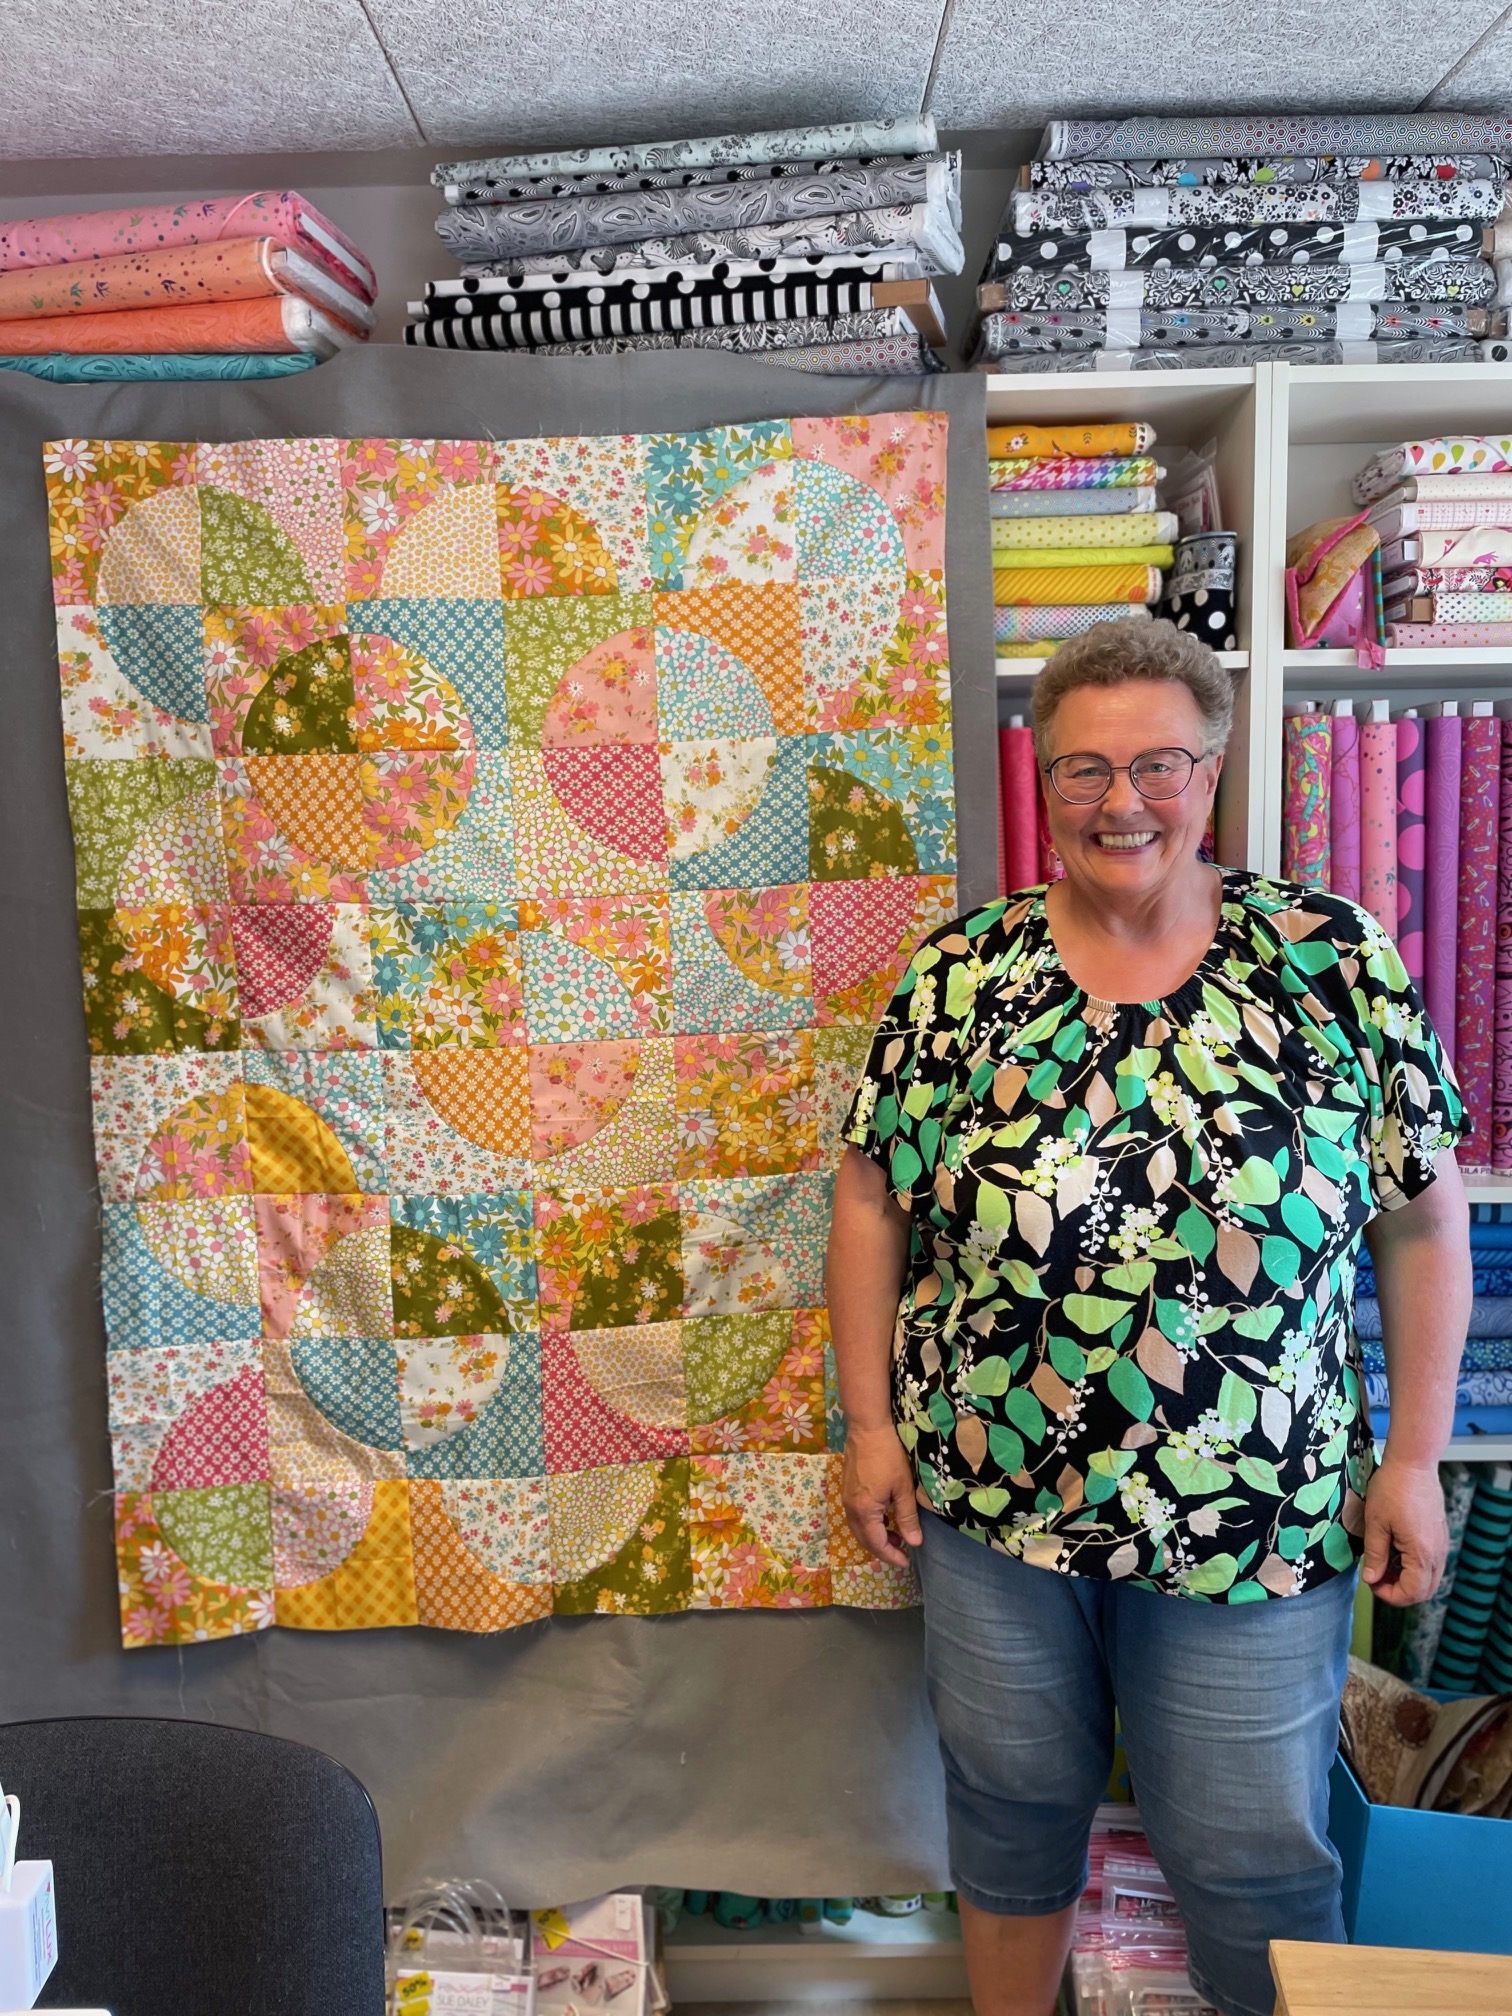
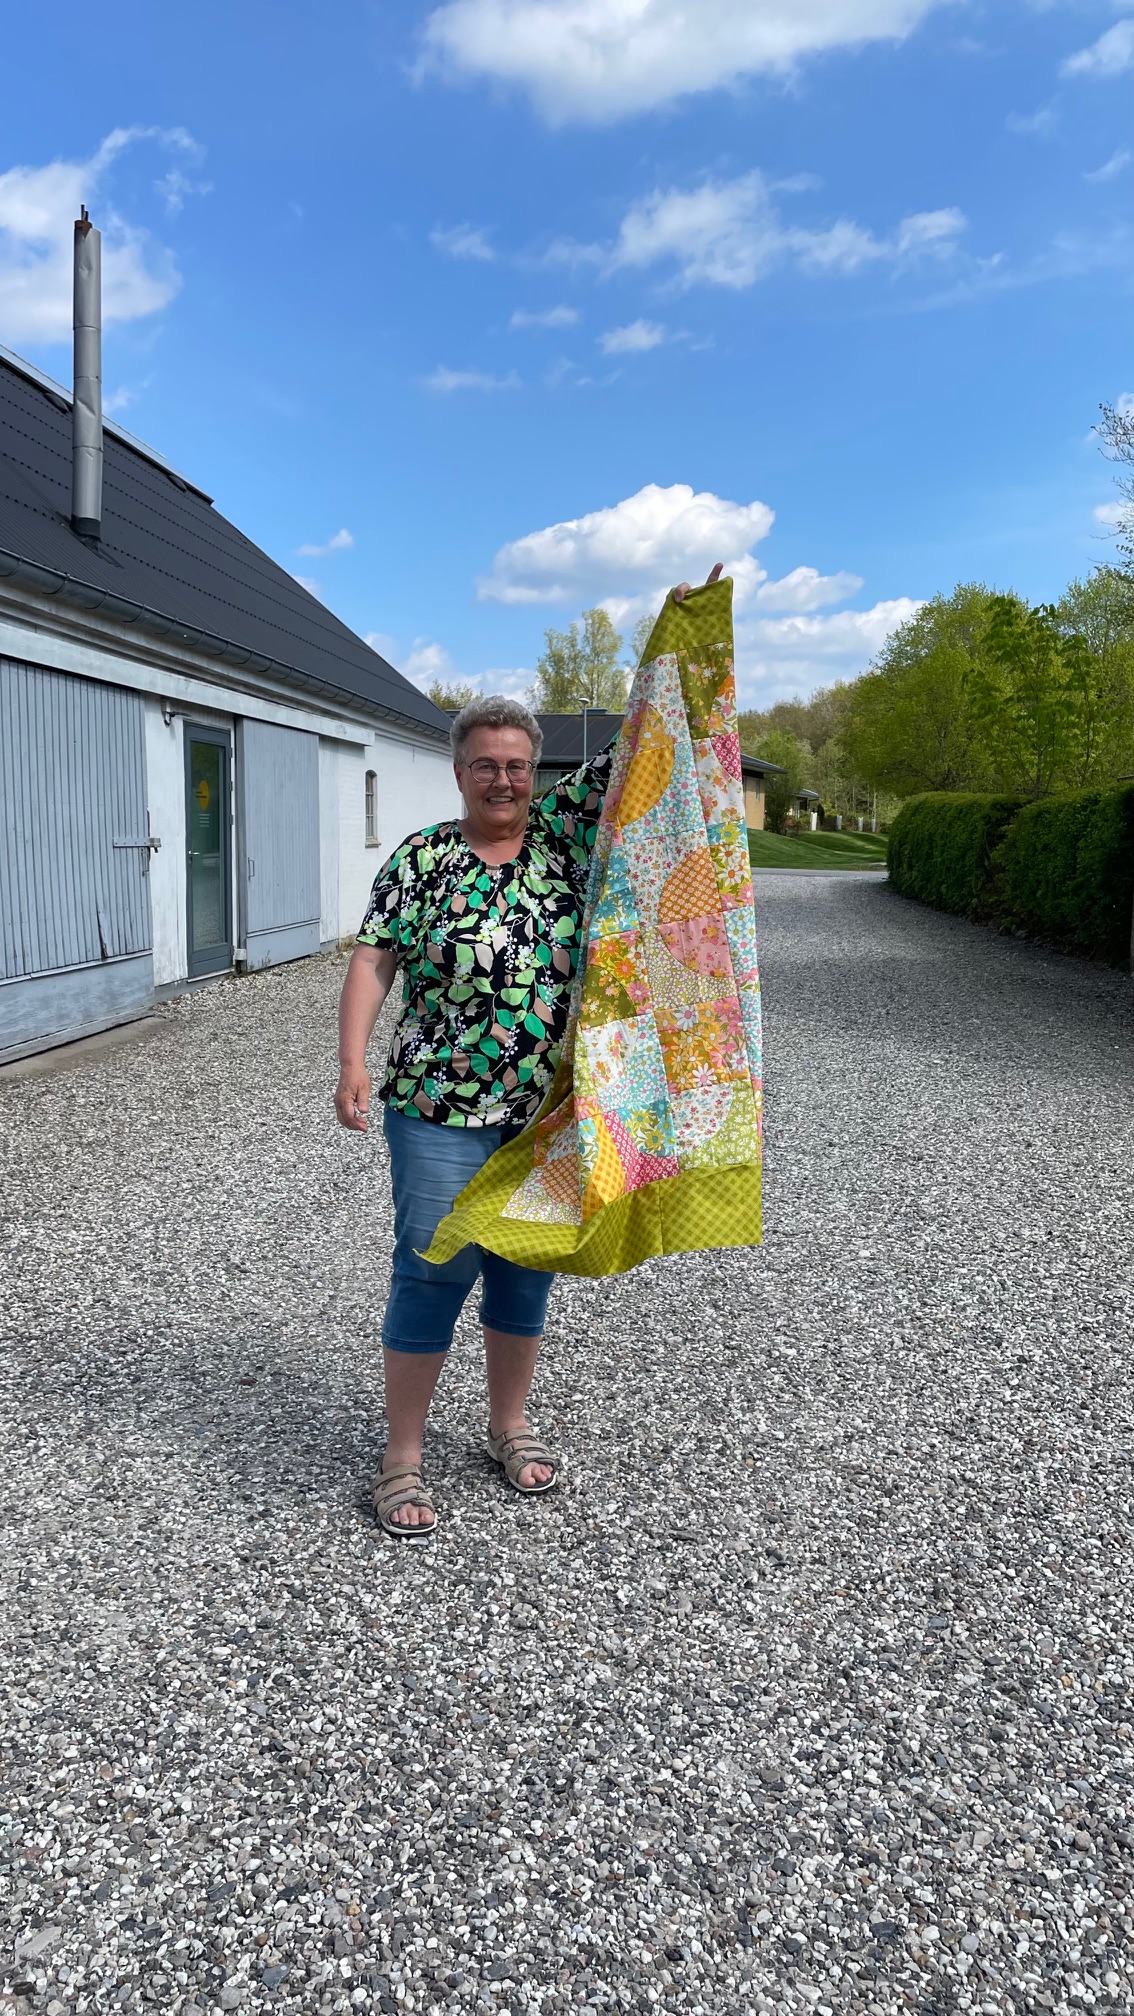
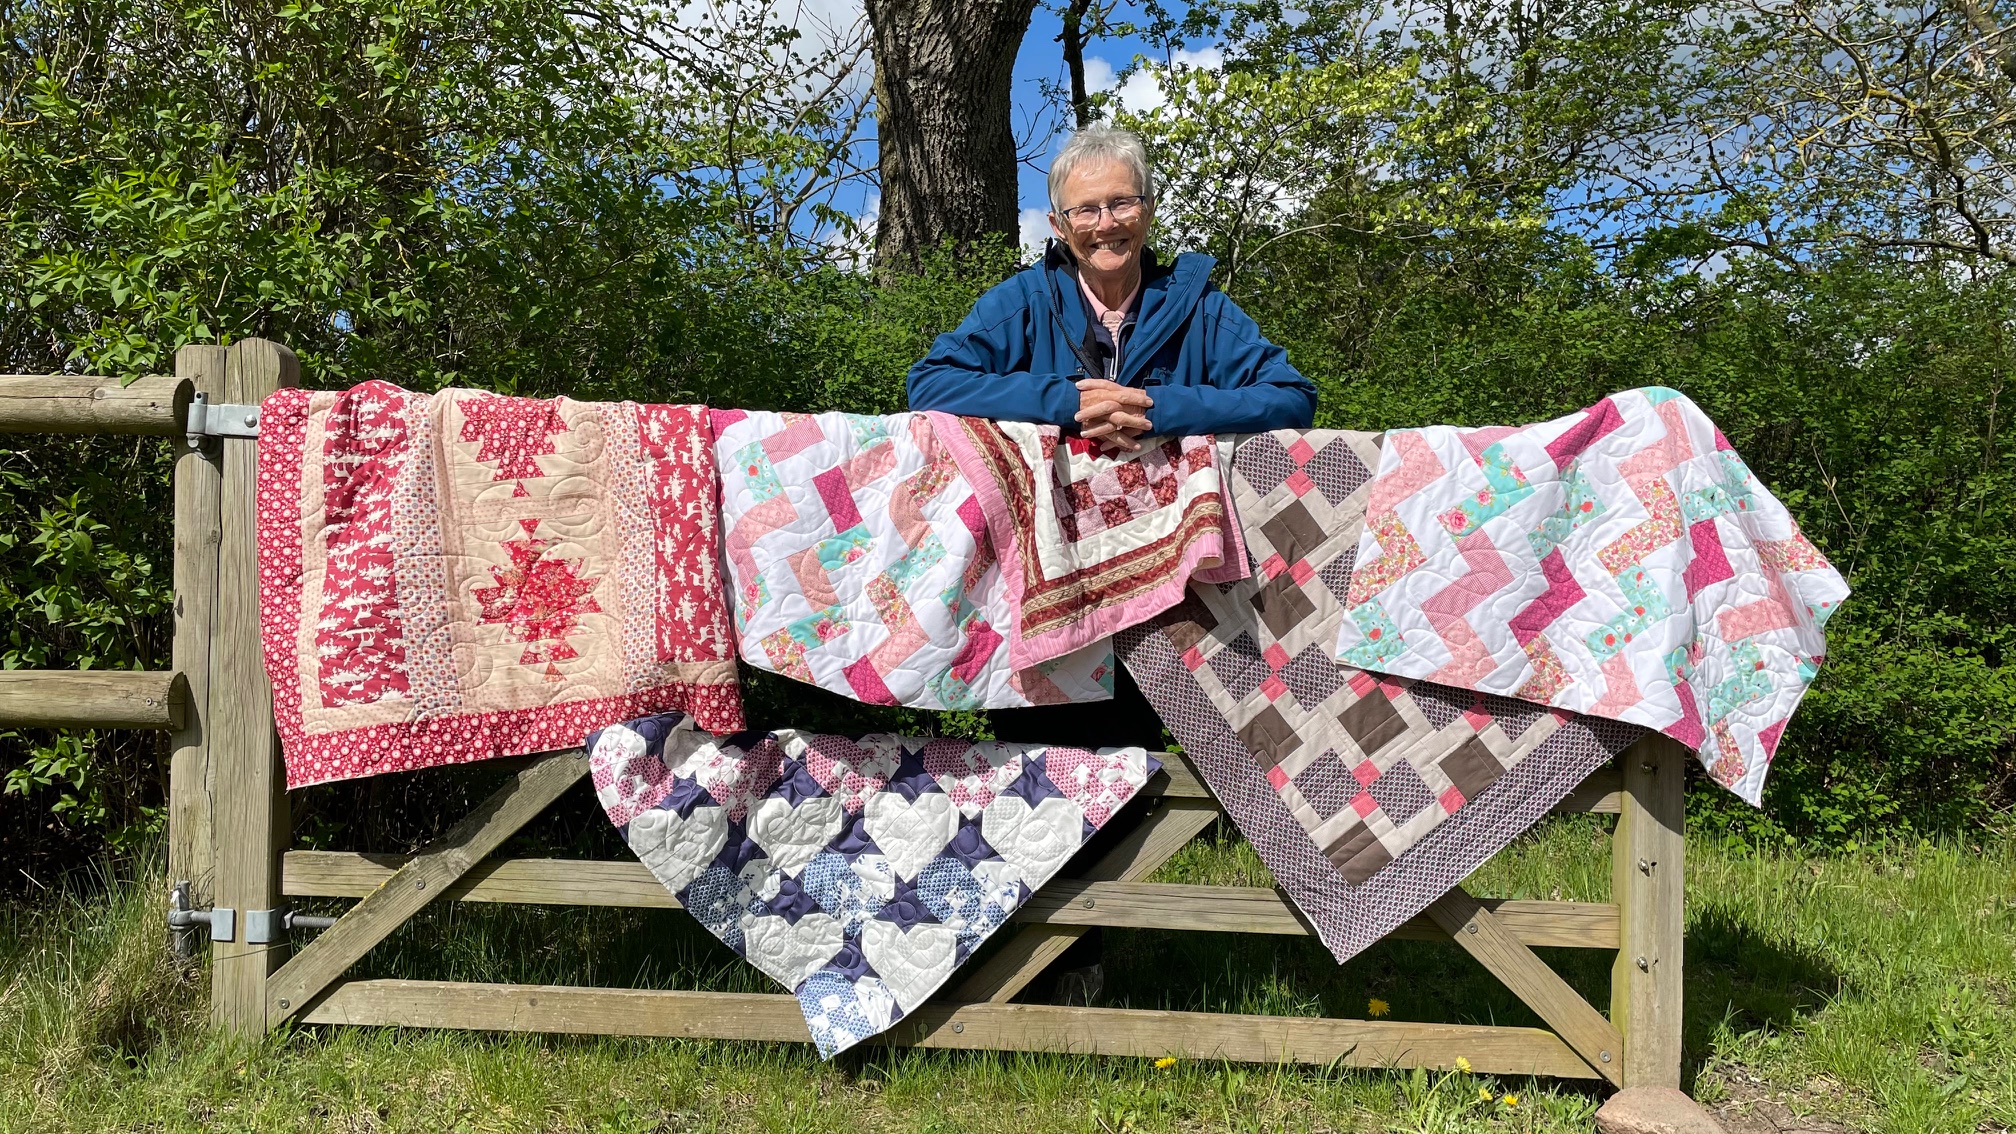
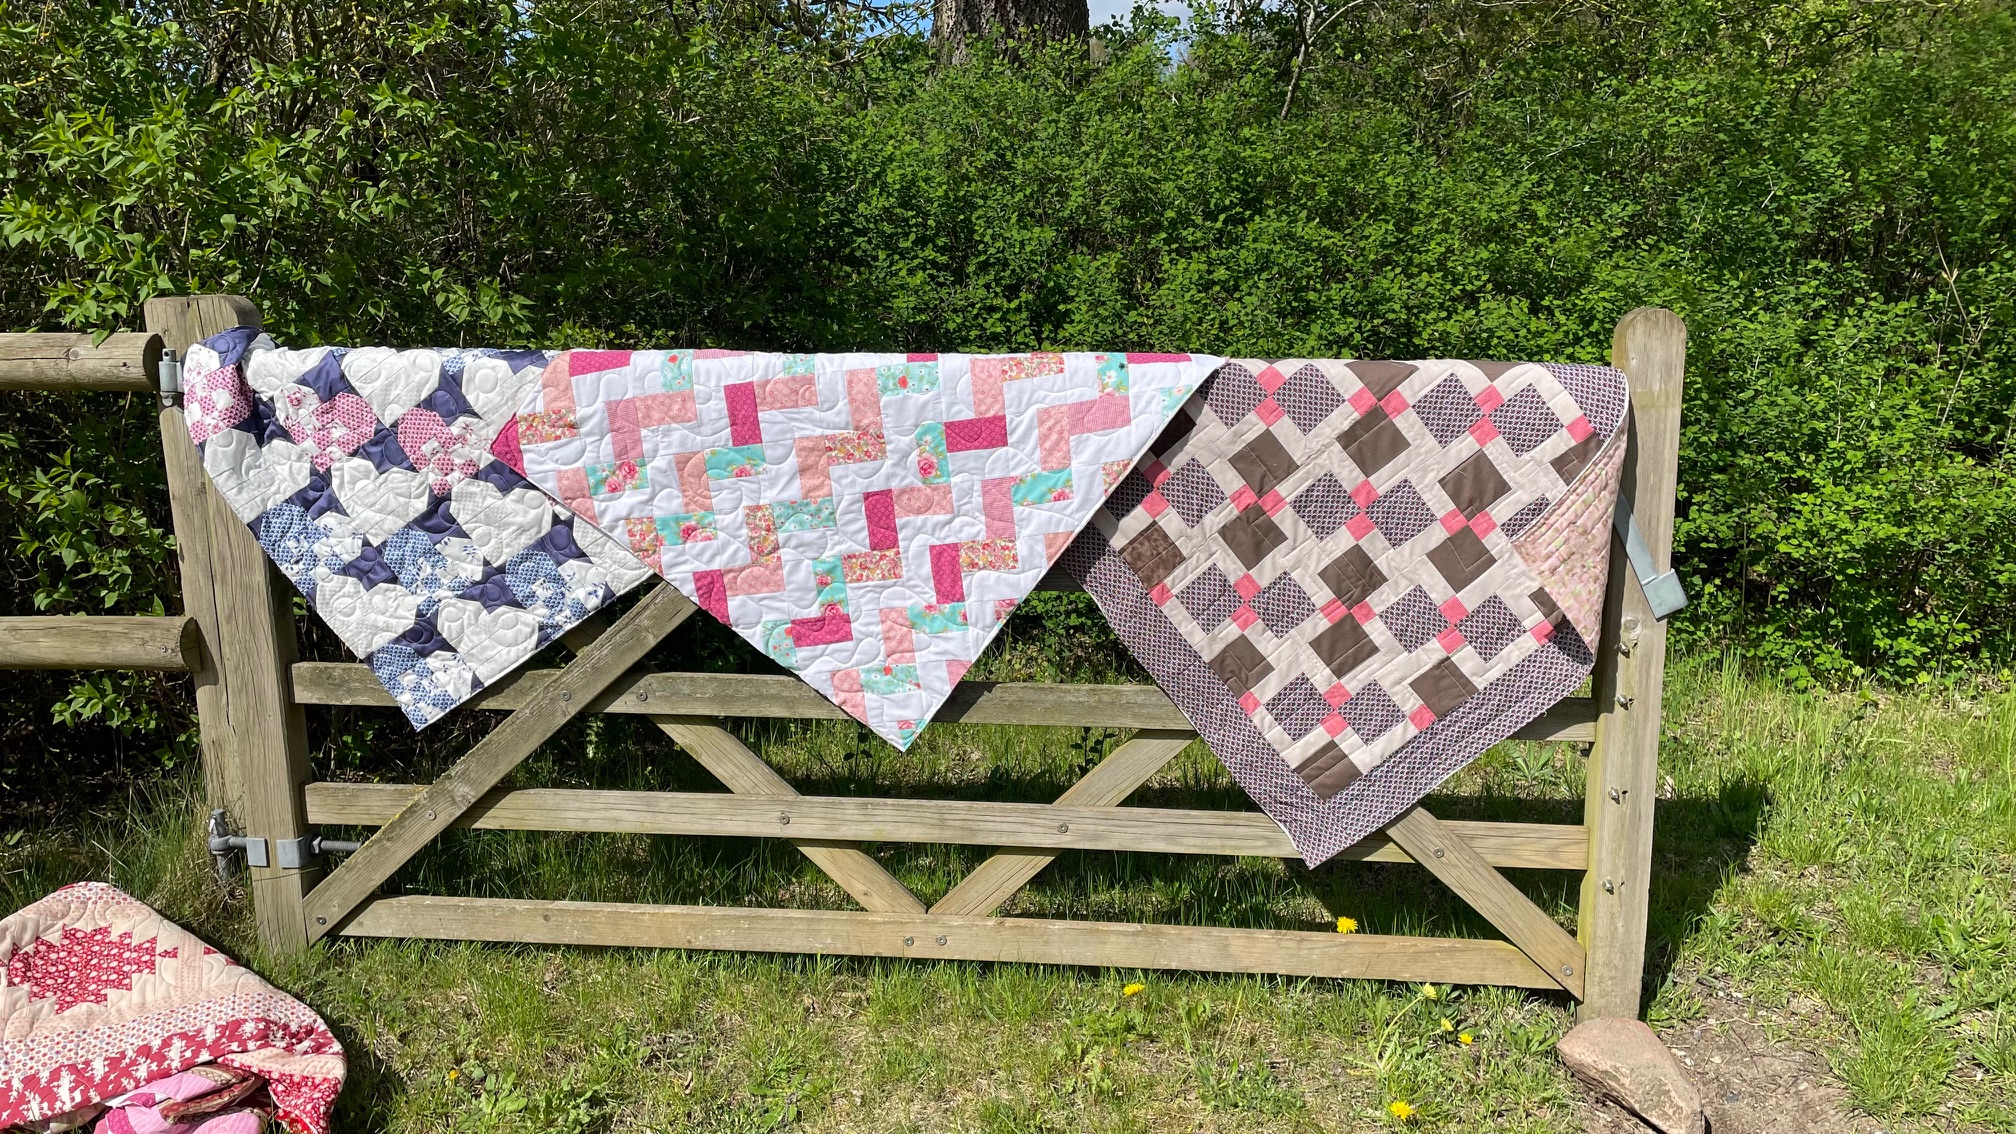
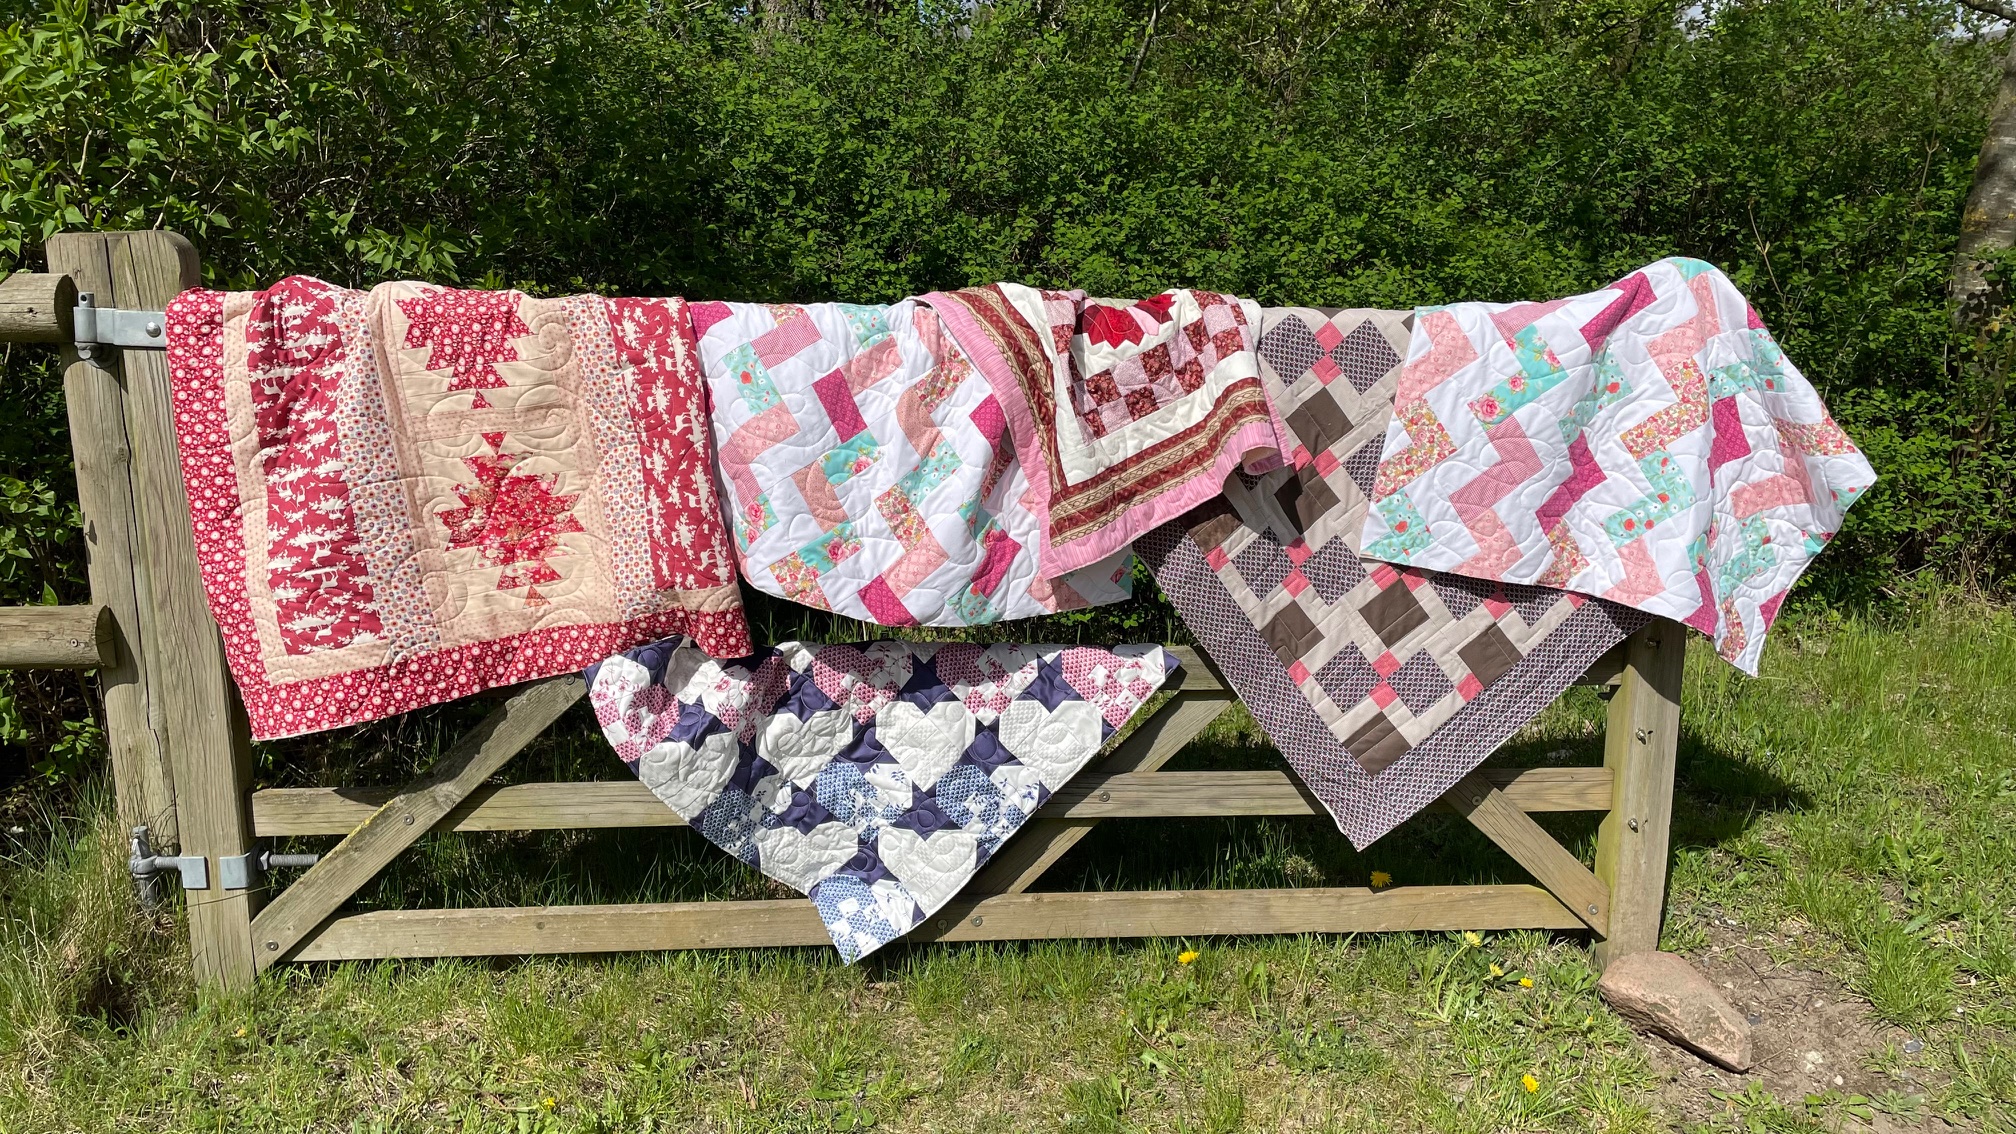
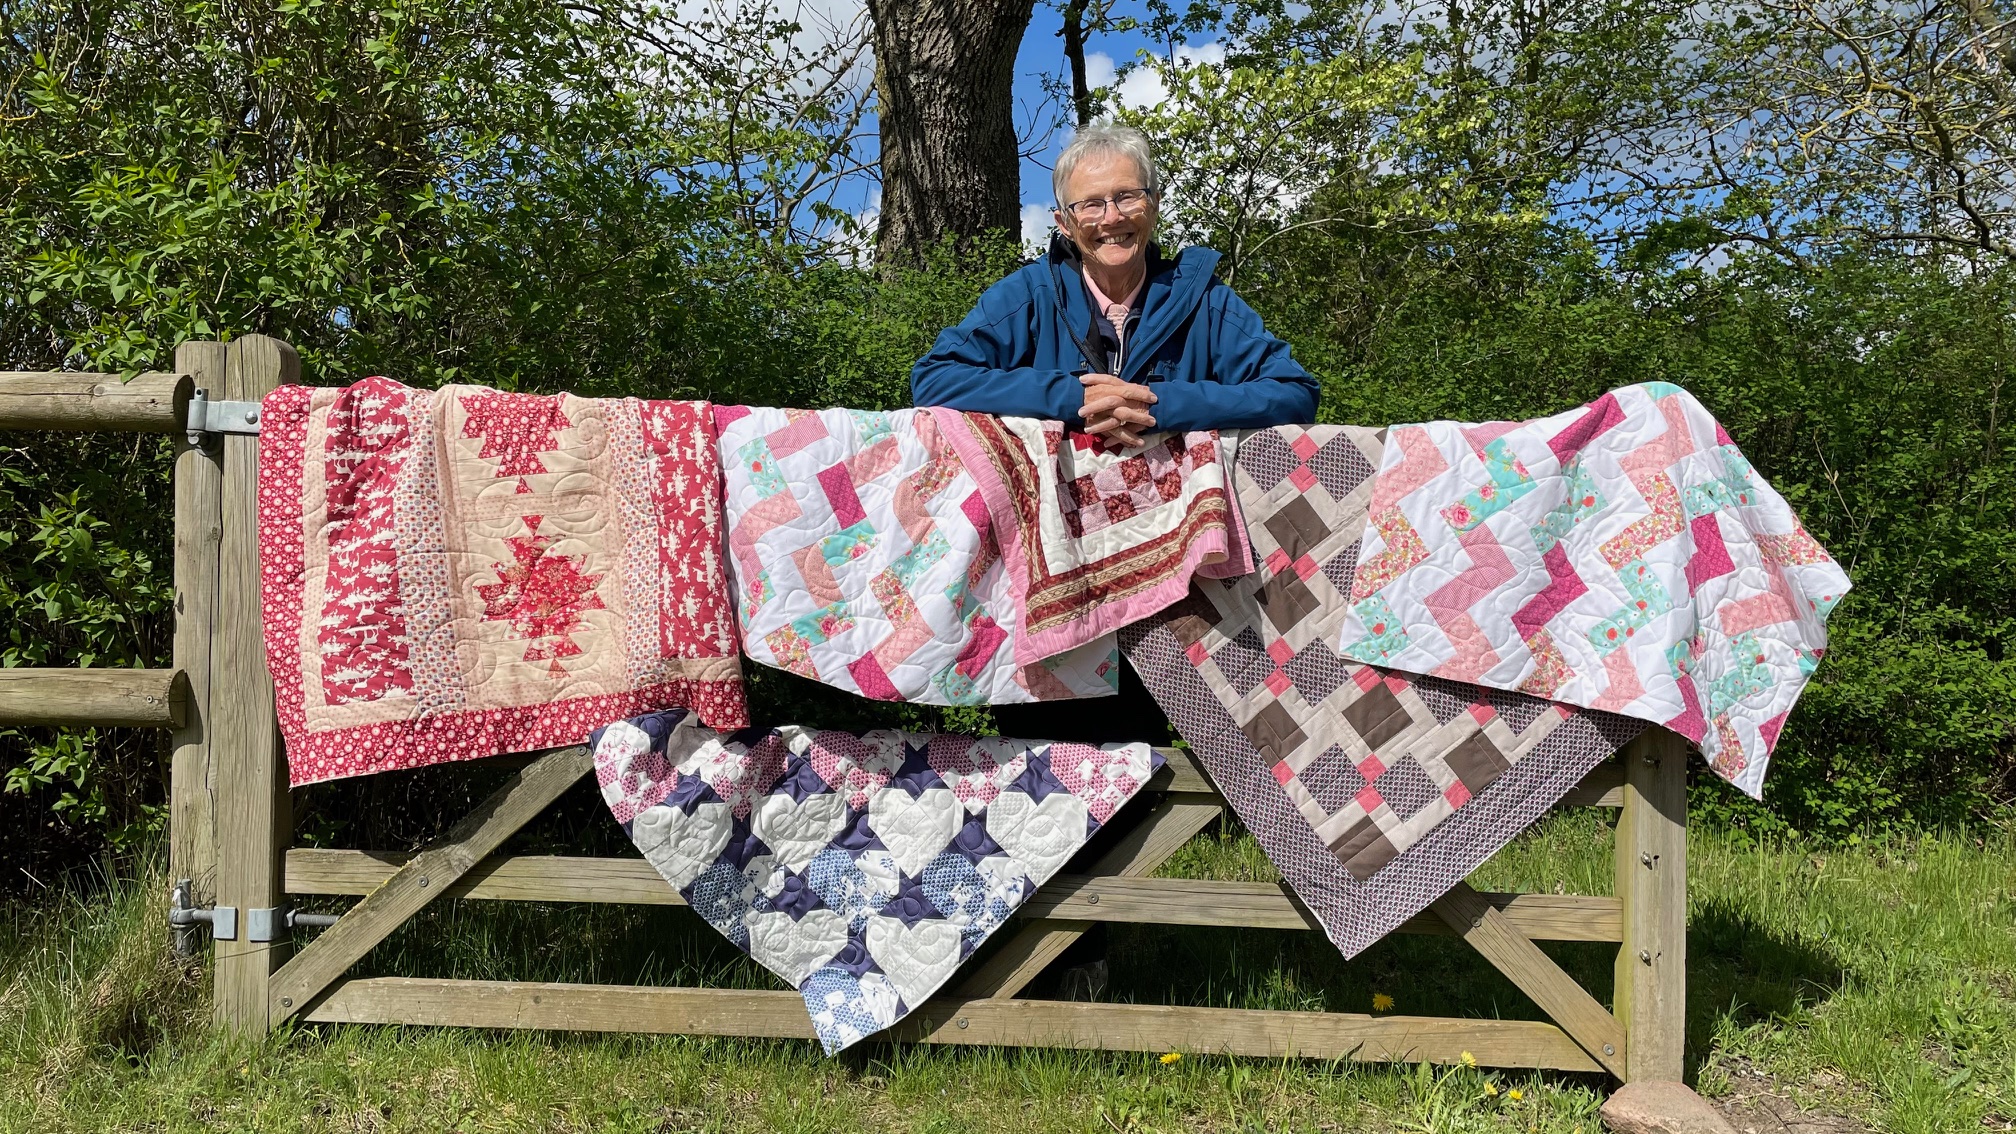
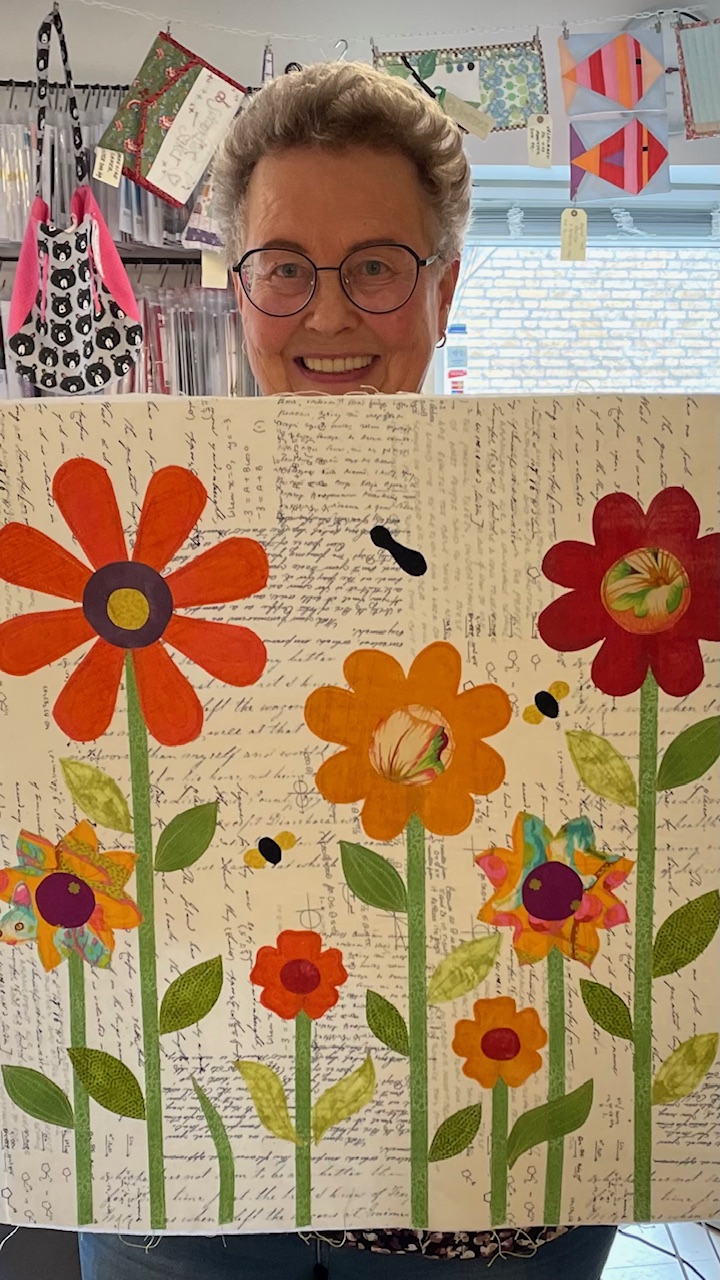
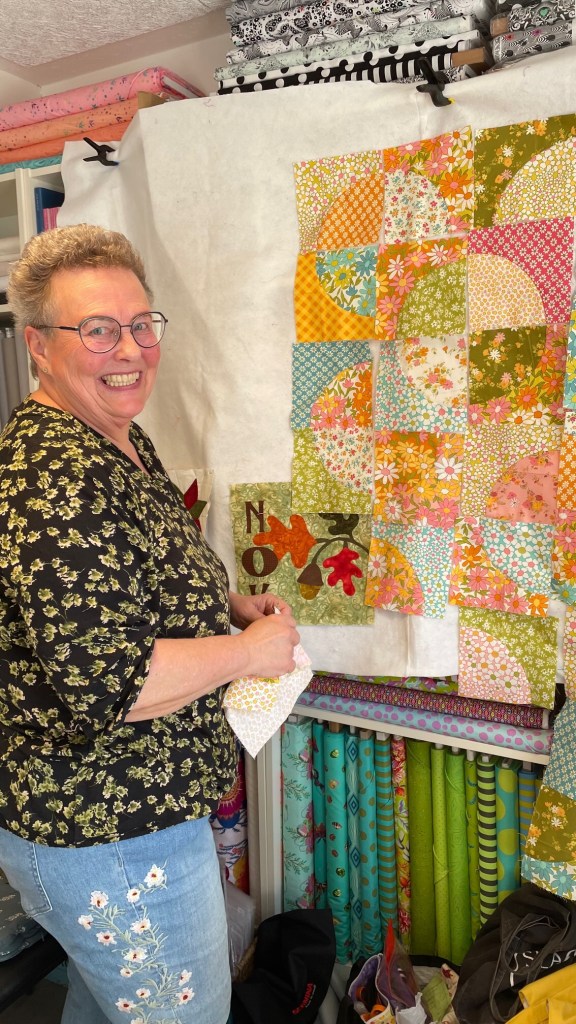
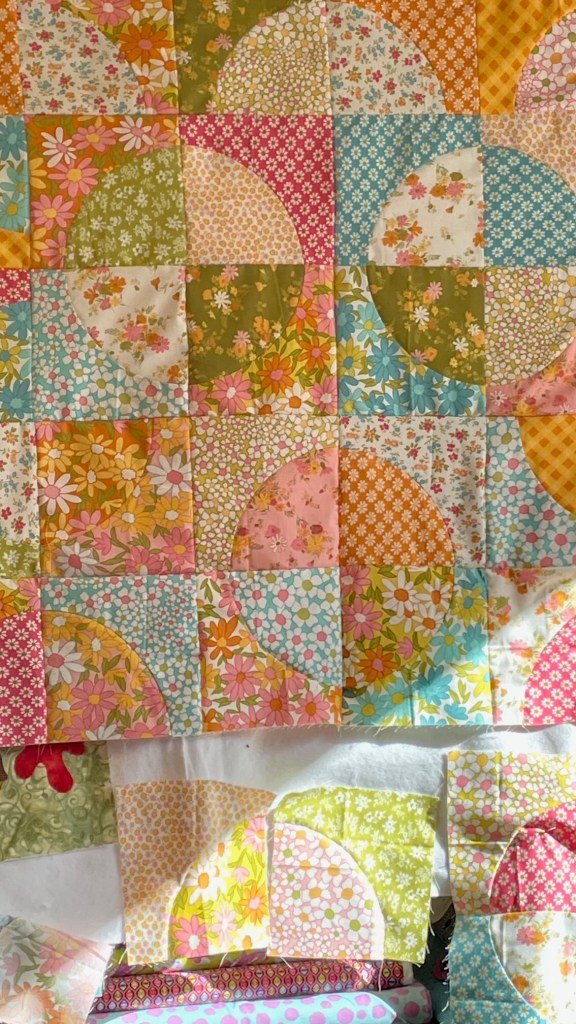
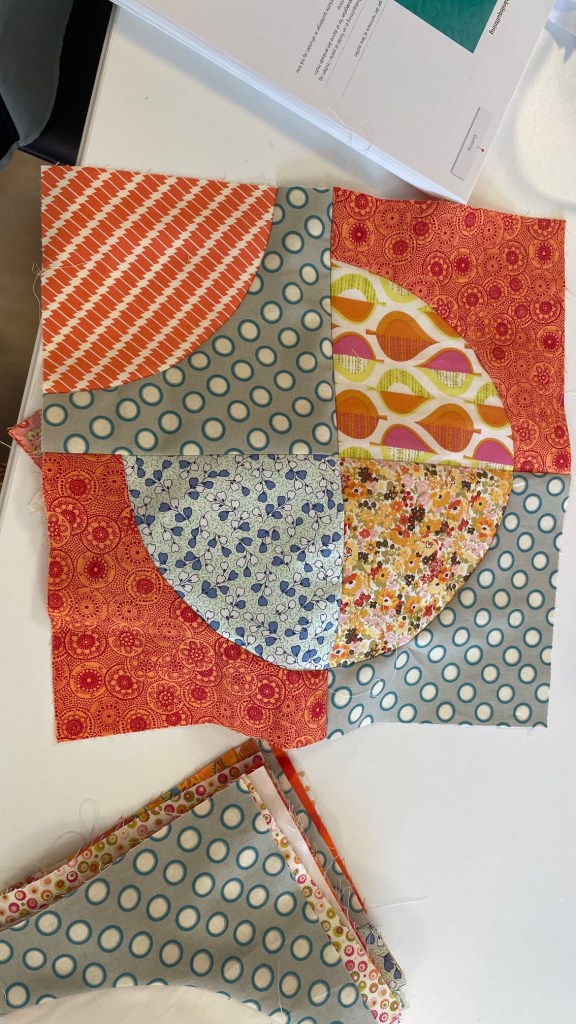
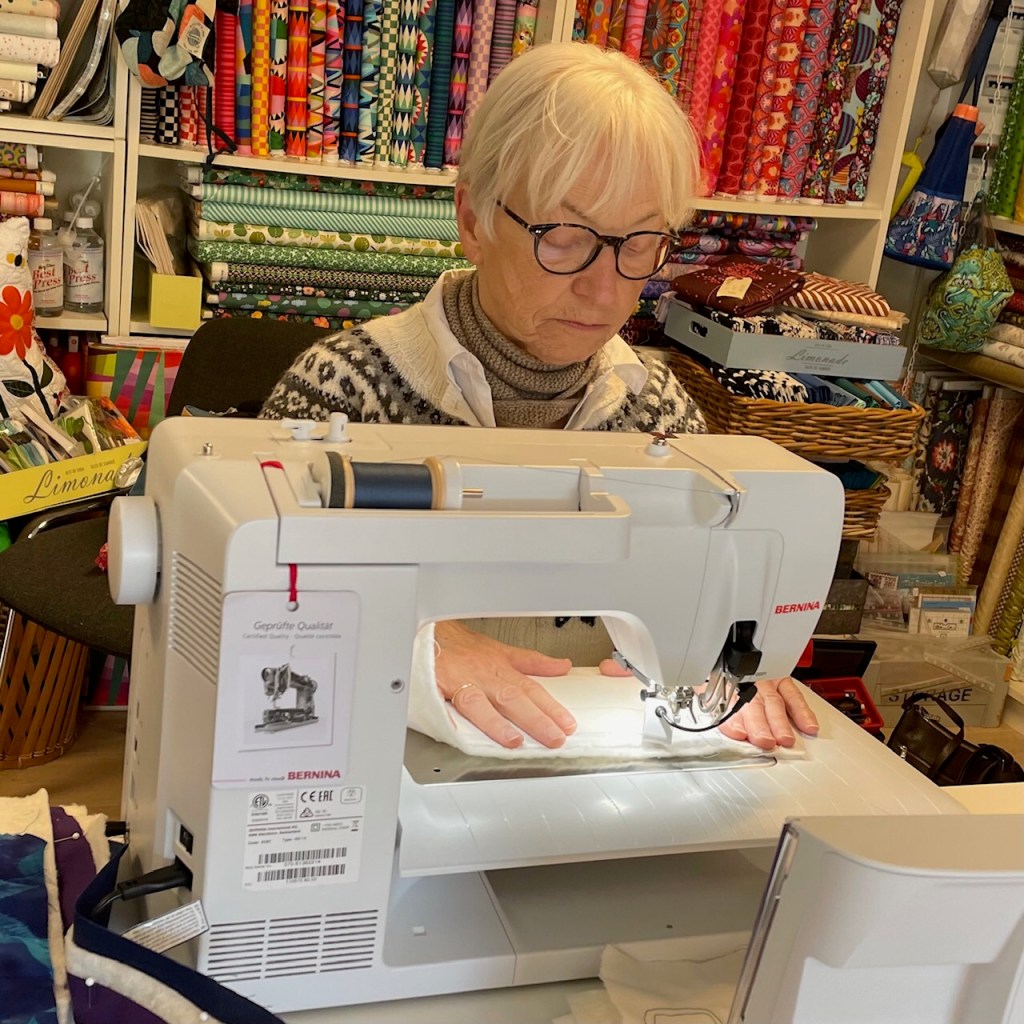
We have a fabulous day catching up with quilts Beautiful spring coloursWindy weather!Gorgeous!!!Nearly all the blocks made in one class!Subtle spring colours.Let learn a little bit about free- motion quilting.A fantastic first try.
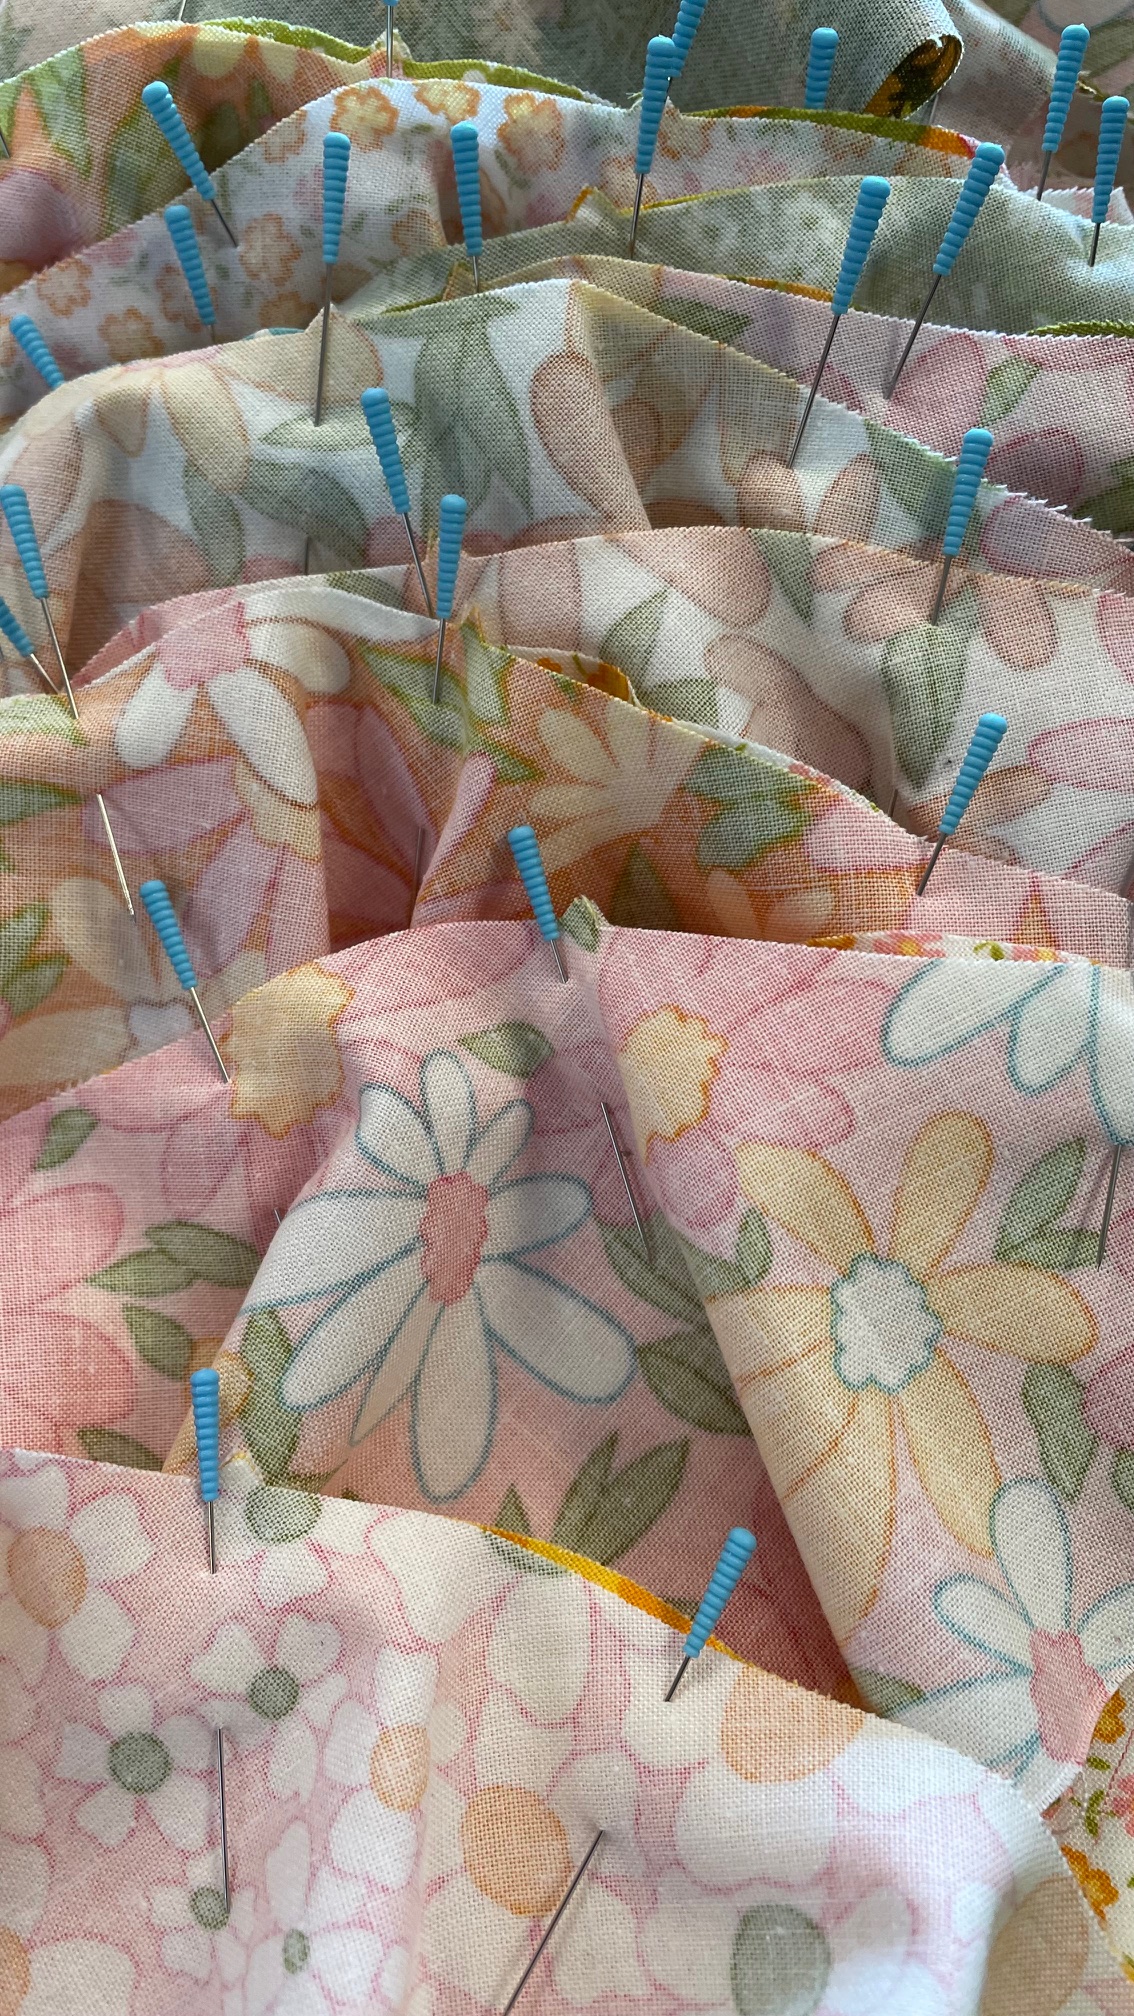
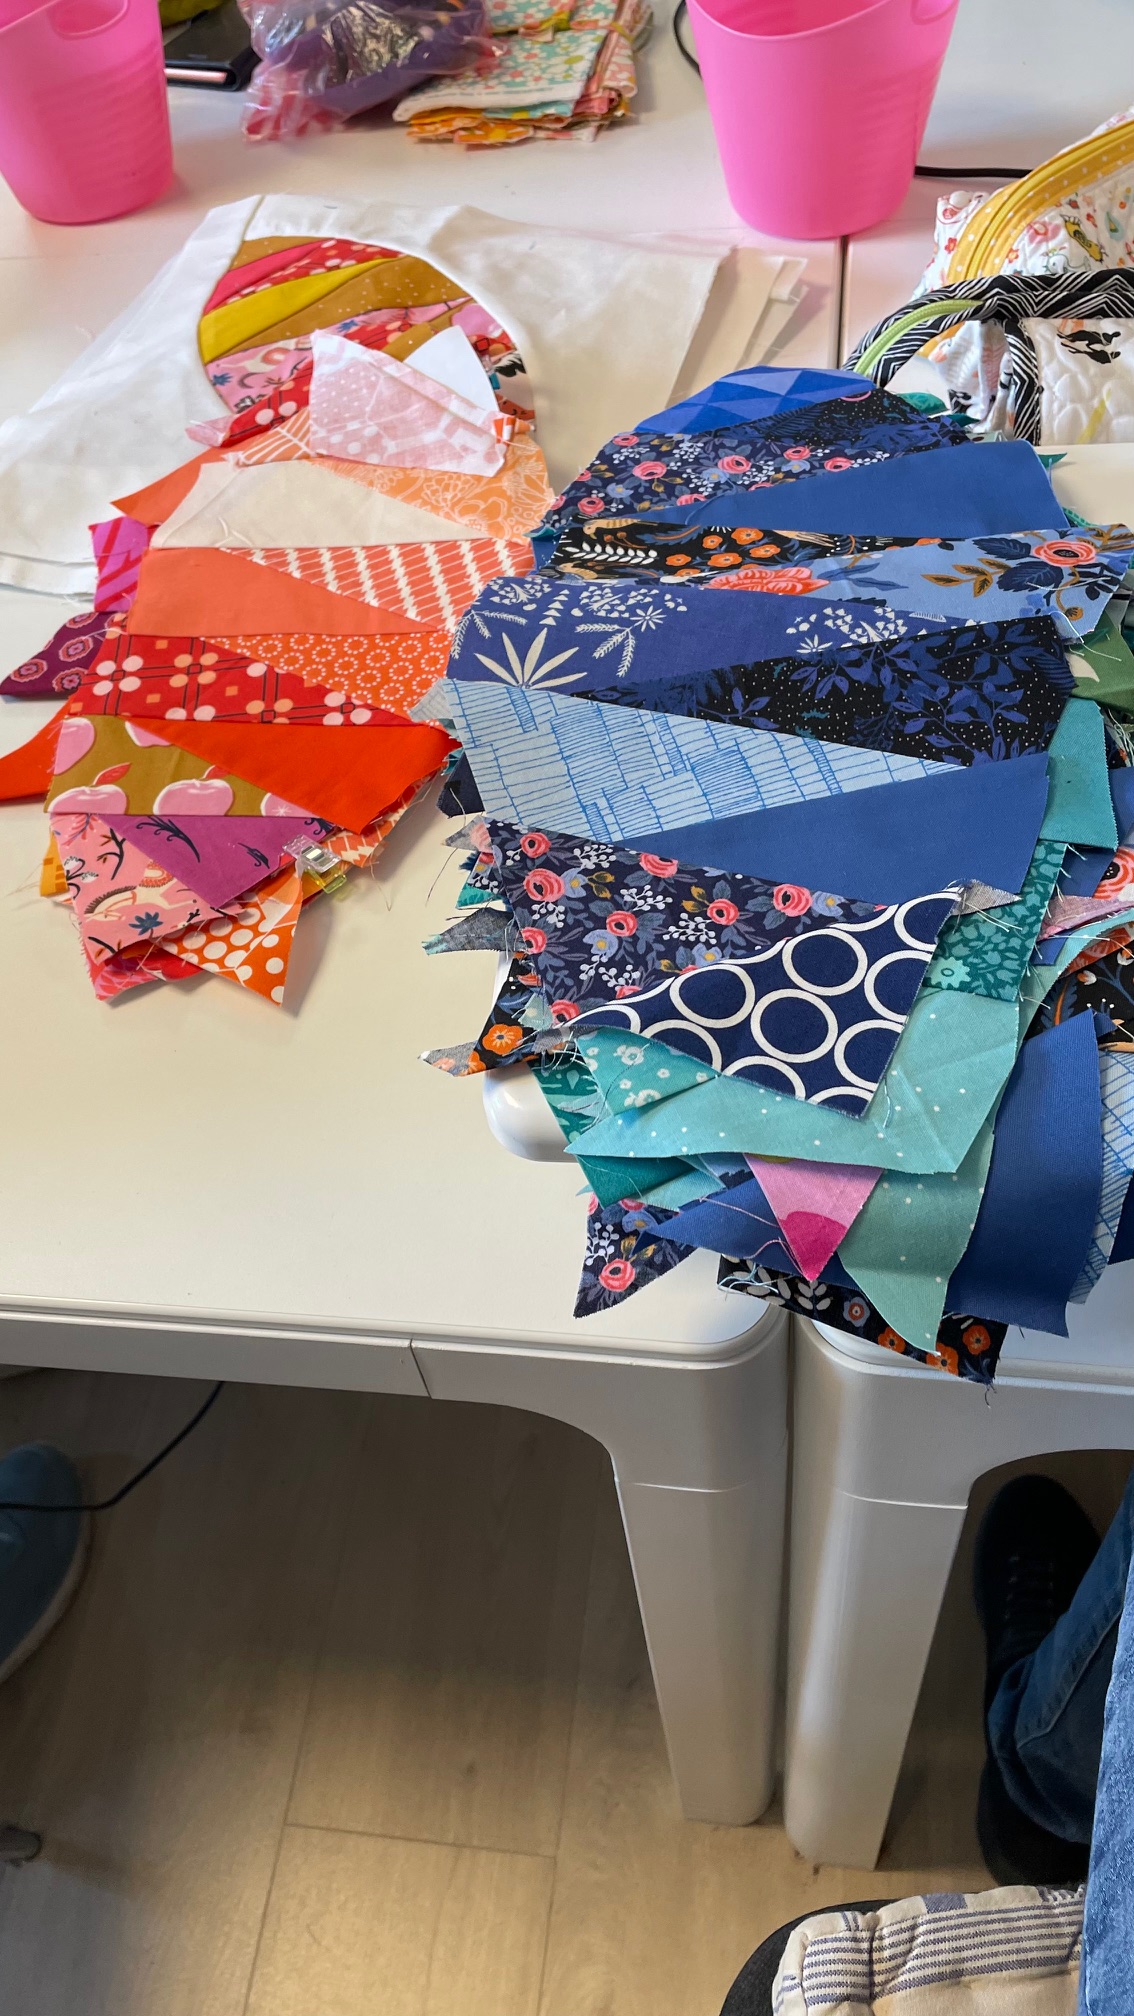
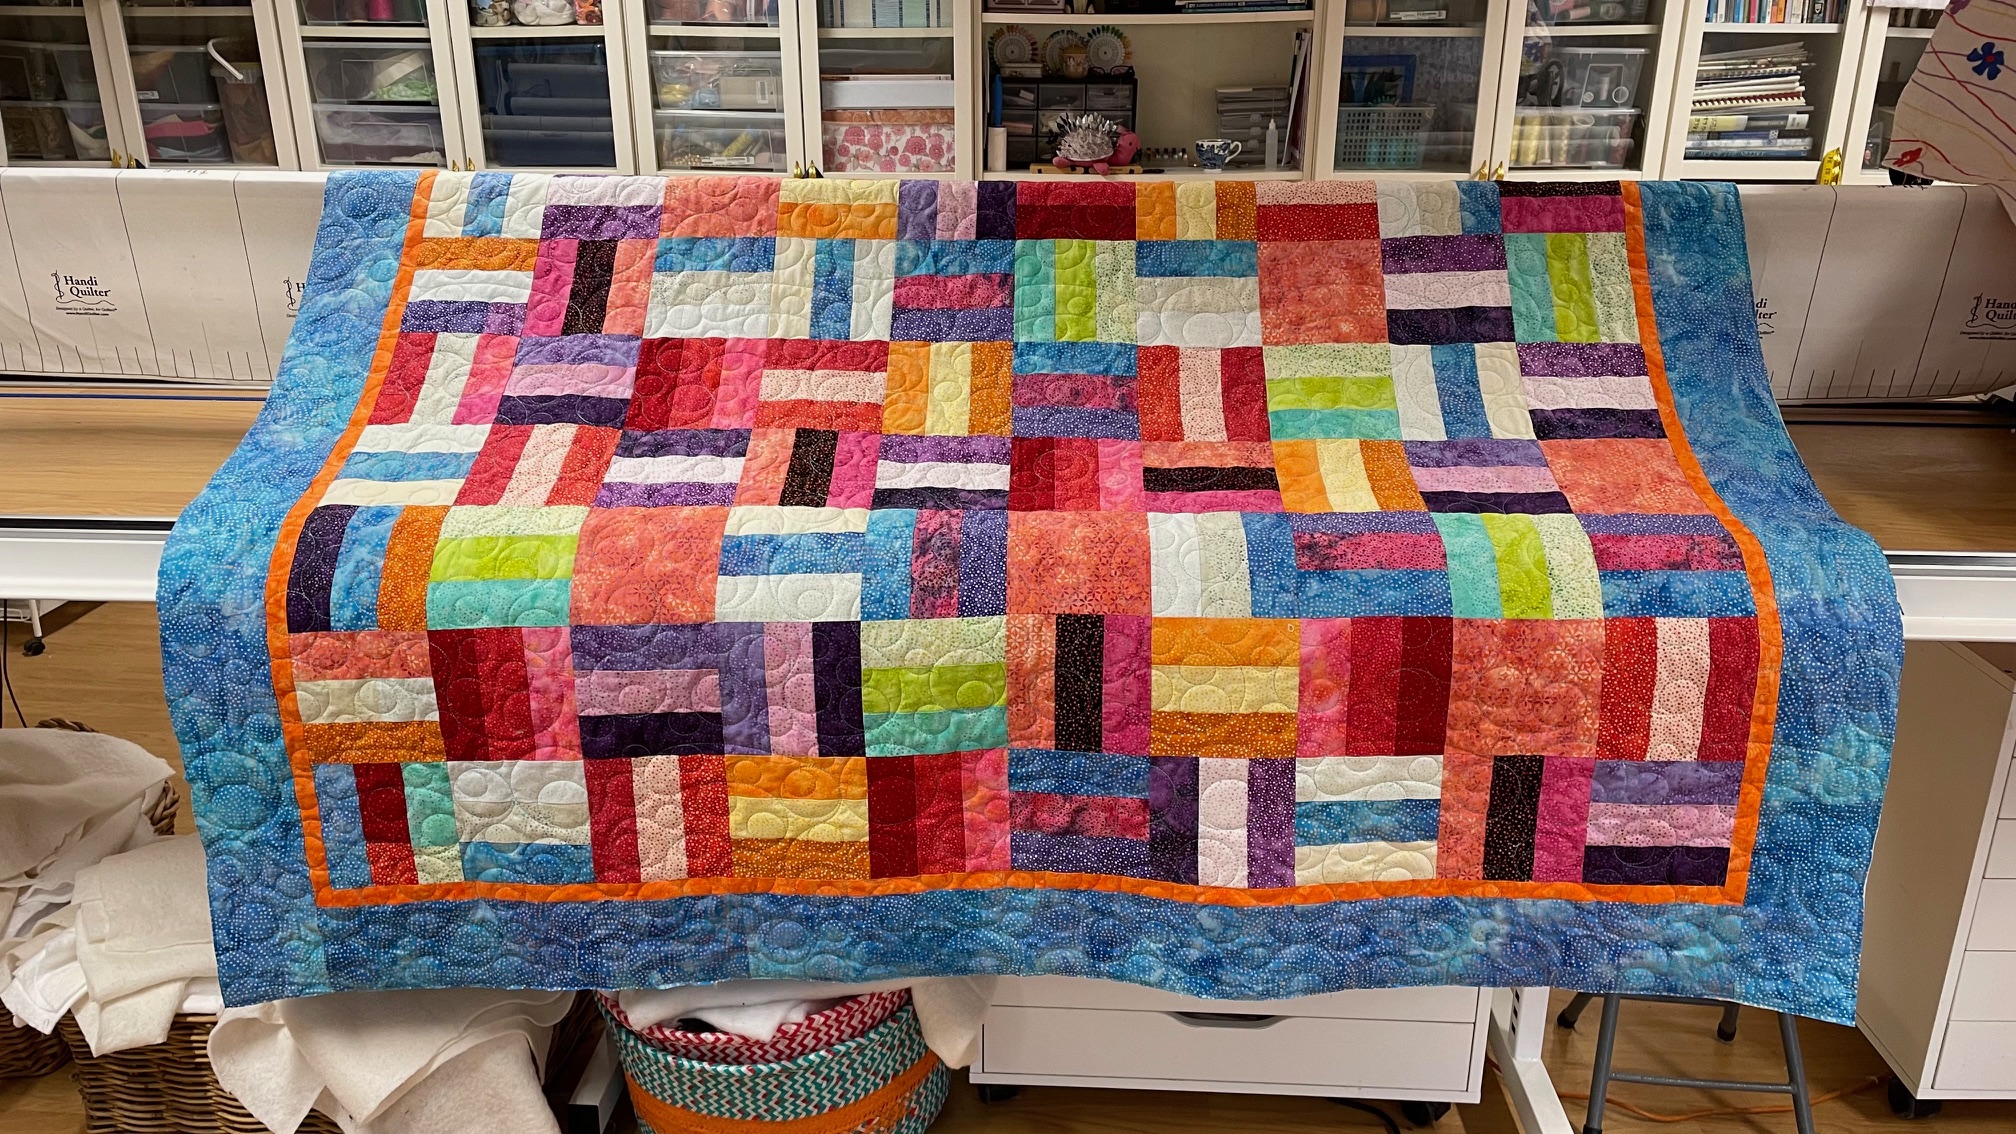
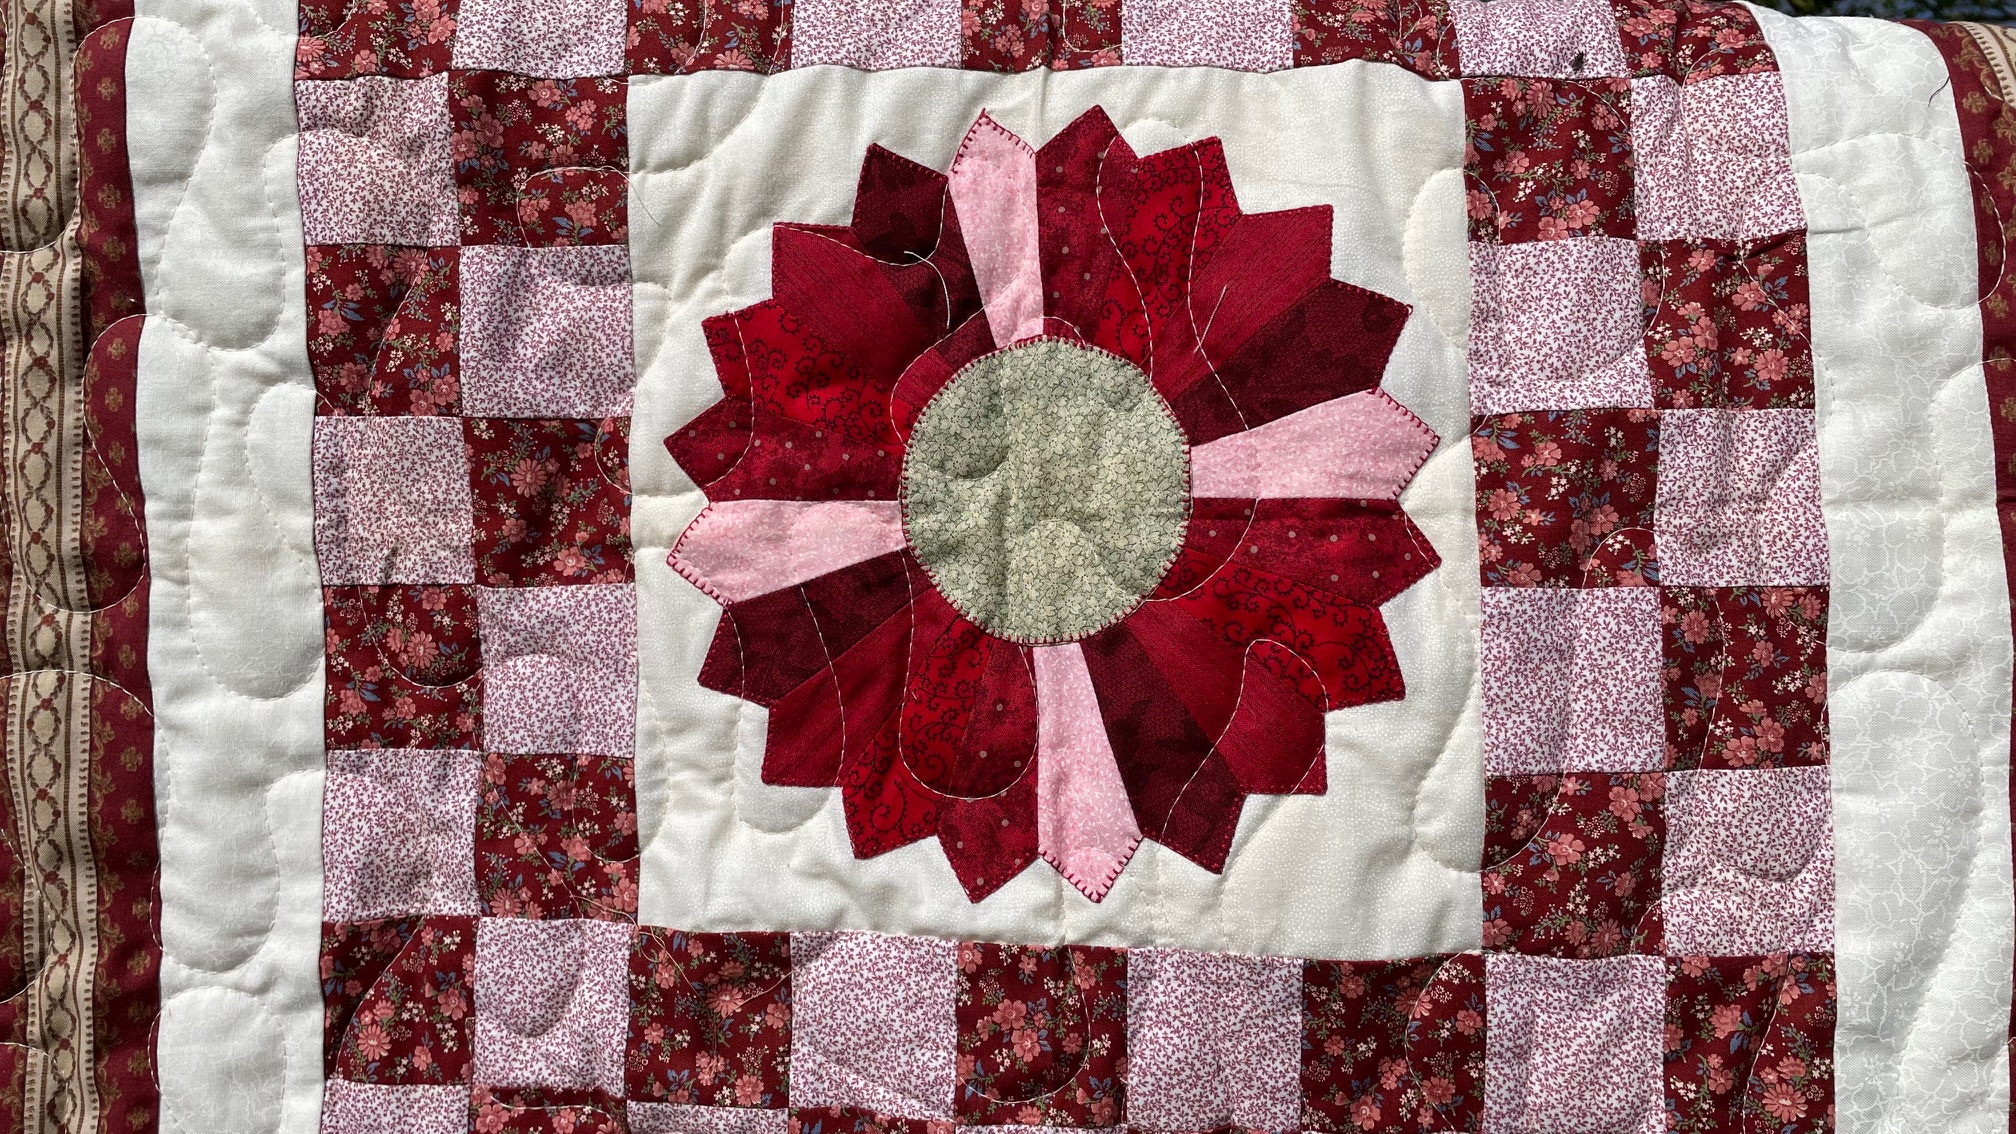
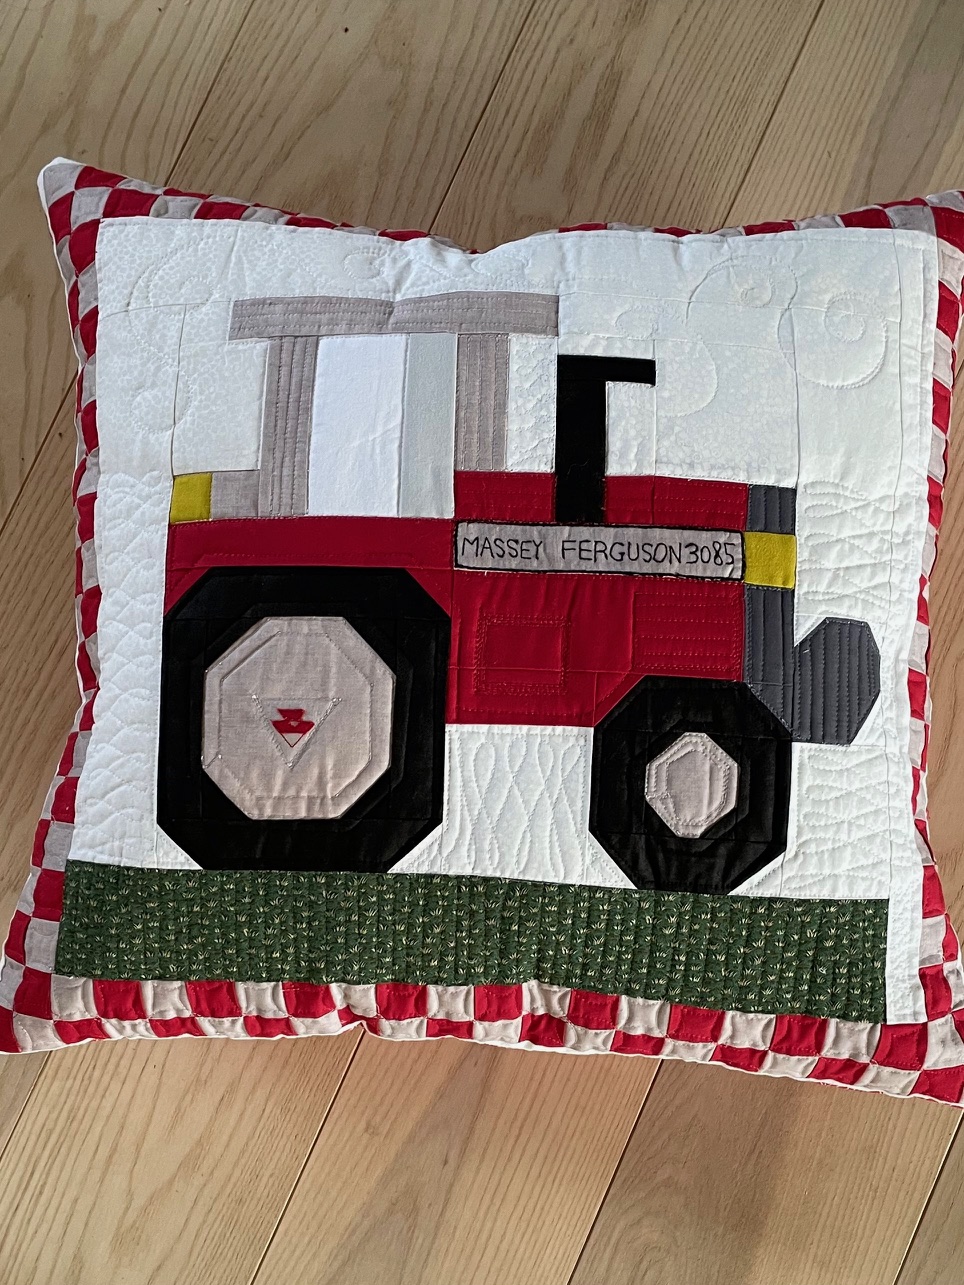
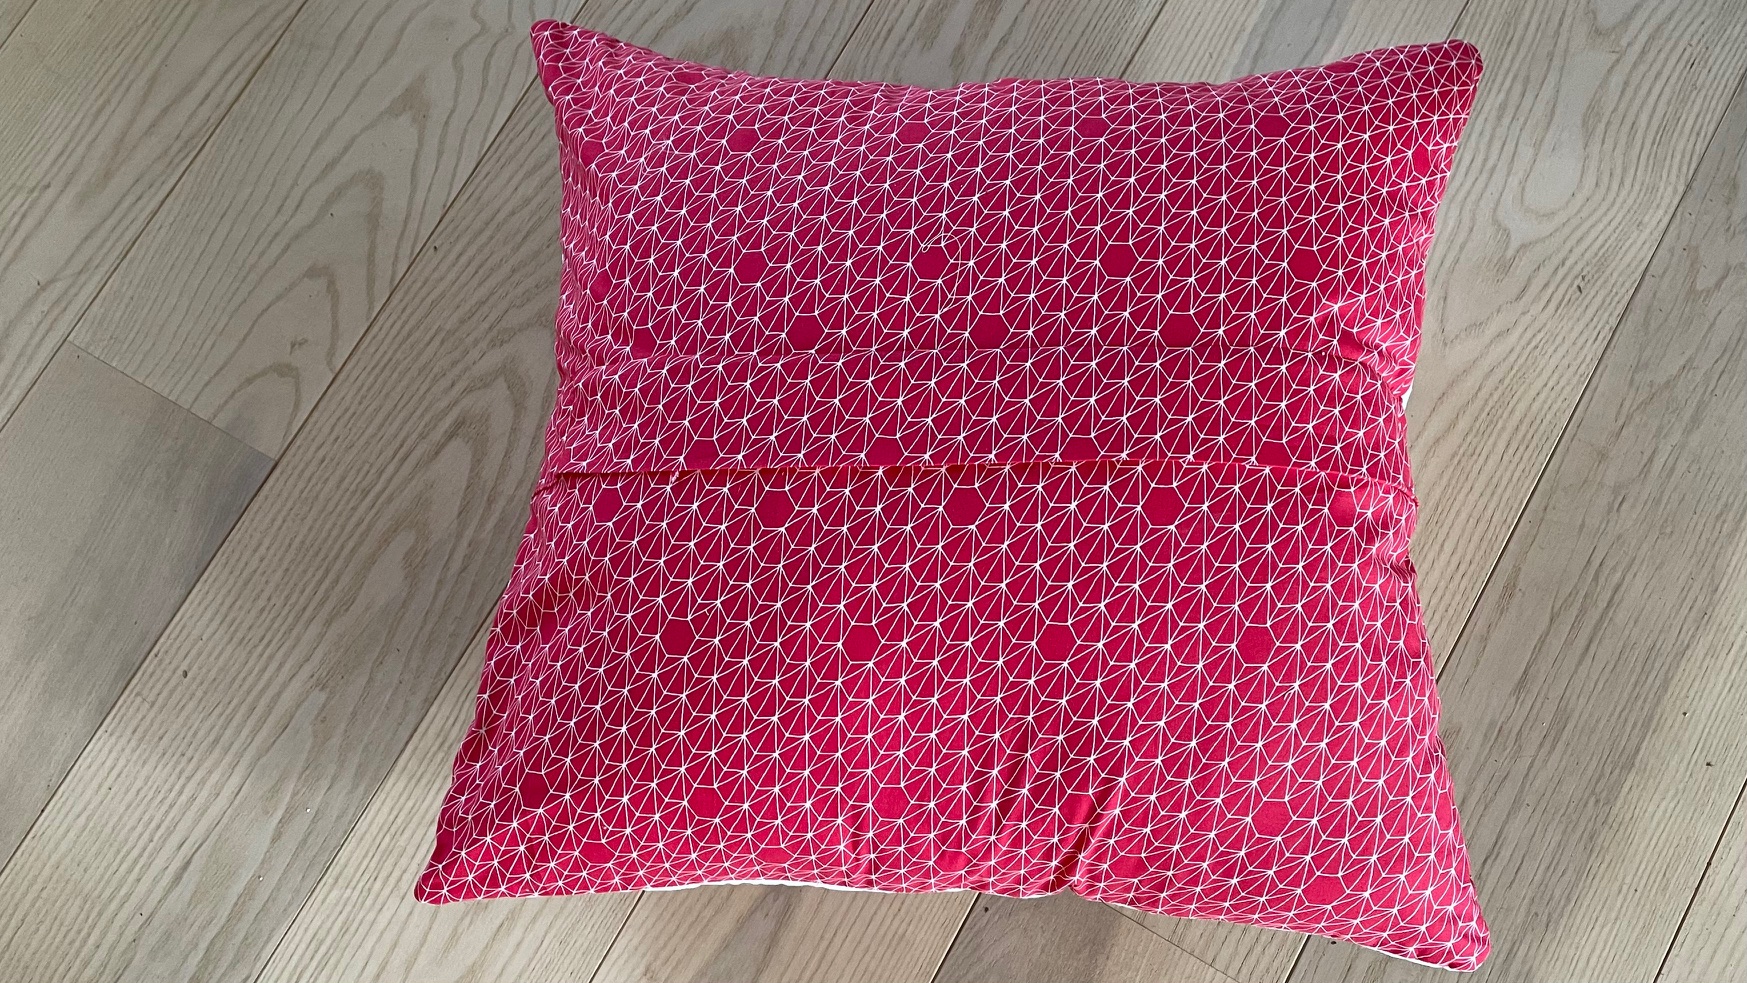
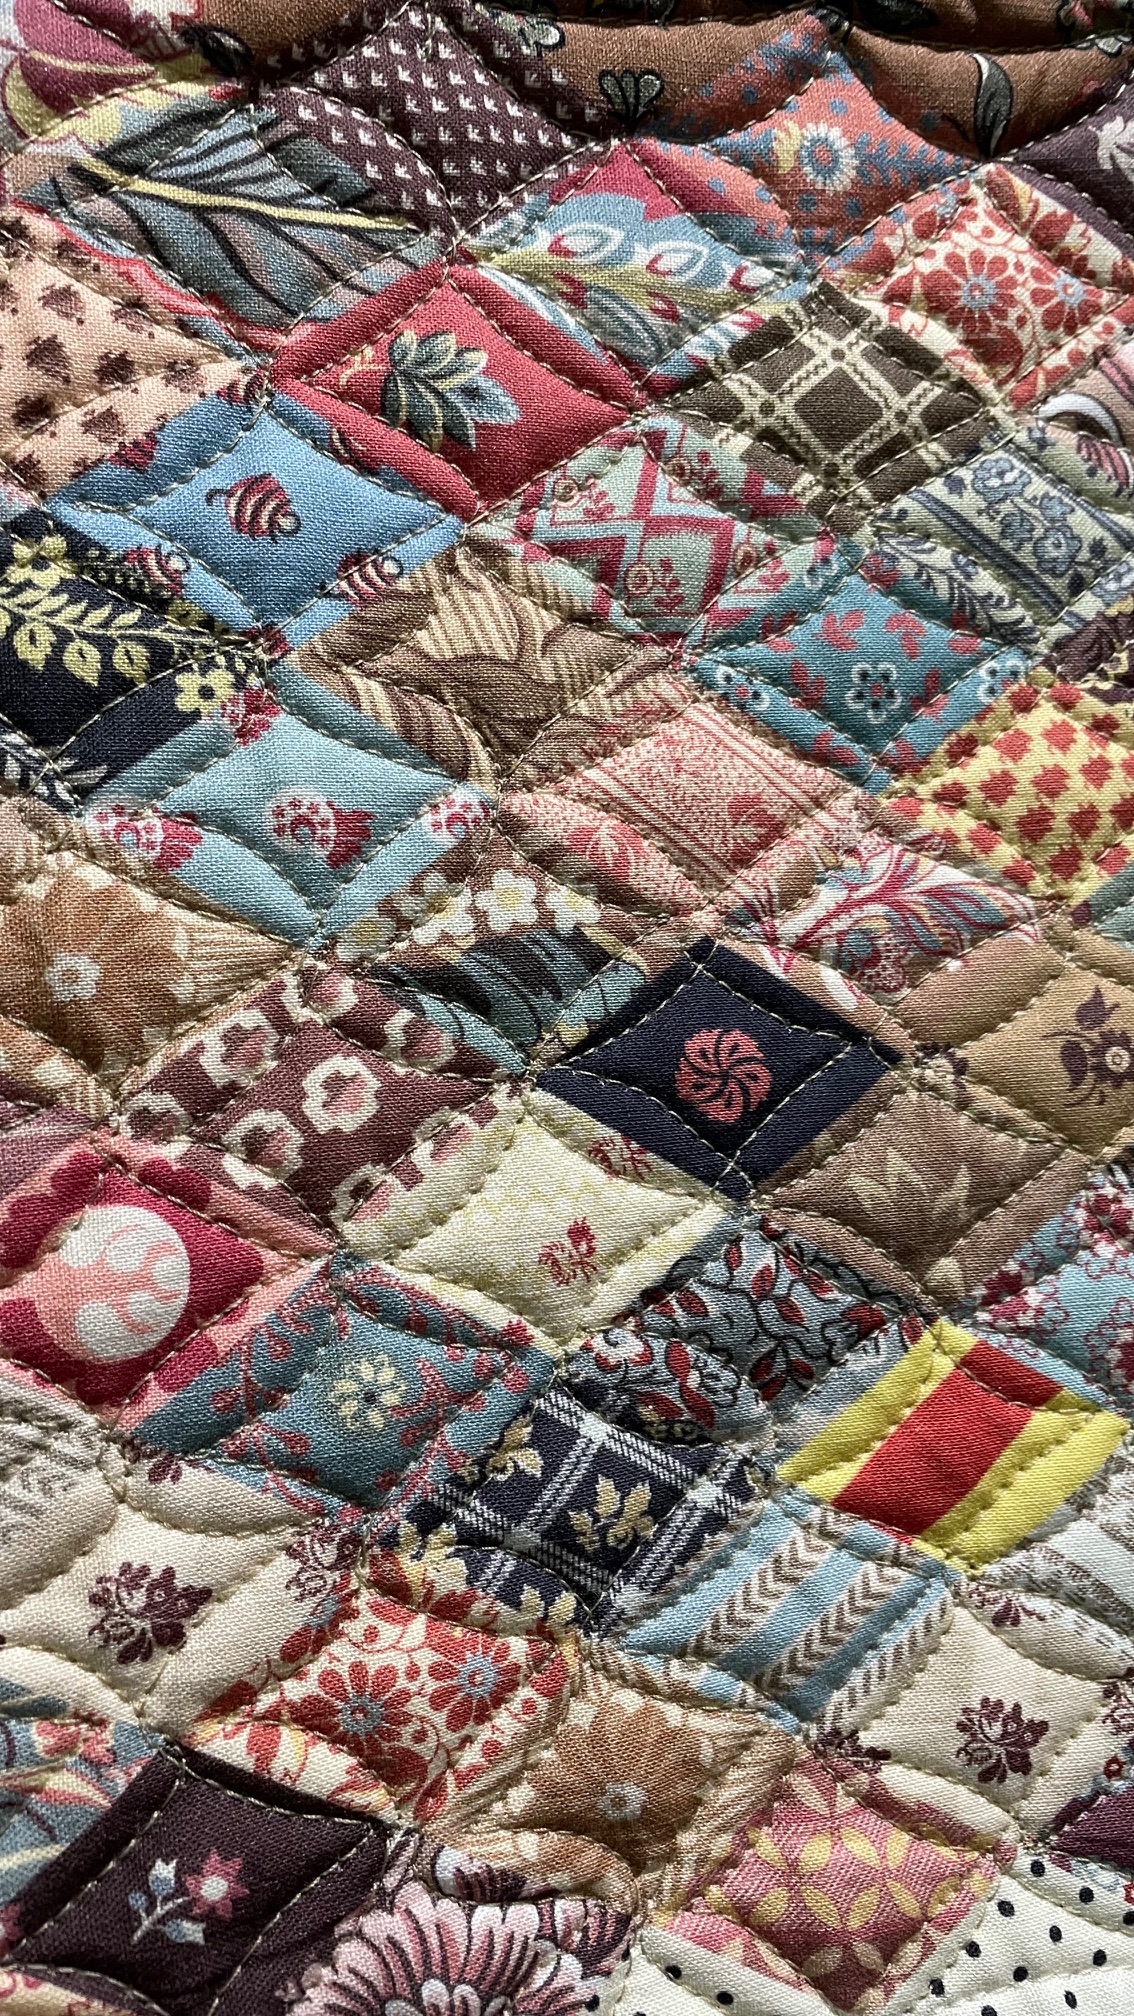
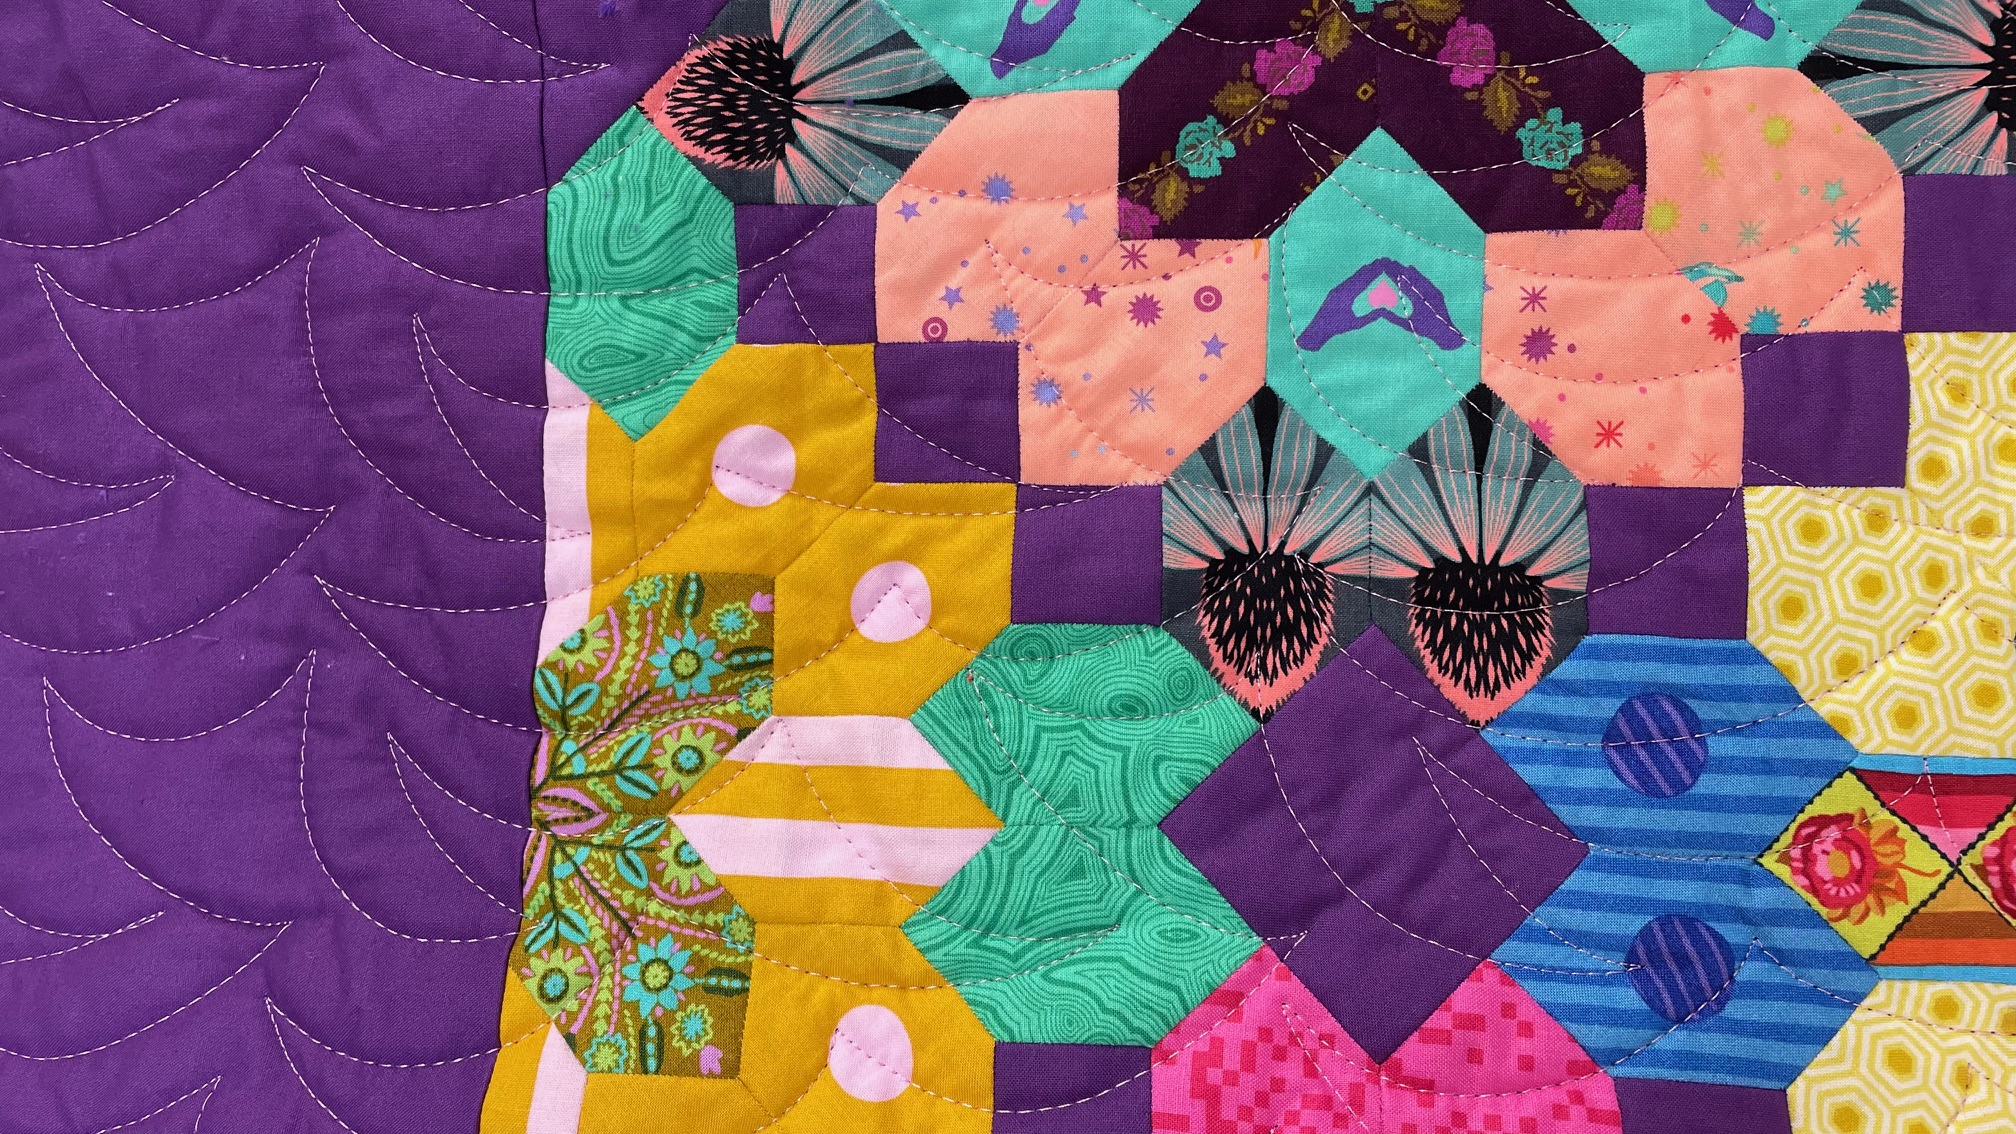
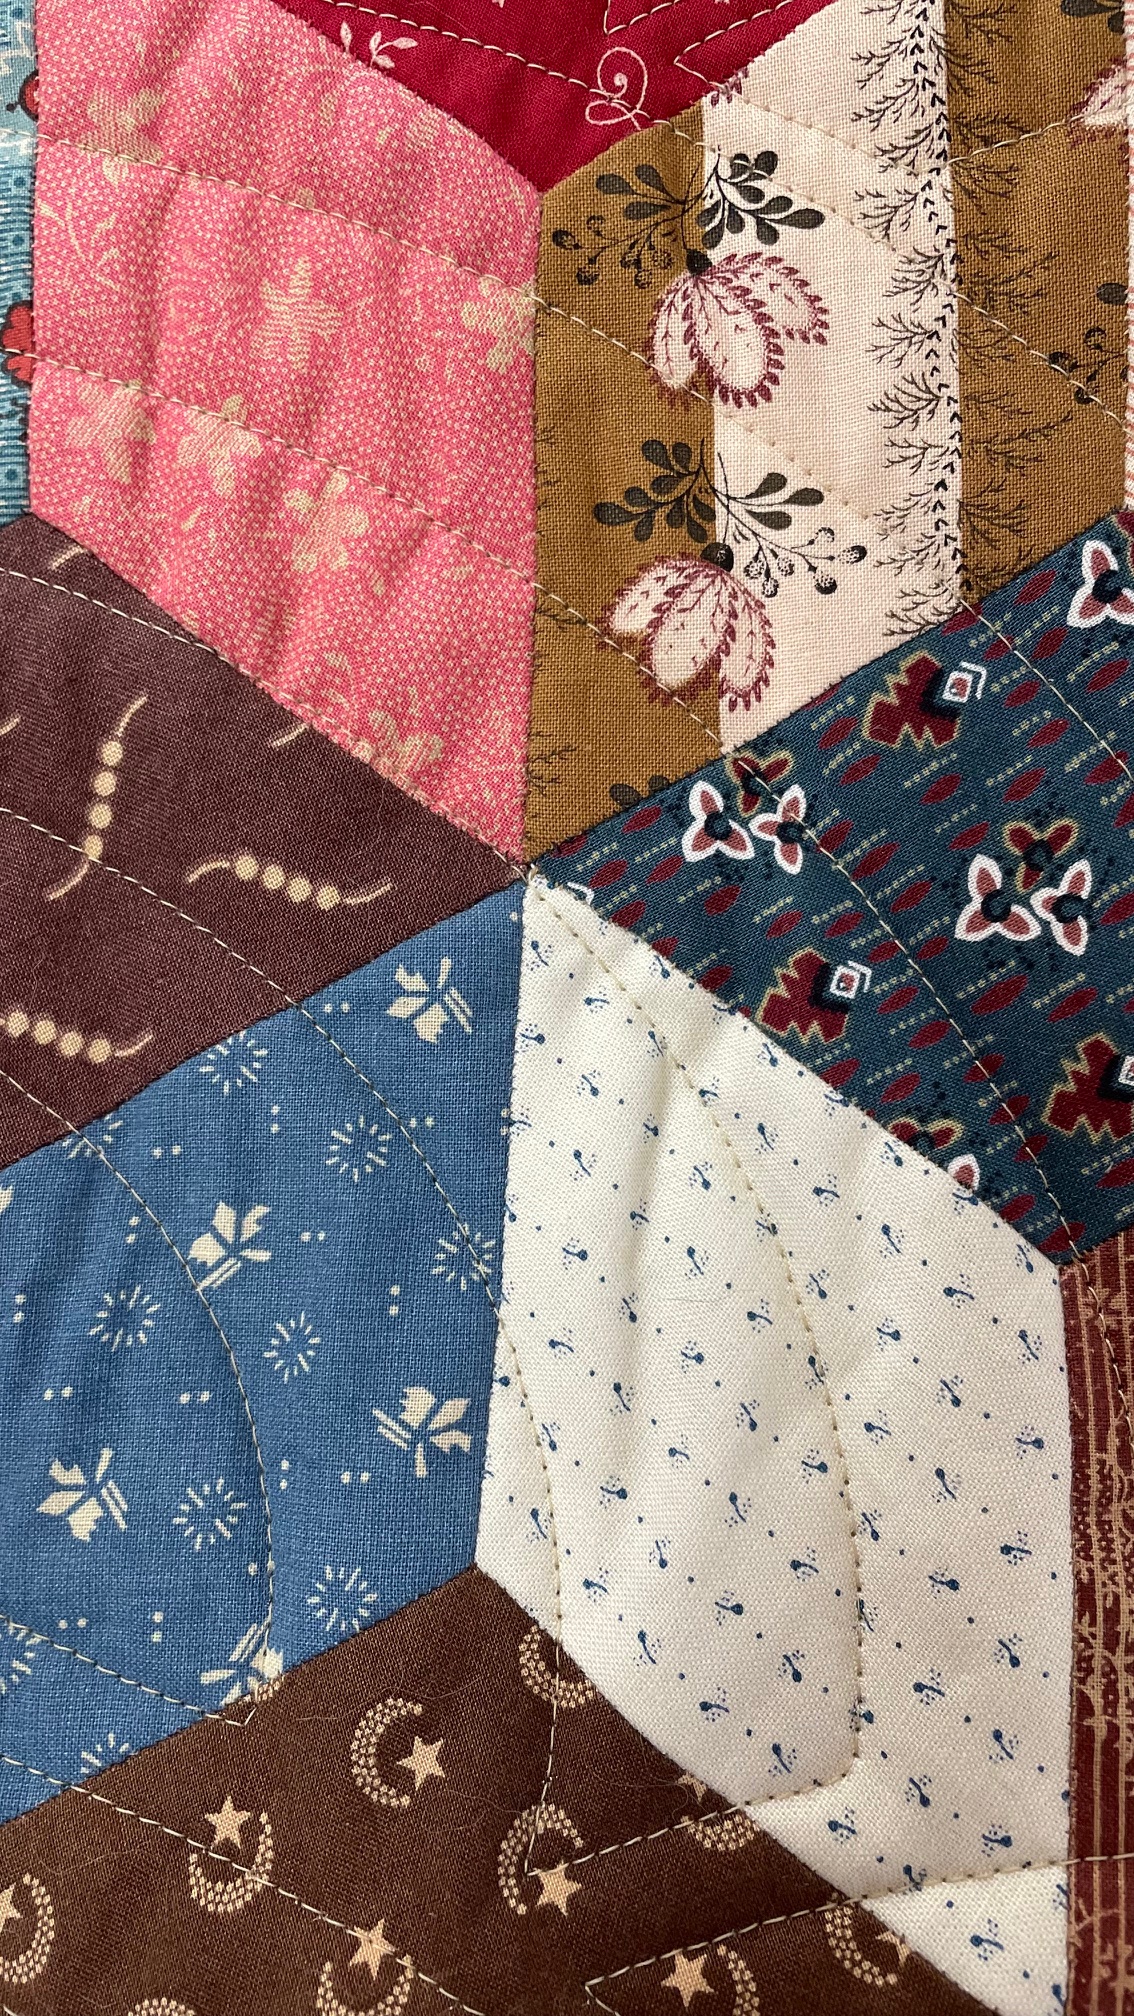
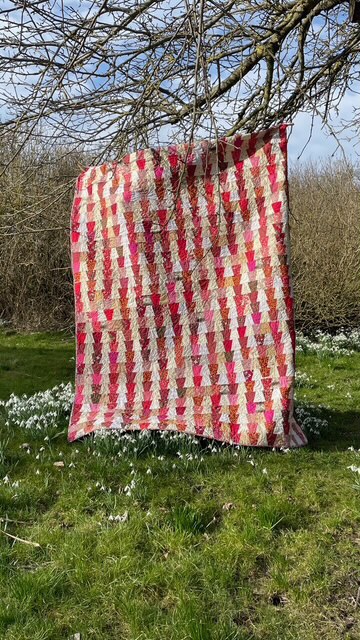
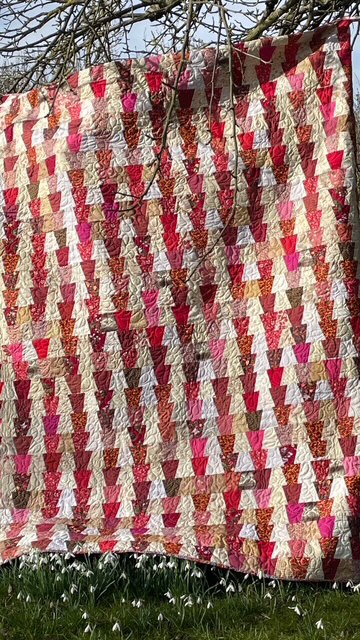
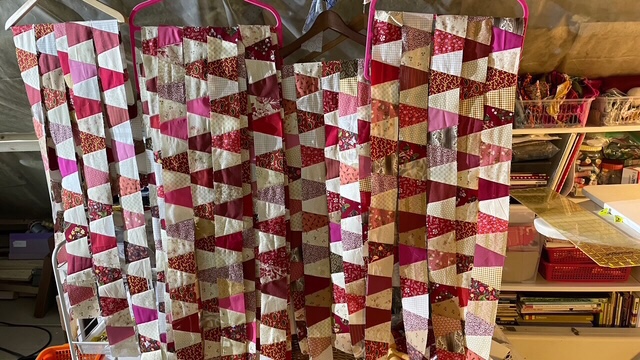
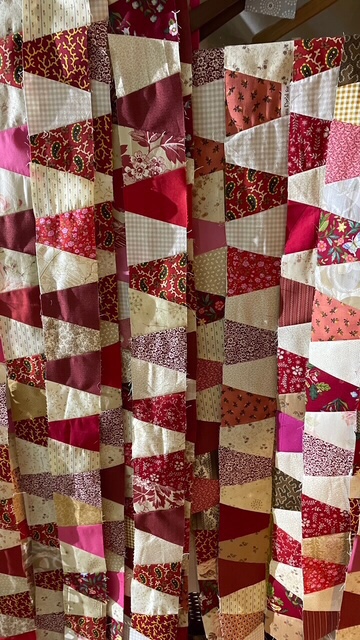
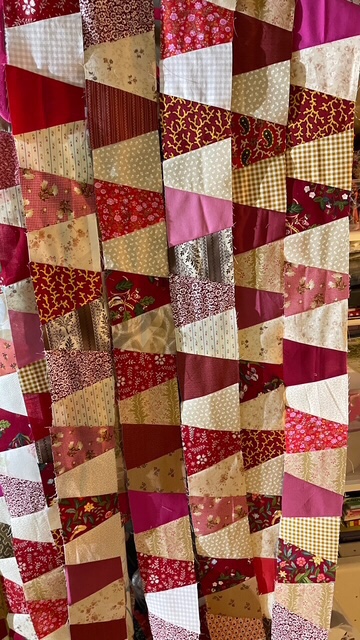
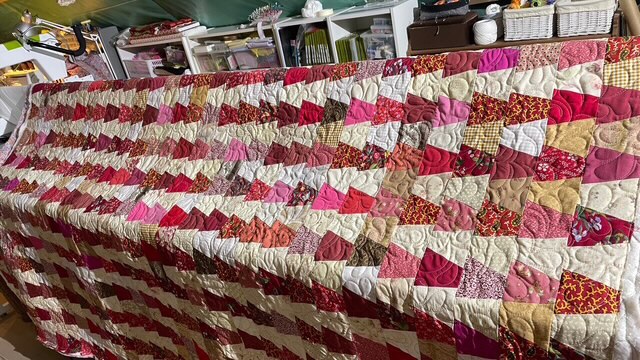
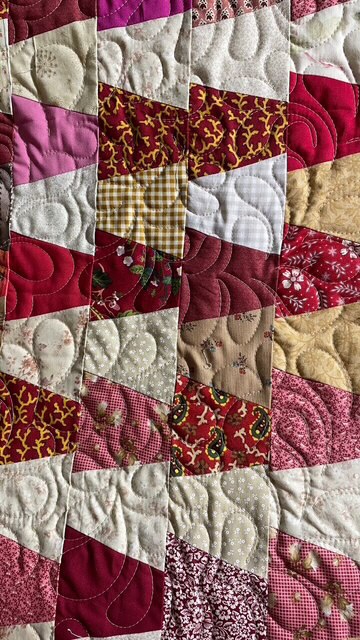
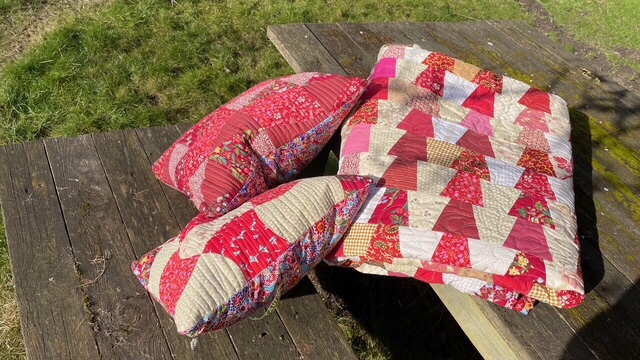
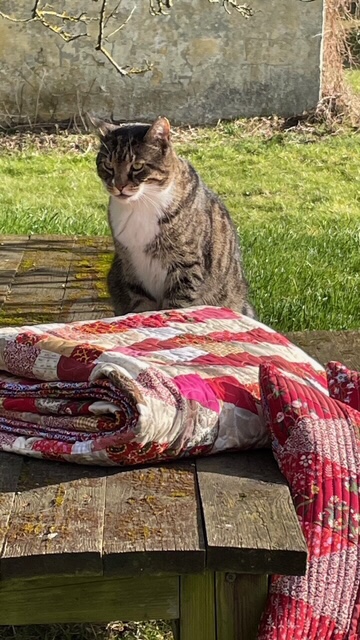
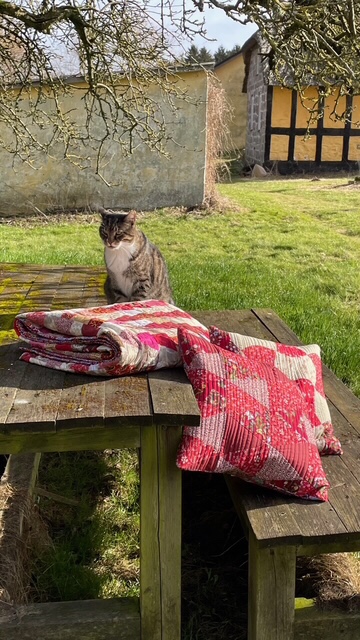
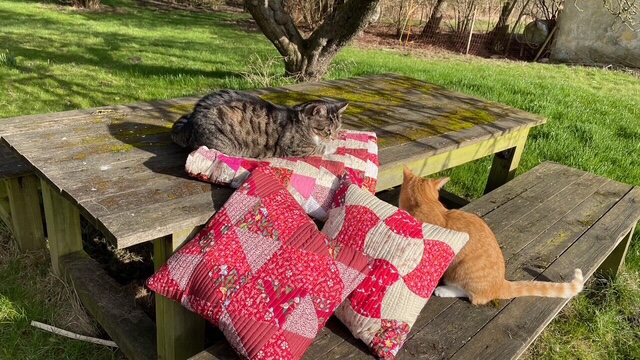
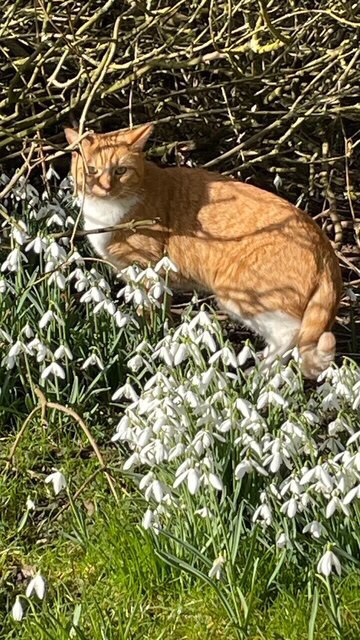
We will be working on Charms, work with your machine or by hand.30 tumblers x 31 rowsUsing up all my red and cream scrapsRemember you can have your charms pre-cut before summer school!Finally the super fun part, quilting!I quilted it with an all over feather meander.Matching pillows using different charmsLittle helper, Slim Pickings.Don’t need another quilt, make some pillows.Little helpers Slim and Breeze.Breeze enjoying some spring sunshine.